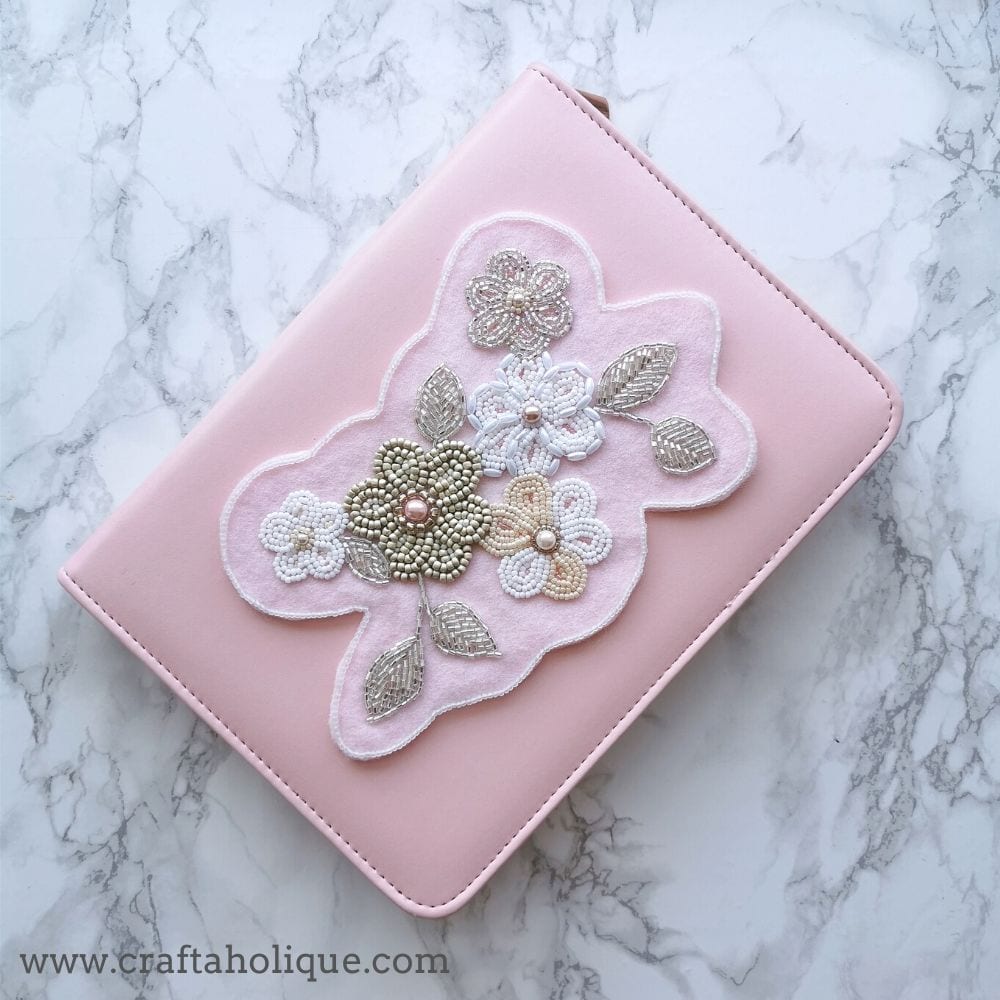
Today, I’m sharing with you a tutorial on how to make a DIY beadwork storage case, that also functions as a beading mat.
This will hopefully be of interest to the beaders among you, but also to any crafter that wants to store small crafting materials and transport them around easily!
I got the idea for this project after seeing a rather fabulous ‘bead board’ from one of my favourite beading suppliers, Stitchncraft Beads. You can see one via the link above; it’s a type of beading mat that also works as a case, so you can keep all your beads together and everything is in exactly the right place when you open it up.
I was SO tempted to buy one of these from Stichncraft, but at £59.95, I just couldn’t justify the cost at the moment, what with all the uncertainty amid coronavirus. (I’m self-employed, and my income is very up and down right now.) So I decided to make my own version, using an old padfolio case of my daughter’s and some other materials.
Check out my tutorial below, along with a list of materials you’ll need for the project. I’ve included affiliate links to places where you can find these materials, for inspiration.
Materials needed
- Conference folder/portfolio case – I used an old one, but if you don’t have one, this pink deluxe A4 zipped conference folder is a good option.
- Patterned paper.
- A few beading mats, like these Beadalon beading mats.
- Hot glue gun.
- Flat felt sheets x 2.
- Selection of mixed round seed beads and glass pearls (for the bead embroidered embellishment on the front).
- Bostik Blu-Tack Micro Dots
- A pattern of your choice for the bead embroidery.
- Beading thread.
- Beading needle. (I like to use Beadsmith ones.)
- Good fabric scissors.
Before photos!
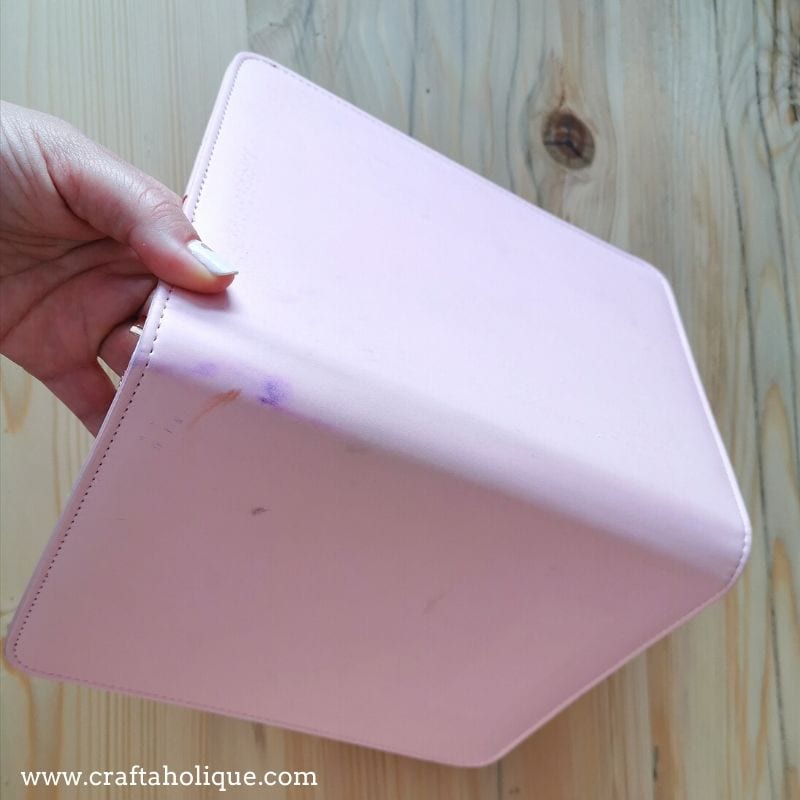

So like I mentioned above, I used an old padfolio/portfolio case that was originally my daughter’s (complete with felt tip pen on the outside and a rather scraggy-looking inner). I took out the notebook and removed the penholder before giving it a good clean with rubbing alcohol.
DIY beadwork storage case – in progress pics
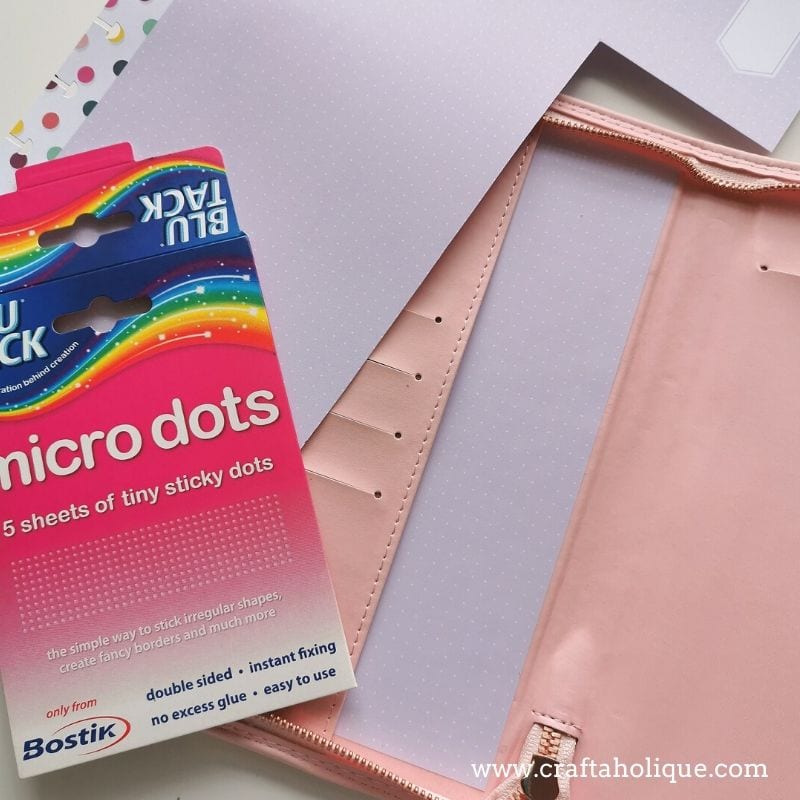
Some of the marks on the inside of the case couldn’t be removed even with the very best of elbow grease. So I decorated the inside with some patterned paper and glued it in with some Bostik Micro Dots. These tiny sticky glue dots can turn more or less anything into a sticker!

I used some regular beading mats for the inside. These are made of vellux (I think that’s the fabric used), they’re a sort of cross between foam and velour. When you empty beads onto the mat, they don’t roll away and they’re oh-so-easy to pick up with your beading needle.
I cut down a couple of mats to the right size, used a cream mat as a base and a dusky pink coloured mat for the top. I decided to use two mats so as to end up with a thick enough beading mat to sit just above the line of the zip. I wanted it like this for two reasons – firstly so that my wrists are comfortable resting against the zip when beading, and secondly so that my beadwork and loose beads are unlikely to move when the case is closed.
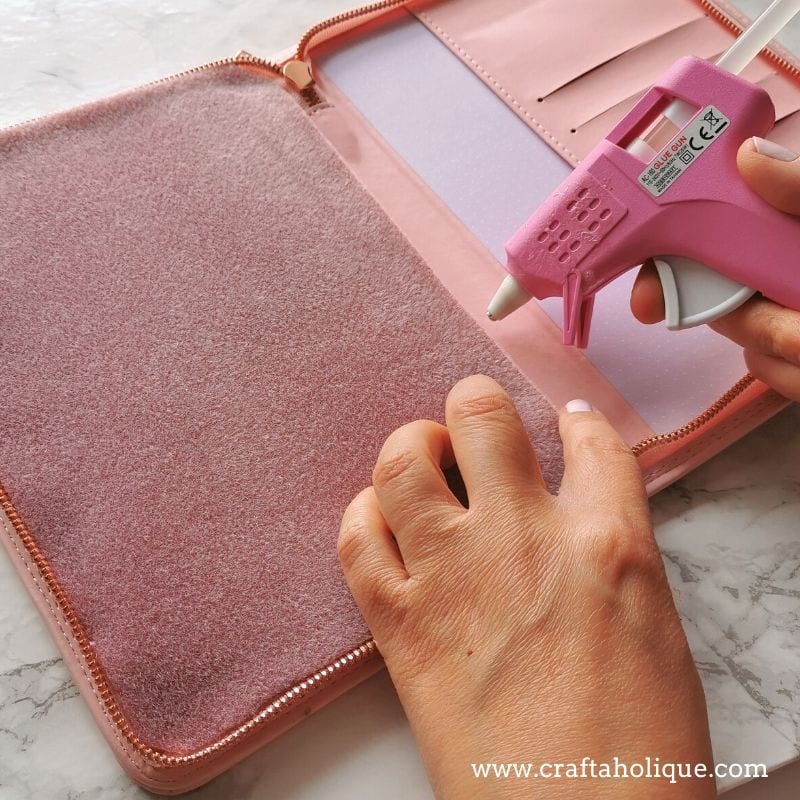
I glued the mats into place with a hot glue gun, and I also decided to cover up the slit compartments with more beading mat fabric on the other side of the case.
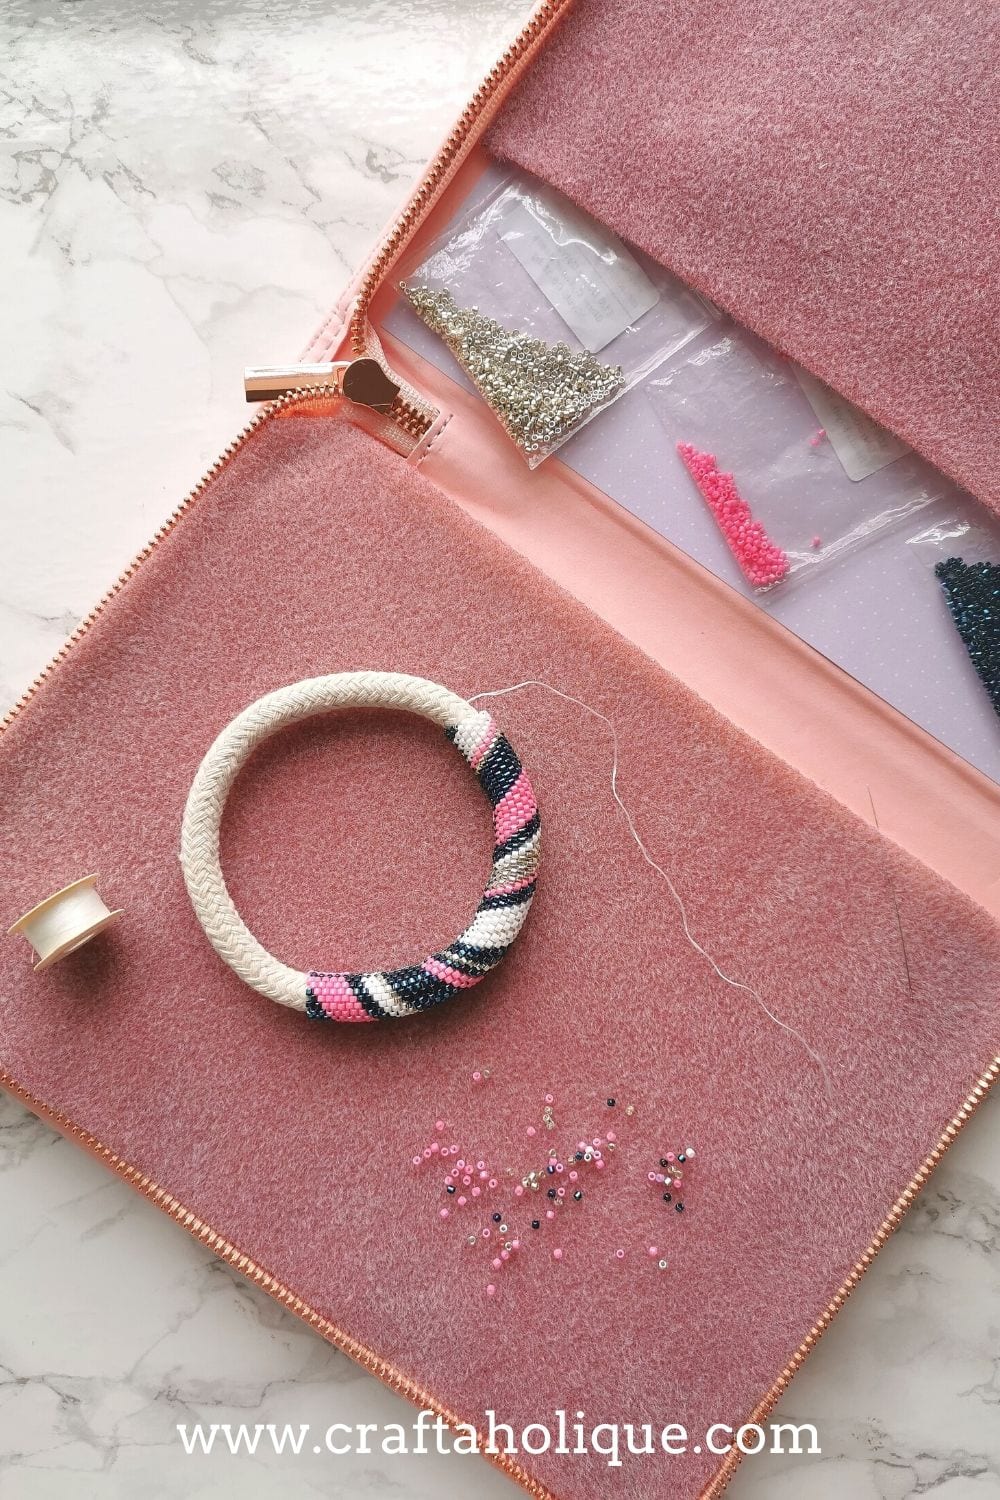
And this is what the inside of the case looks like now. Packets of beads can be tucked under the pocket, as can patterns. Beadwork that’s in progress can sit safely on the mat, along with loose beads, beading needles, thread etc. Nothing moves! Even after opening and closing the case, the beads are exactly where I need them to be.
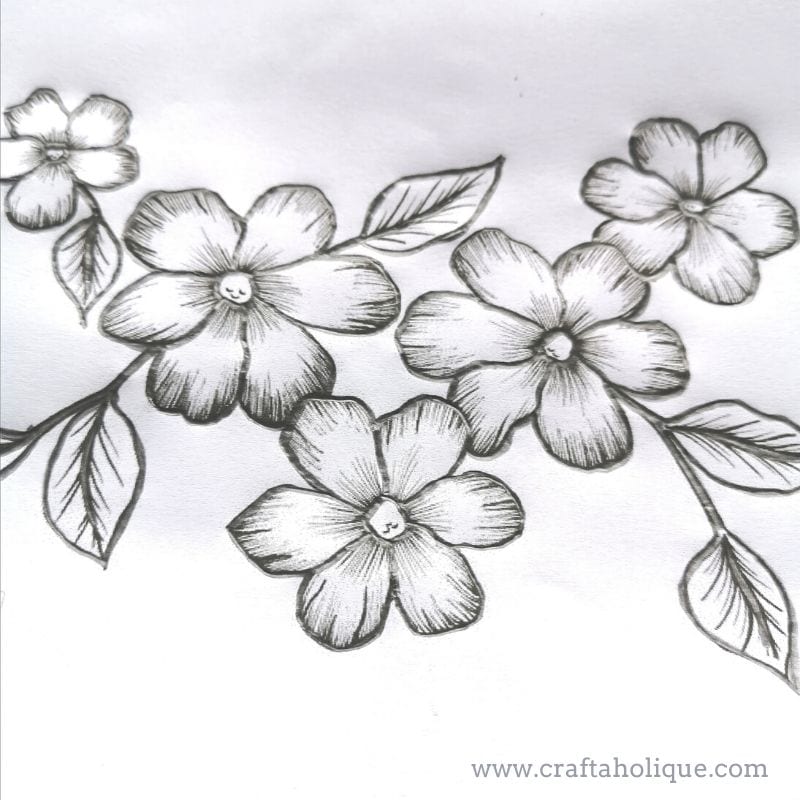
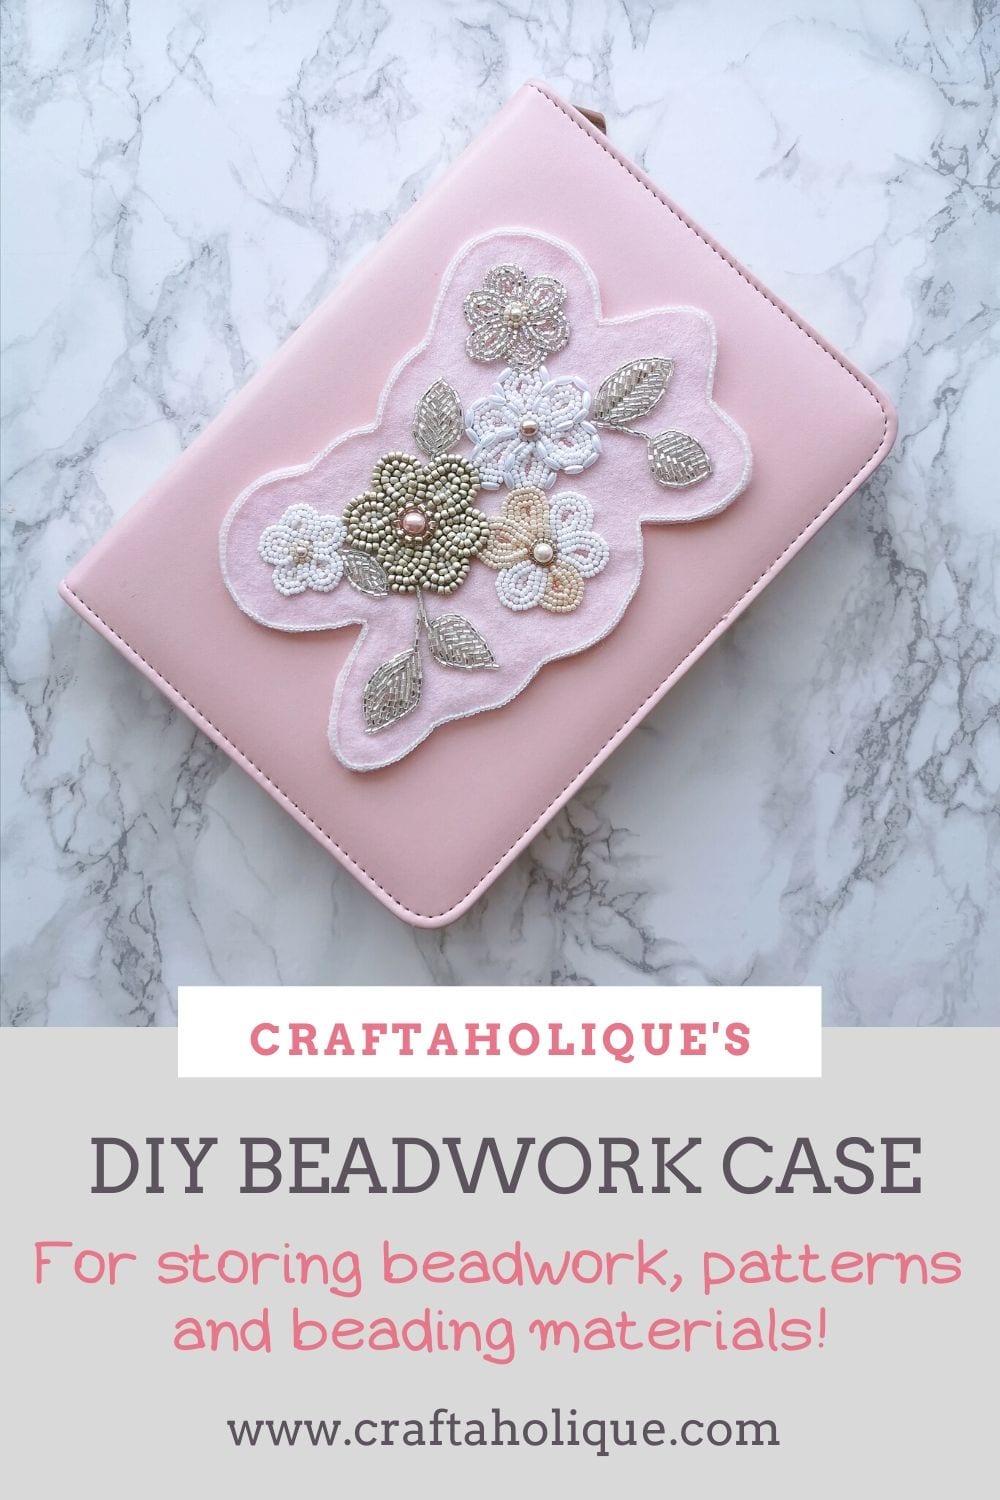
After completing the inside, I decided to embellish the outer cover of the case with some bead embroidery. I traced the above pattern – a free design I found on the internet – onto a piece of pale pink felt. I used a selection of different sized Czech round seed beads and glass pearls to embroider the pattern.
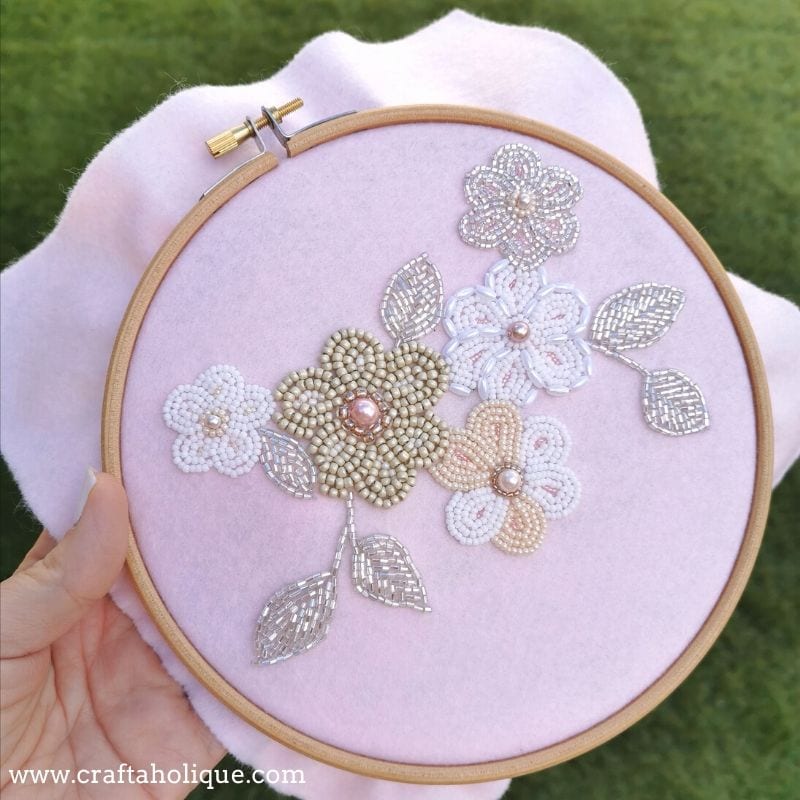
Here’s the design completed. You might have already seen this if you follow me on Instagram!
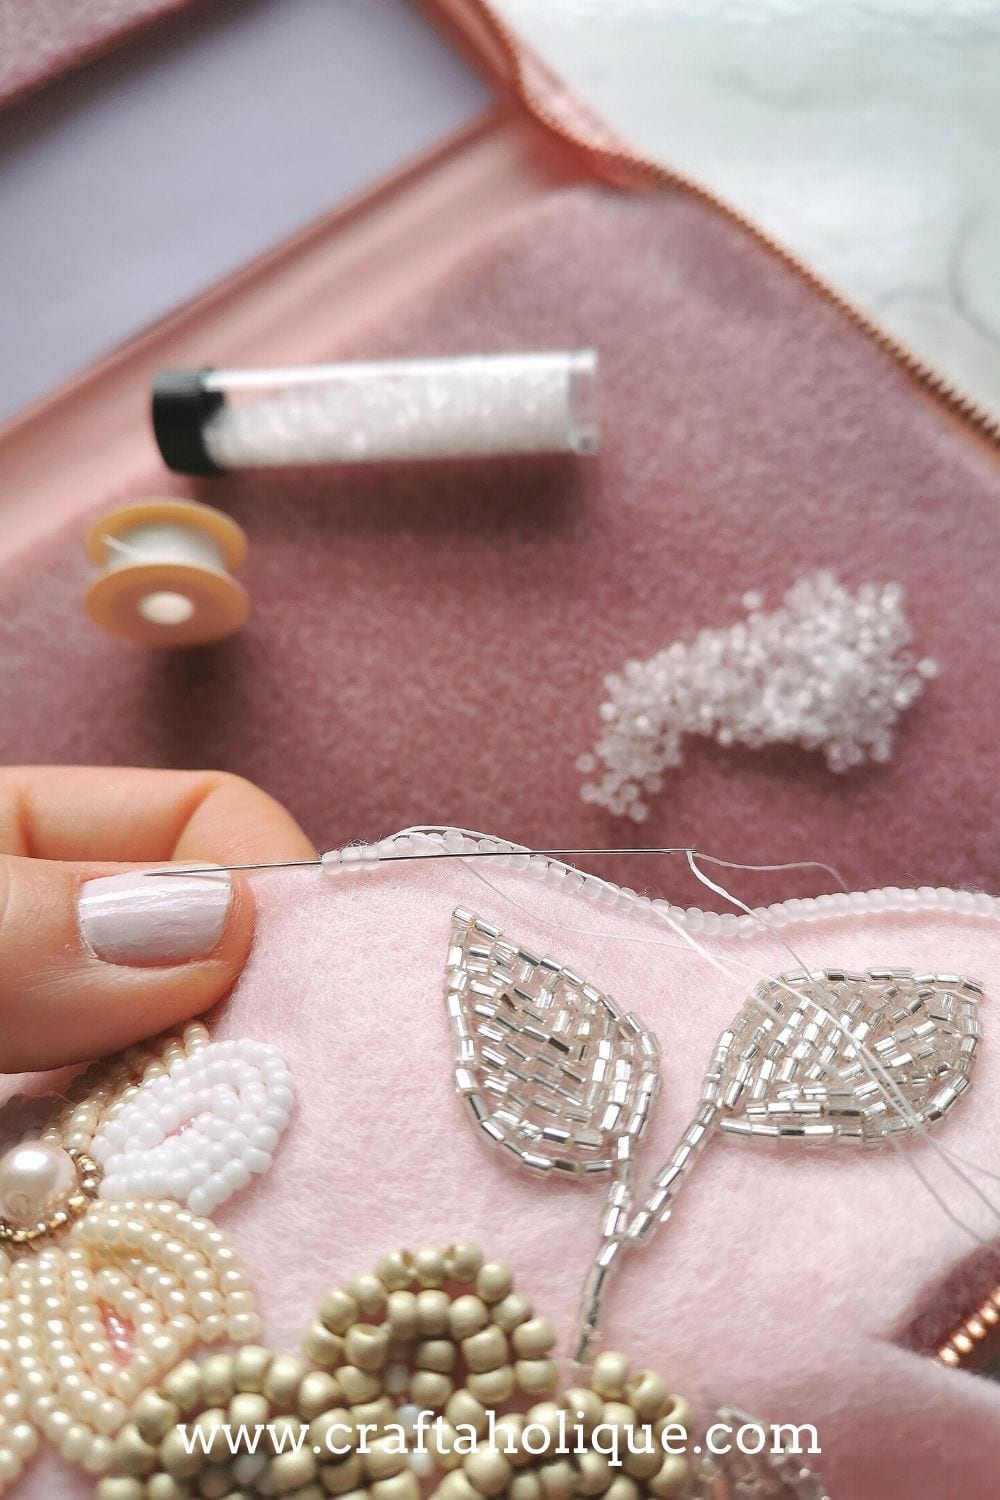
To finish the embellishment, I cut around the bead embroidery and embroidered around the edge to give the design a border. I used a second piece of felt as backing, cut out in the same way as the top piece.
Finished DIY beadwork storage case!

Finally, I glued the bead embroidered embellishment into place on the front of the case. I’m really happy with how it turned out! And I’d love to know what you think about it. Let me know via the comments below.
If you liked this post, please take a moment to share it with your social media followers! Before you go, why not check out some of my other tutorials here?
*Affiliate links have been included in this post to Amazon UK and Etsy. If you make a purchase on one of these sites after using one of my links, I’ll earn a small commission at no cost to you. This is one of the ways I keep Craftaholique up and running. Thank you for using my links if you’re able to! Read more.
**Photos © Craftaholique.


I love this. I have been wanting to buy one of these but either I don’t like the design or the price is too high. I cannot wait to make one of my own. All I need now is to find everything I need to make my own
Good luck with your project – it’s a nice opportunity to be creative!