
Right angle weave is a beadweaving stitch that every beader should know about. It’s a versatile stitch that lends itself to a plethora of jewellery making projects, including bracelets, necklaces, earrings, and rings!
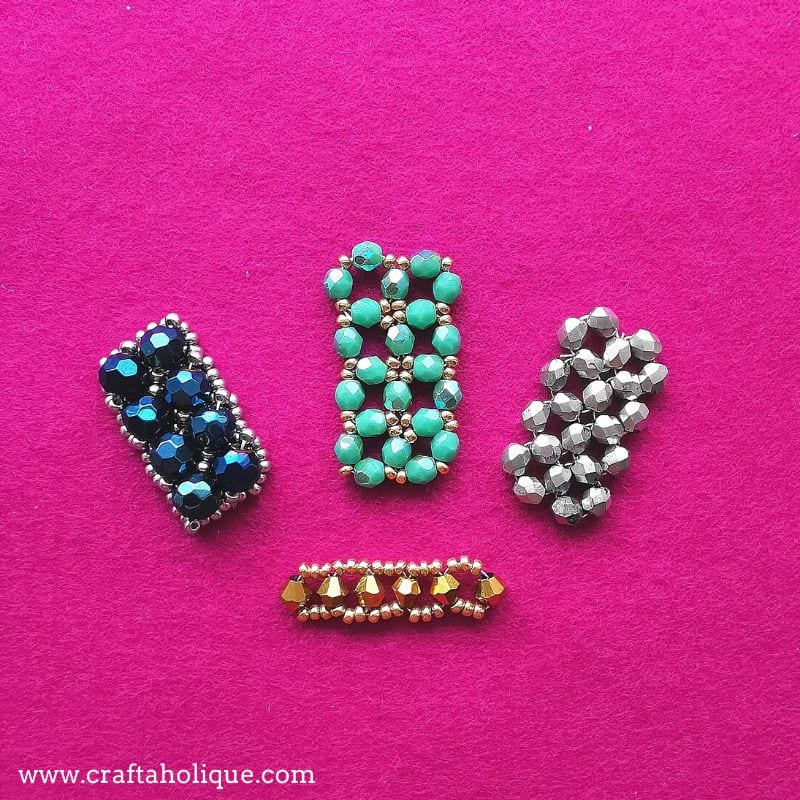
In this post, I’m sharing a few samples I’ve made up to show some of the things you can do with right angle weave.
How to do basic right angle weave
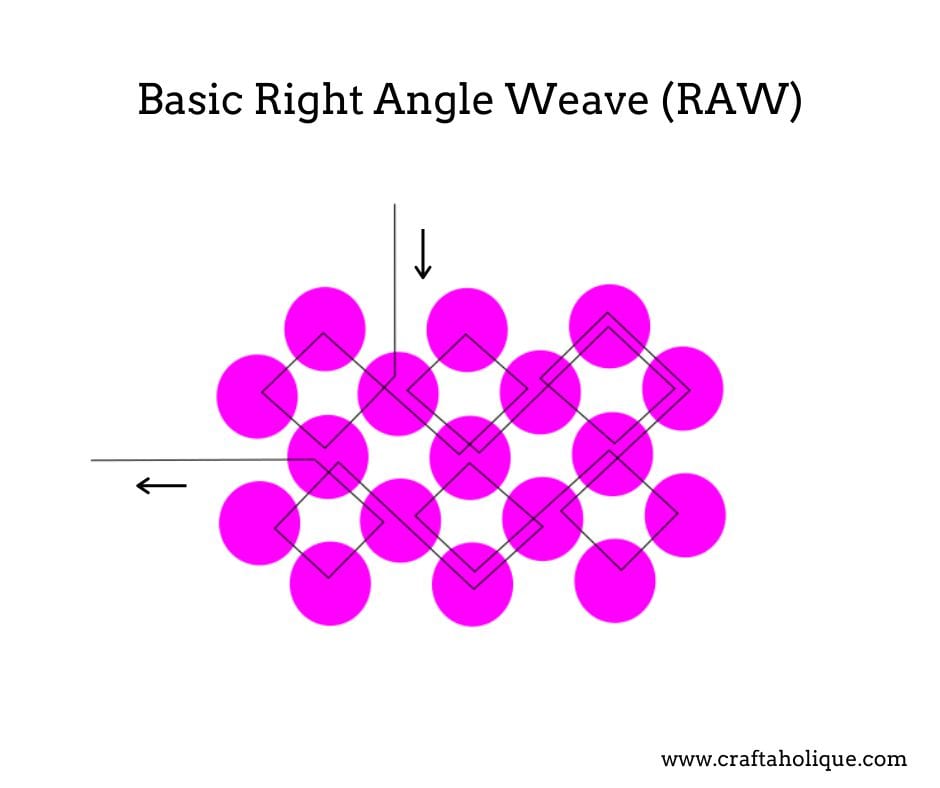
When doing right angle weave, you’ll start with one unit of beads. In this example above, there are four beads to start with (top left of the image) for the first unit. The next unit that is added consists of three beads – if you follow the thread path above, you’ll see that you sew through the beads in a figure of eight motion. Then another three beads are added for the last unit in that top row.
You can add further rows by making the thread exit out of the bottom bead of the last unit in the top row. If you’d like a more visual explanation of right angle weave, Beadaholique (a U.S. bead supplier) has produced an excellent video – watch it here.
Experimenting with right angle weave
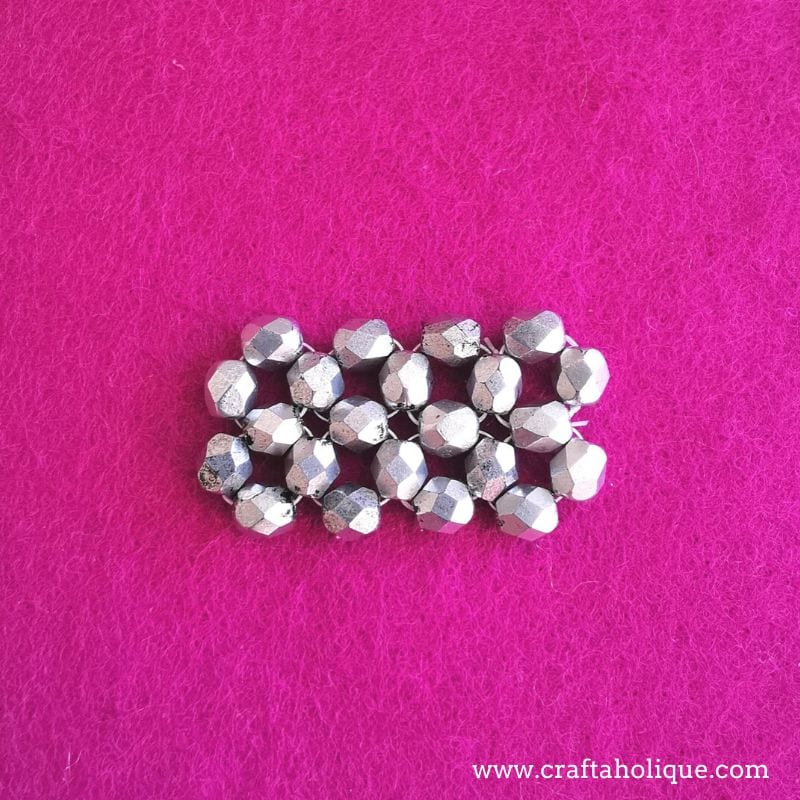
In the pic above, I’ve used fire-polished faceted round beads. These are a great choice for right angle weave – the shape lends itself really well to this technique. So this is right angle weave in its basic form with no other beads added. There are four units in the top row and four in the bottom.
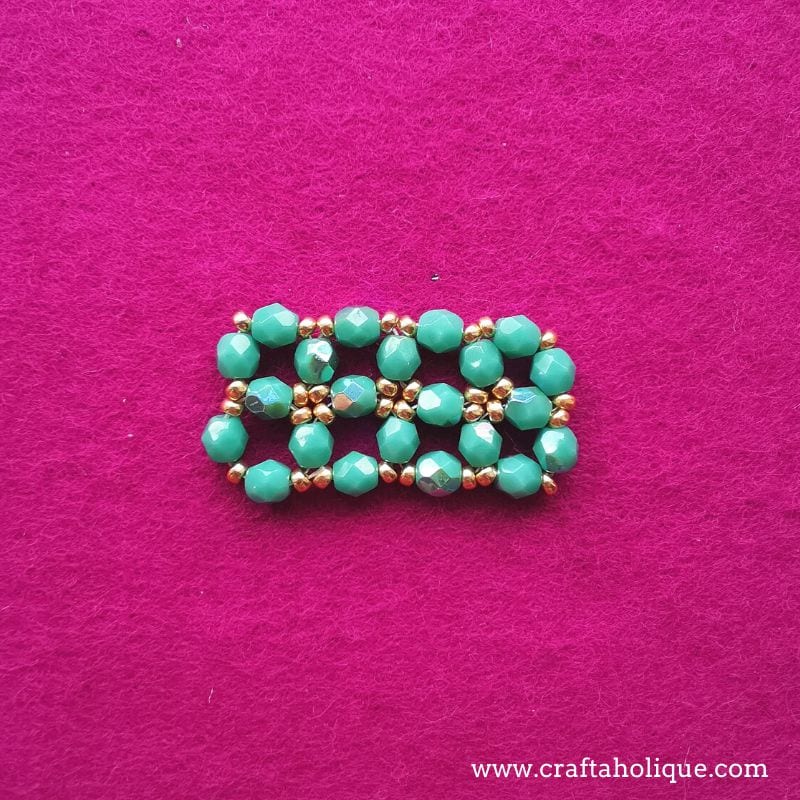
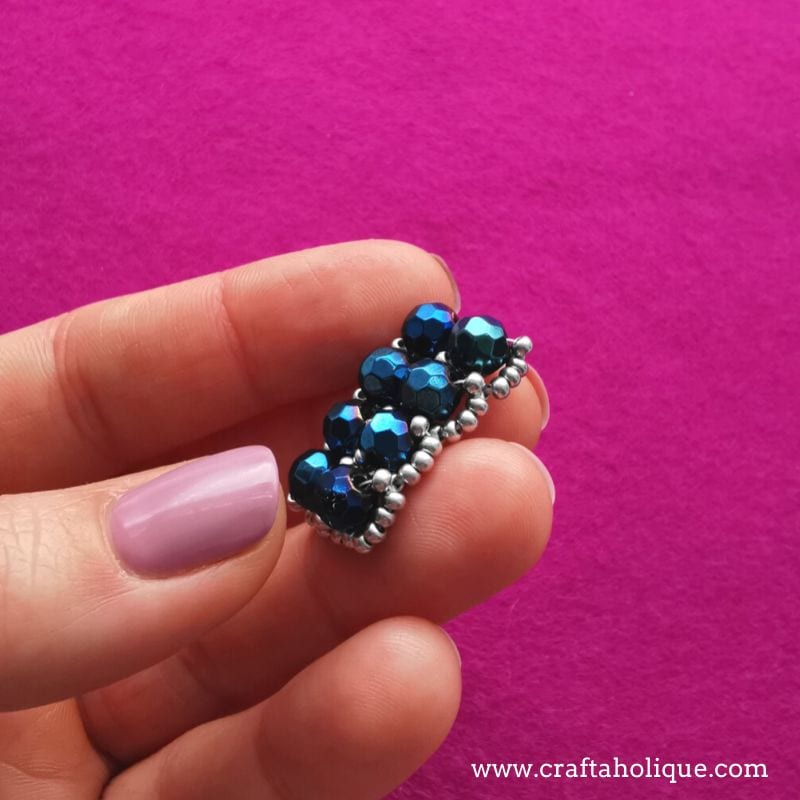
In this sample, I’ve used round seed beads to hide the threads a little better in between the fire-polished beads. I think the seed beads really improve the design.
The first unit (top left) is made up of eight beads in total, four fire-polished beads and four seed beads. The second and consecutive units are made up of seven beads in total, three fire-polished beads and four seed beads.
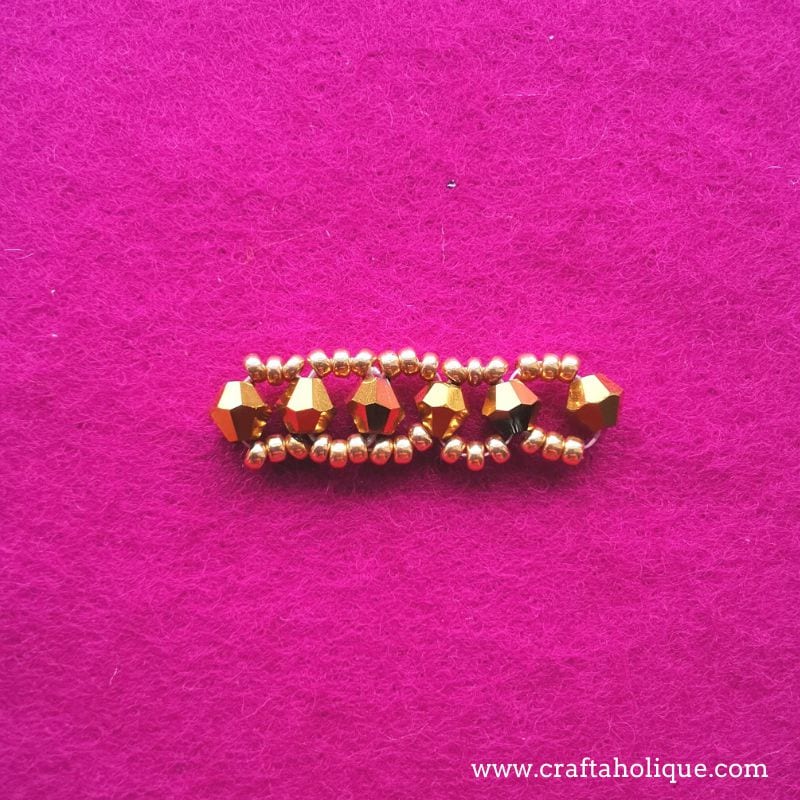
In this example, two bicones and six seed beads are used for the first unit. One bicone and six seed beads are used for the remaining units. This combination of beads elongates the design, creating a ladder-like appearance.
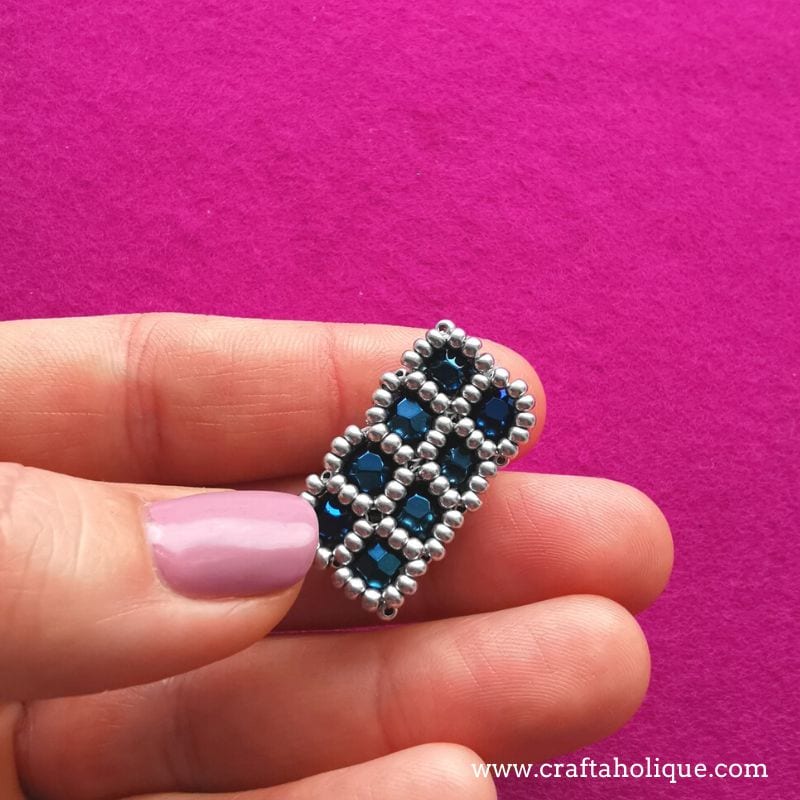
Right angle weave creates little windows, which you can fill with the beads of your choice! You can embellish your project with extra beads that either sit inside the windows, or just above. The image below shows the underneath of this sample, and you can see the base made with right angle weave, which looks a bit like a grid.
I hope this gives you some food for thought as to what you might be able to design with right angle weave stitch. It’s an easy stitch to pick up, so it’s perfect for beginners. Once you’ve mastered this, you can move onto cubic right angle weave, a more advanced beading technique!
Are you a beader? Let me know if you’ve tried right angle weave before and what you’ve made with this stitch if so!

*Images © Craftaholique
This is probably one of my favorite stitches. I’ve been experimenting using it with some of the 2-hole beads lately. There is a bit of a learning curve but the additional shapes really expand the possibilities.