
Affiliate links are included in this post.
Earlier this year, we managed to buy the home that we’d been renting for the last 5 years. We love our house, but it’s a real project. The decor in each room is old and dated, the kitchen and bathrooms need replacing and the garden was nothing more than a bare concrete yard.
There’s so much to do and it’s been tricky knowing where to start. After much consideration though, we decided to go with a garden makeover. We’ve been working on this since May and it’s still not quite finished, but I’ll post some before and after shots when we’re done!
Part of the new garden features an outdoor kitchen and bar area (aka Man Cave / Pub Shed)! We love having BBQs in the summer and my hubby is a pretty good cook, so he’ll be in his element out there when it’s complete.
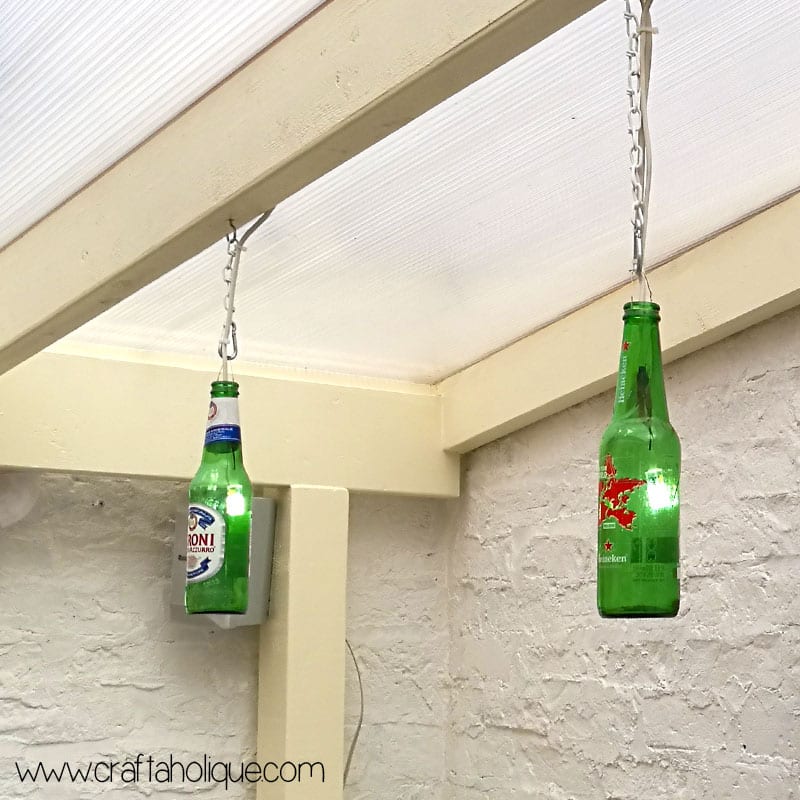
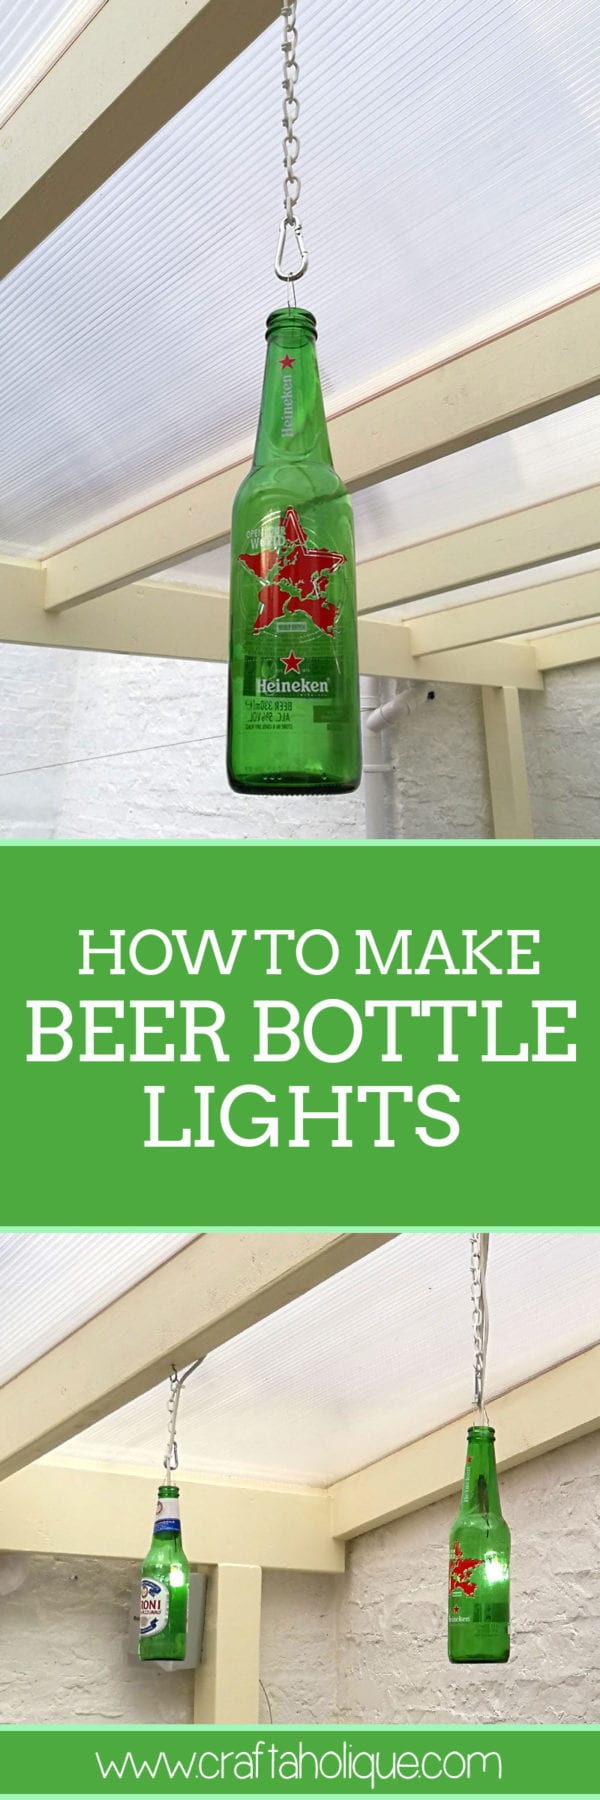
My hubby has made some really cool beer bottle lights to hang above the bar and other worktops and I thought I’d share the tutorial with you today! Check it out below.
How to make beer bottle lights
Step 1 – making the hanging mechanism
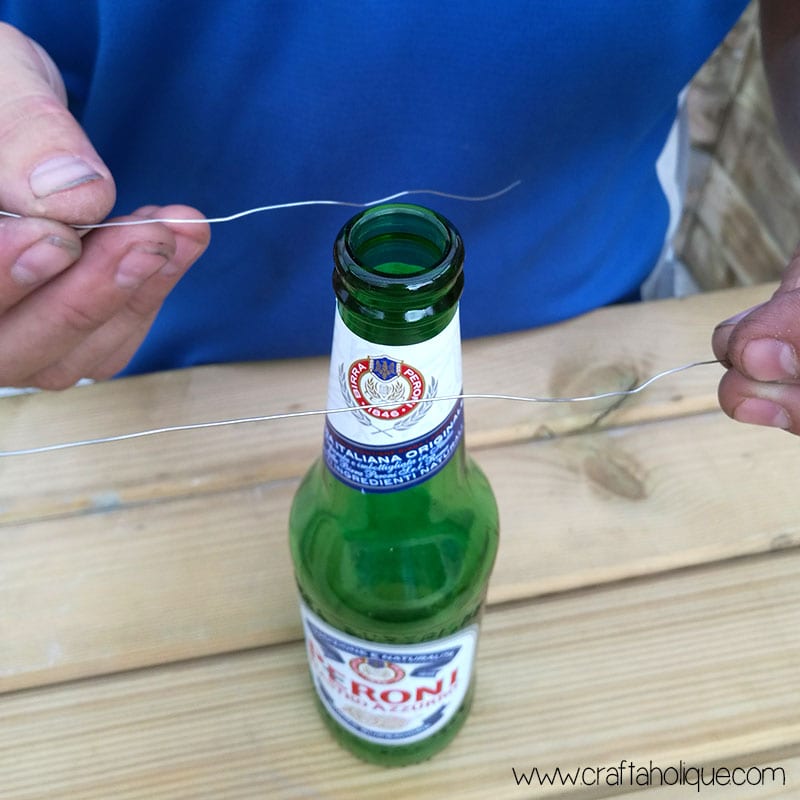
First of all, you’ll need to start saving some beer bottles! We wanted to use green bottles but you can use any you like. Trim two strips of metal wire, around 12 inches in length. The wire needs to be strong but flexible enough to bend.
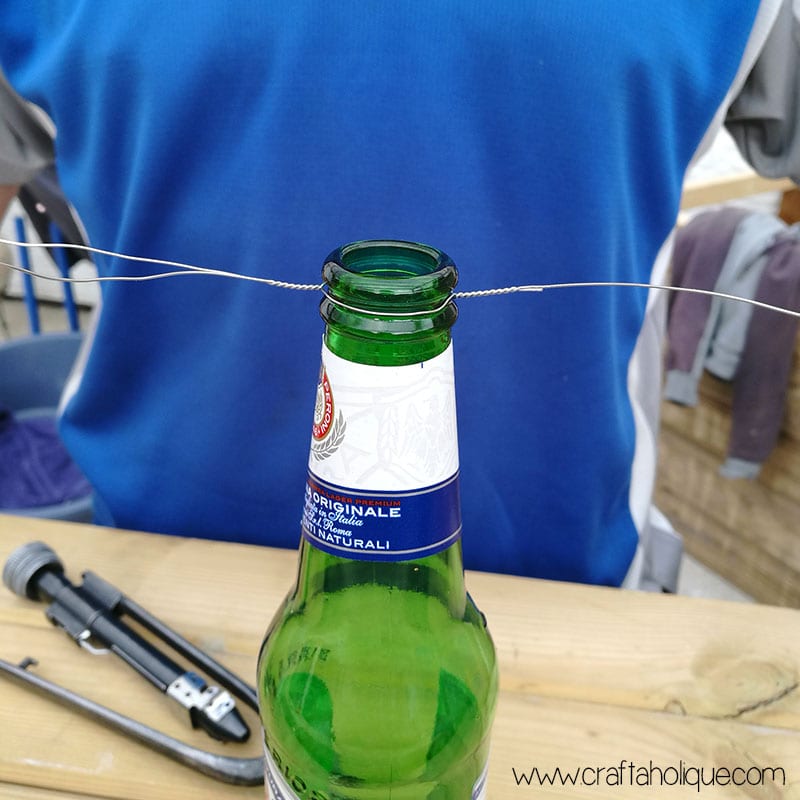
Wrap the two wires around the rim of a bottle, by twisting the ends together, as shown in the above photo.
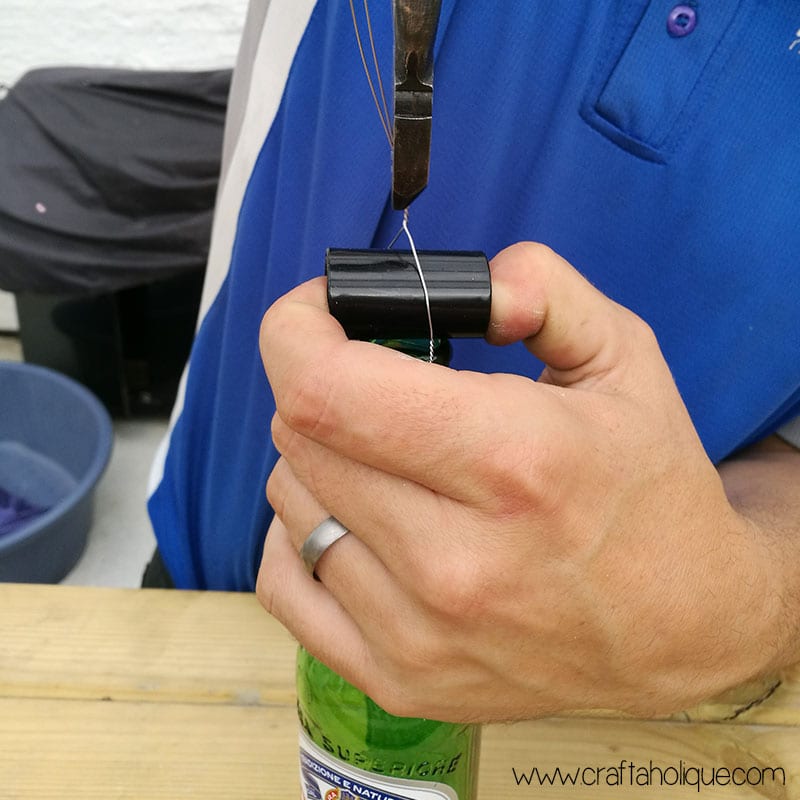
Take the twisted ends and pull them upwards. Insert a roundish object above the rim of the bottle and then twist the wires again to make a loop above the bottle rim. Cut the wire and twist the ends around the loop you’ve just made.
Step 2: Decide where to hang the lights
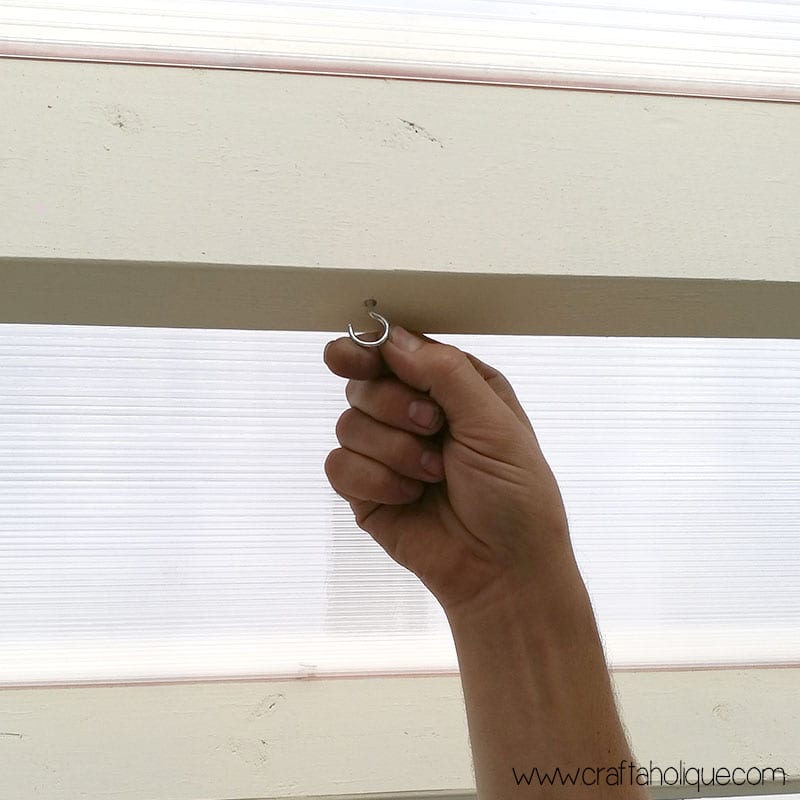
Use small cup hooks to create somewhere for you to hang your beer bottle lights. We have a canopy above our bar area, so have hung ours in the beams there.
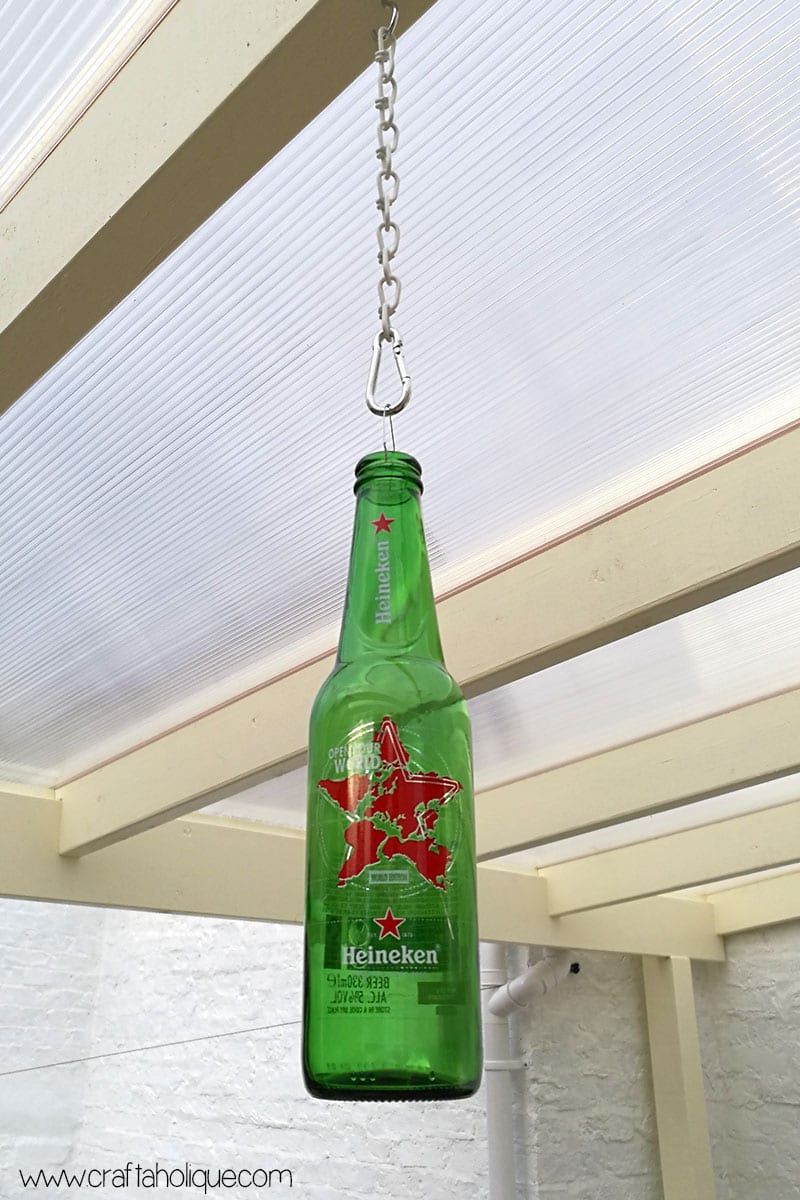
From the cup hooks, attach a small length of chain and a carabiner snap hook to the end of that. You can then hang your beer bottle straight onto the snap hook, see pic above!
Step 3: Adding the lights to the beer bottles
Now for the slightly tricky part. The actual lights are constructed from G4 base lamp holder socket cable and G4 LED 3W bulbs. The lights are connected in series with 2 core flex wire to a 12V power supply.
You might be able to buy these type of lights ready made, but my hubby had to basically wire them all together. Because they’re connected in series, if one bulb goes, it can be easily identified and replaced.
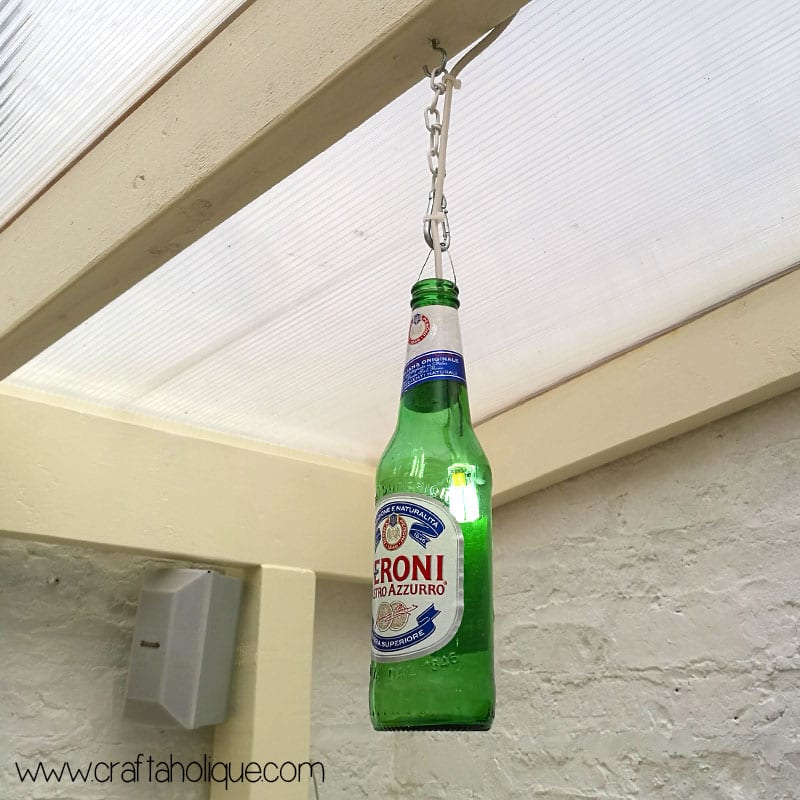
Once you’ve made the lights, you can simply attach the 2 core flex wire to the ceiling with grips and run each bulb down the chains into the beer bottles!
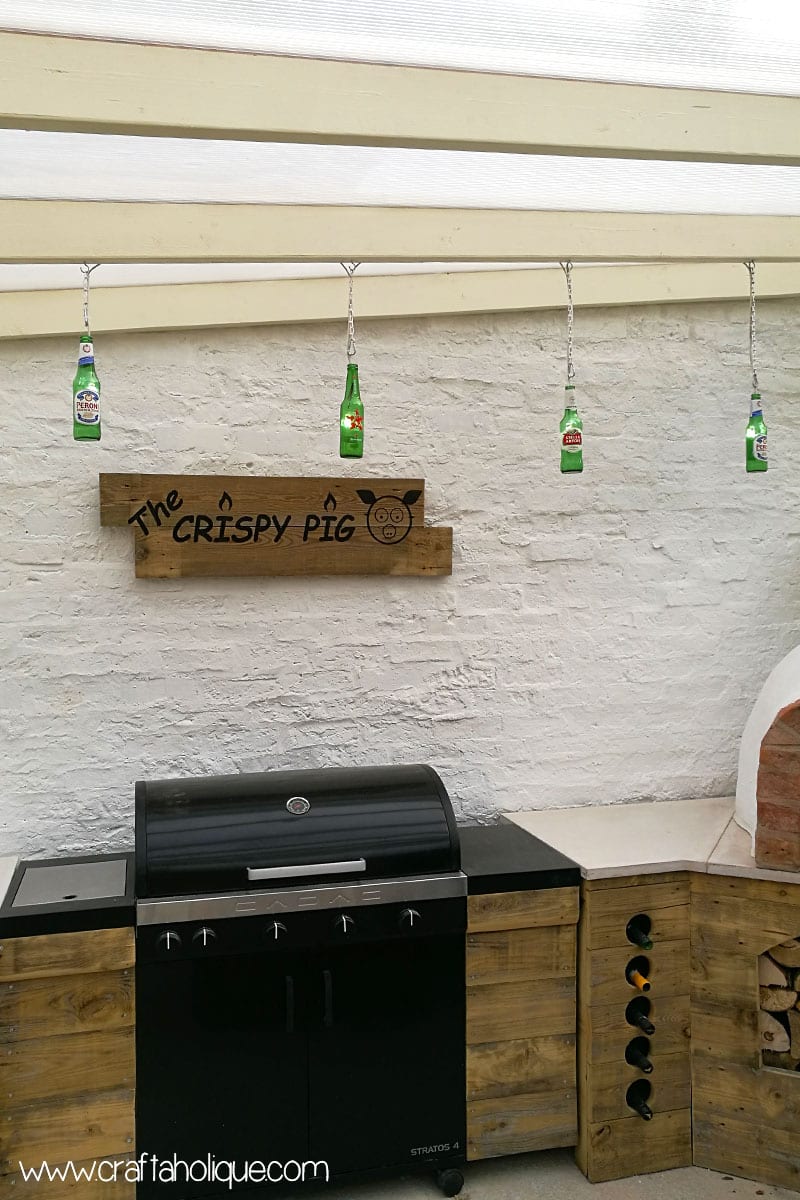
This last photo will give you a sneak preview of our outdoor kitchen – I could only take the photo from one angle, as currently there is a great big pile of tools and general mess obscuring half of it! But I hope you like what you can see!
We’ve upcycled our old fence to make the wooden units you can see here. The fence panels were quite ugly before but now they’ve been sanded back and reused, they give our outdoor kitchen a rustic feel!
Do you have a outdoor kitchen / bar / man cave in your garden? You might like these accessories if so!
I hope you enjoyed our beer bottle lights tutorial! If you did, please take a moment to share this post online!
Before you go, why not check out some other home decor related posts on Craftaholique:
- Handmade Showcase: Temporary Wallpapers
- Handmade Showcase: Copper Home Accessories
- Flower Arrangement Tutorial with Wild Flowers
*Affiliate links to eBay and Etsy are contained in this post. This means that I will receive a small commission should you decide to purchase anything through one of my links, at no cost to you. I only ever recommend products that I think are great and any commissions received help me to keep this site up and running! Thanks for using my links if you are able to!
*Images © Craftaholique.
Nice idea! I will give it a try! they are a good idea for presents to give to friends and family.