
Over the weekend, I had the chance to try out a new craft – floral crafting!
I’m a newbie to this but I was pleasantly surprised by my first attempt at making a flower arrangement! I took some photos of what I did step by step, so I could put together a tutorial for you.
First of all though, thanks to Oasis Home & Hobby who recently sent me some floral products for free, so that I could make something spectacular to share with you all! The photo below shows the range of goodies I received from this company – a couple of vases, some shabby chic drawer boxes, decorative wooden hearts and birds, ribbon, paper and floral foam.
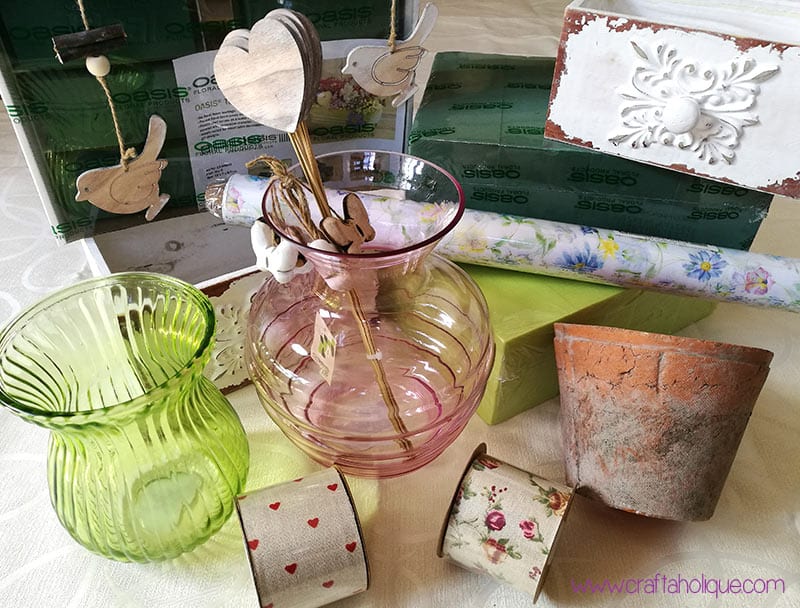
When I received these, I didn’t know where to start in making a floral display – there was so much choice! I decided in the end to go for the shabby chic drawers and use them as a container for the flowers.
Now in case you’re wondering where I got my beautiful flowers and foliage from for this project, I picked them from the riverbank near my house! So these are wild flowers as far as I know – not from anyone’s garden in any case.
Side note: if you’re picking wild flowers, get them in some water as soon as you get home, before you start making the display. They may start to wilt if you don’t!
Step 1: Creating the base for the floral arrangement
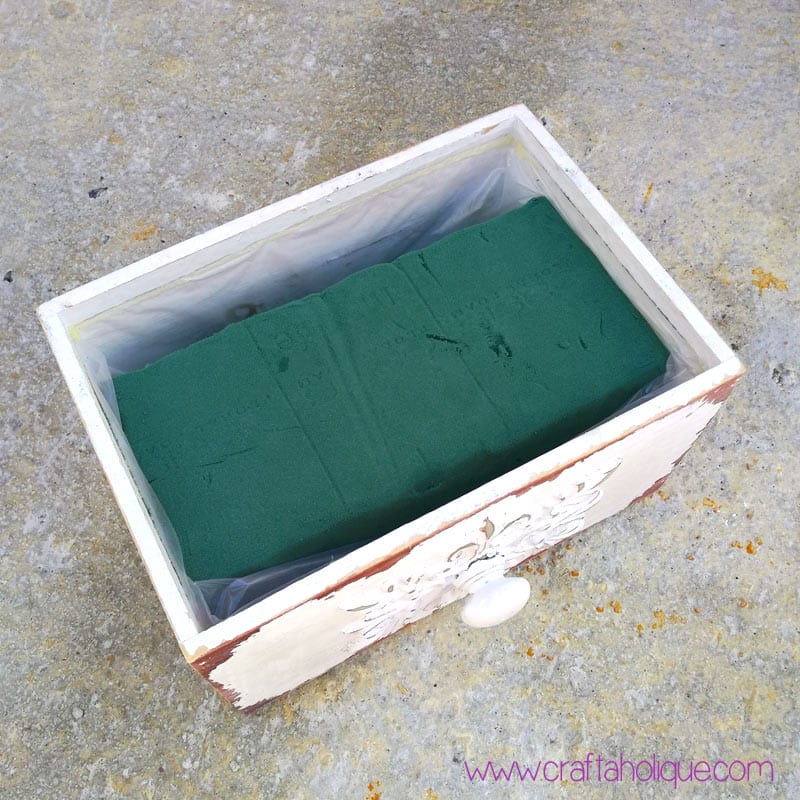
Yes, as you can see, I just wedged one of the floral foam pieces into the drawer! I was unsure as to whether I should completely pack the drawer with no gaps, but I went with just one block in the hope that the flowers / foliage would drape over the edge of the box to cover the gap.
When you do this, soak the foam brick first – it needs to be gently placed into a container of water and left to soak until it’s fully saturated, before putting it into the box and inserting flowers.
Step 2: Adding foliage and berries to the outer edge
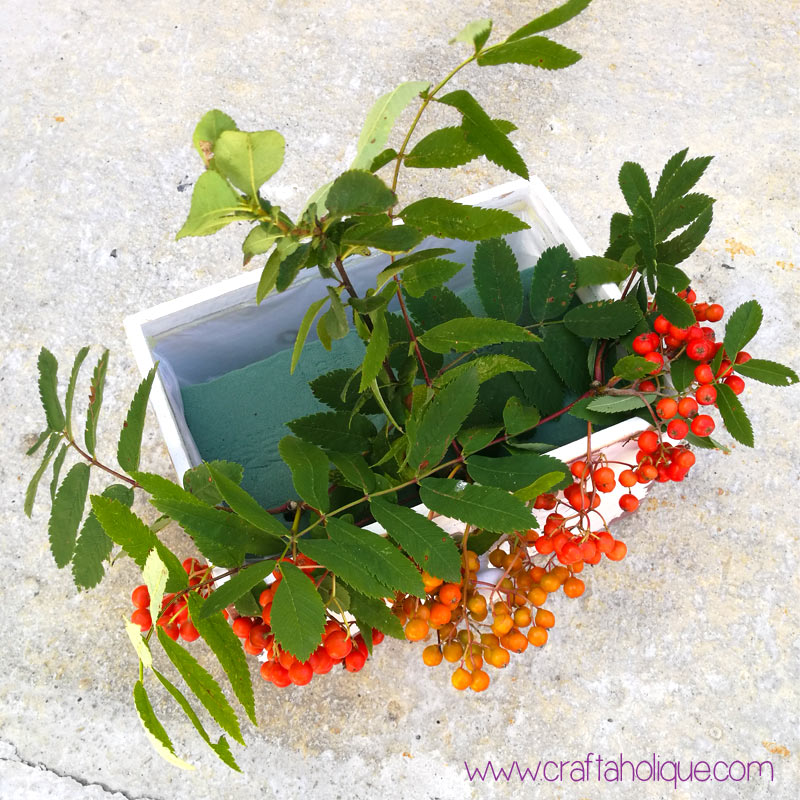
I started on the outside edge with the summer berries that I’d found. I put the rich red colour berries at the sides with a bunch of orange berries in the middle. Then I added foliage around these.
Step 3: Creating the foliage backdrop
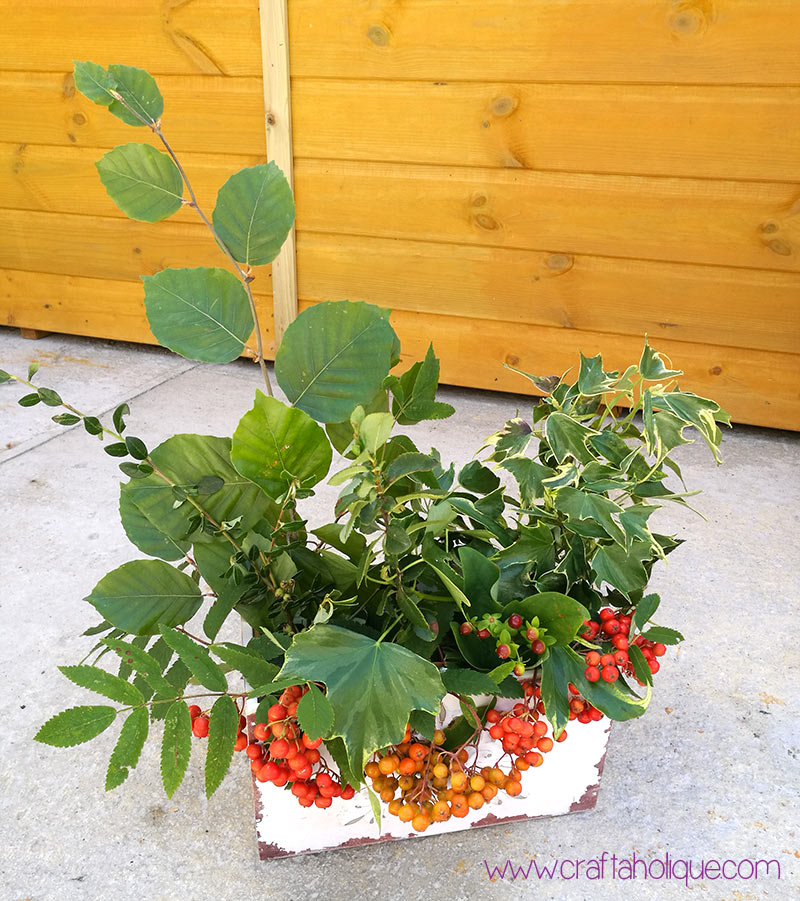
I wanted a high backdrop for this display, but you could make a round one if you prefer, by adding low level draping foliage all the way around the base. I had some very sturdy twigs and leaves that seemed to want to stay upright, you see!
I continued to add twigs and leaves in no particular order, whilst making sure that the display looked balanced overall.
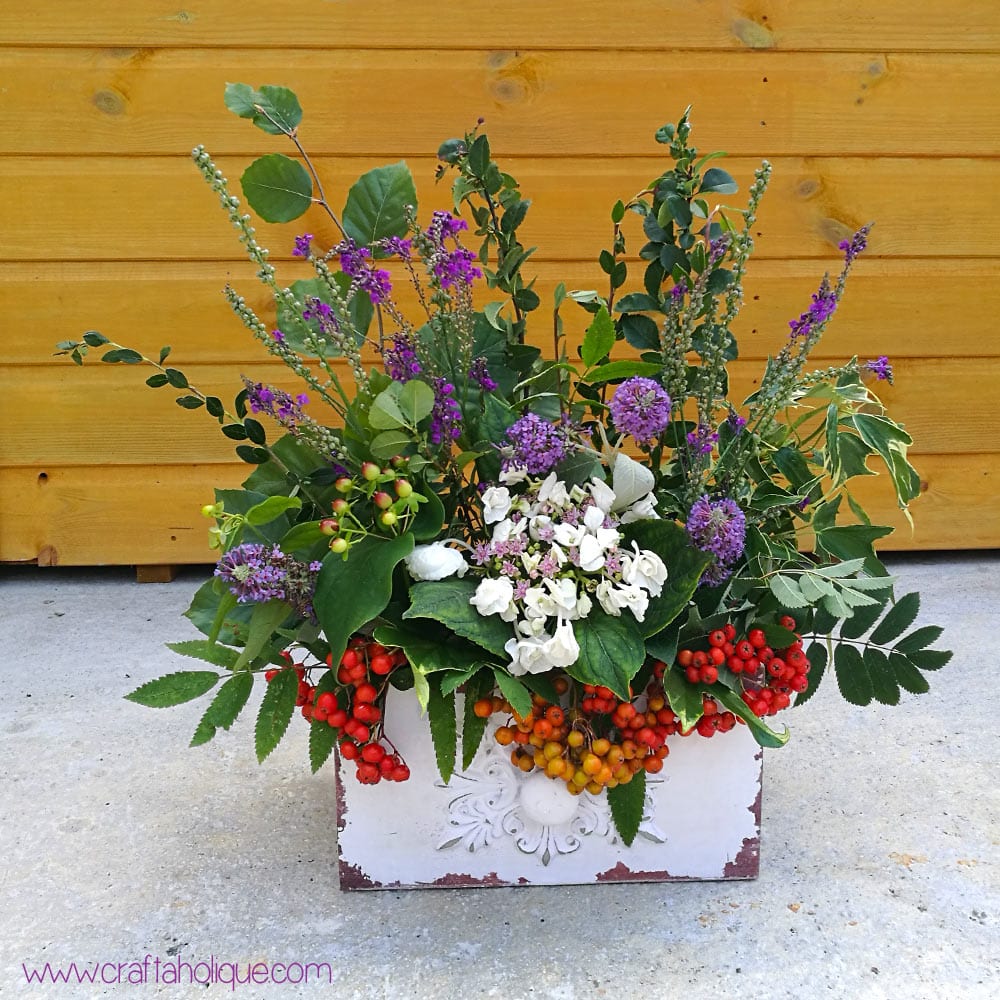
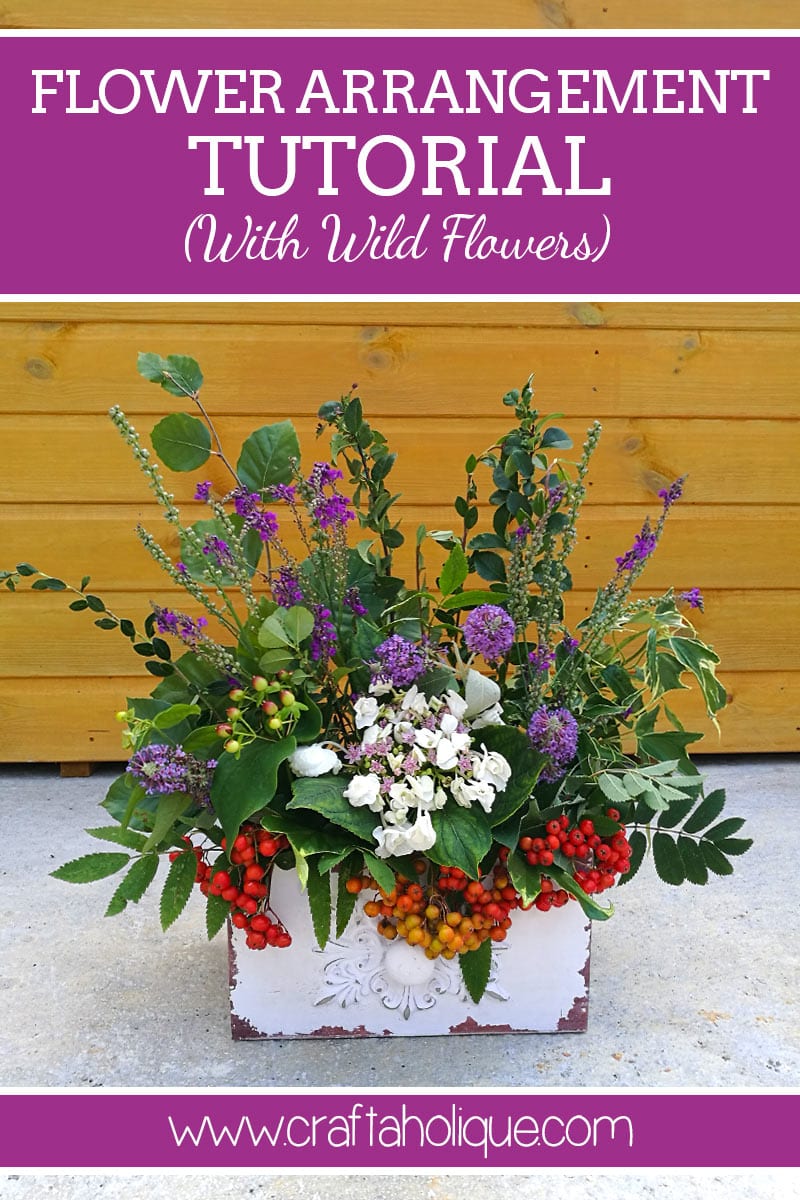
Step 4: Adding colour!
I added the colourful flowers in purple and white last. These went into the middle of the display and then I simply arranged the leaves around them by tweaking and twisting them around until they were where I wanted them. See the top and bottom photo!
Once all the flowers and foliage was in place, I watered the floral foam again to keep my flowers looking pretty! I will continue to water it, once it dries out.
Finally…
I am amazed at how easy flower arranging is! Before I did this little project, I popped into my local florist to see if I needed any floristry wire to help support the stems (they said not), and whilst there I saw a display that was similar to this, only smaller. It was £20!! I’ve always liked wild flowers but I never imagined making a centrepiece like this with them before.
You can pick wild flowers for free, so as long as you have at least a vase, there’s no excuse not to have fresh flowers about the house! I’ve got my display in my living room – it really brightens up the place!
Have you tried creating with wild flowers before?
Disclosure: floral products donated by Oasis Home & Hobby.
*Images © Craftaholique.
Leave a Reply