This post contains affiliate links.
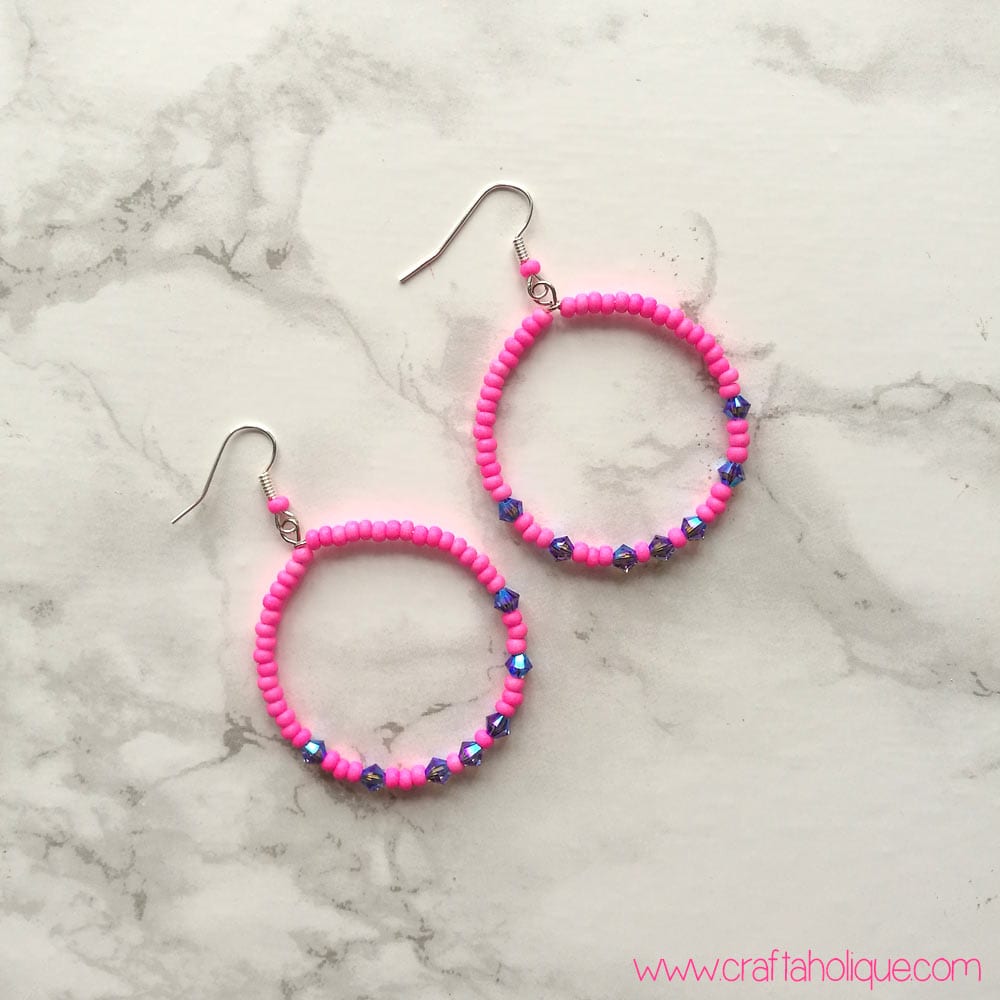
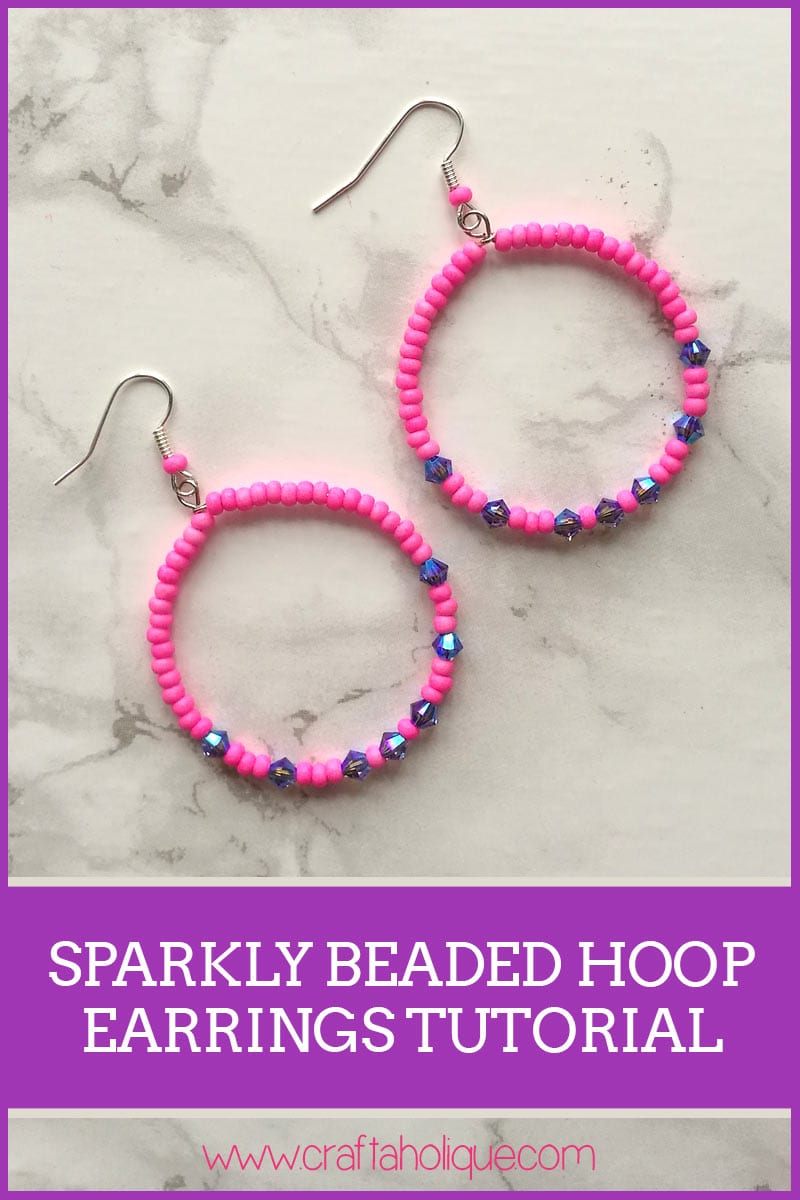
The weather has been pretty dreary today in the UK, so I wanted to make something bold and beautiful to remind me that it’s meant to be summer! These beaded hoop earrings are bright and sparkly enough to dress up any outfit! If you’d like to make a pair, just follow my tutorial below!
First of all, you’ll need the following materials:
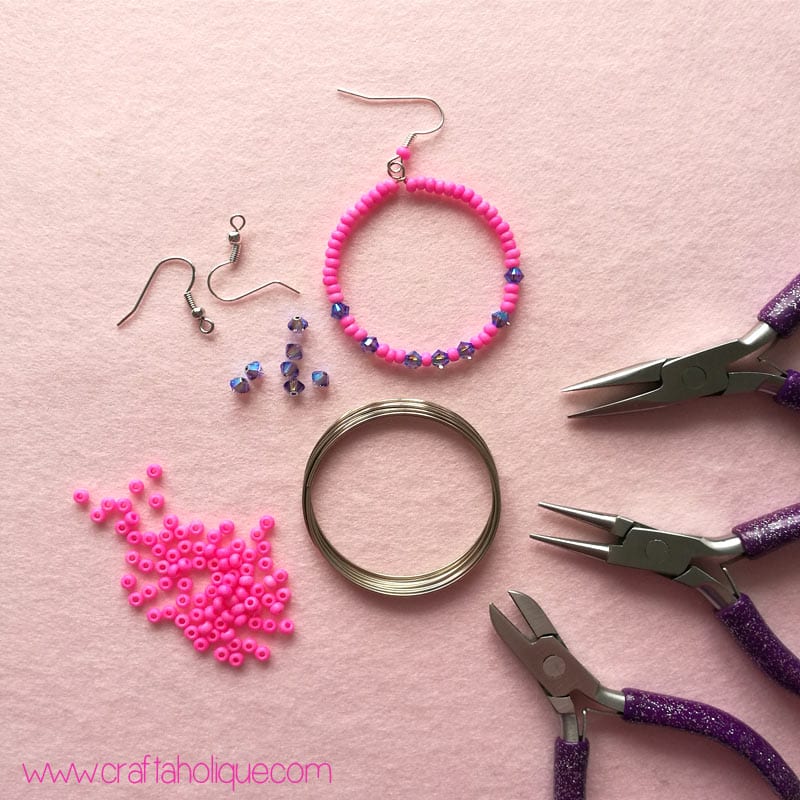
- A selection of size 8/0 seed beads in bright pink (around 100 seed beads to be on the safe side).
- 14 x 3mm or 4mm Swarovski crystal bicones in purple/blue AB finish – these are very similar to what I’ve used.
- Memory wire that has a small diameter, say 40mm.
- 2 x stainless steel fish hook earwires.
- Jewellery making tools: I used regular jewellery wire cutters but I would recommend these sturdier ones instead as memory wire is super tough! You’ll also need round nose pliers and chain nose pliers.
Ready to get started?
Step 1: Trimming the memory wire
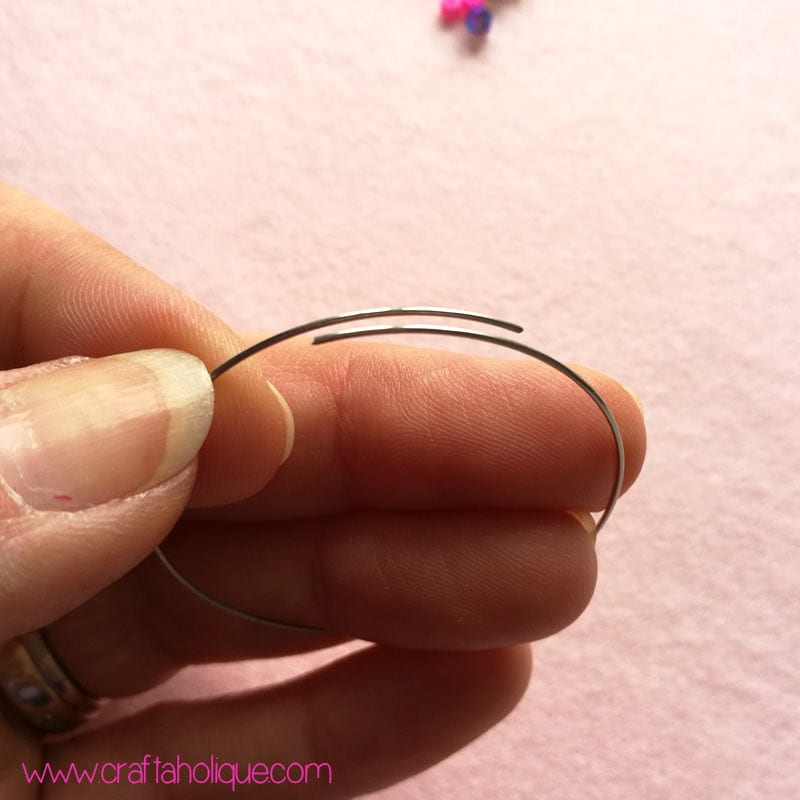
Trim off one coil of memory wire with your wire cutters, but make sure that the two ends overlap each other by about an inch or so. Like I said before, memory wire is strong stuff, so it will keep its shape!
Step 2: Creating a wire loop
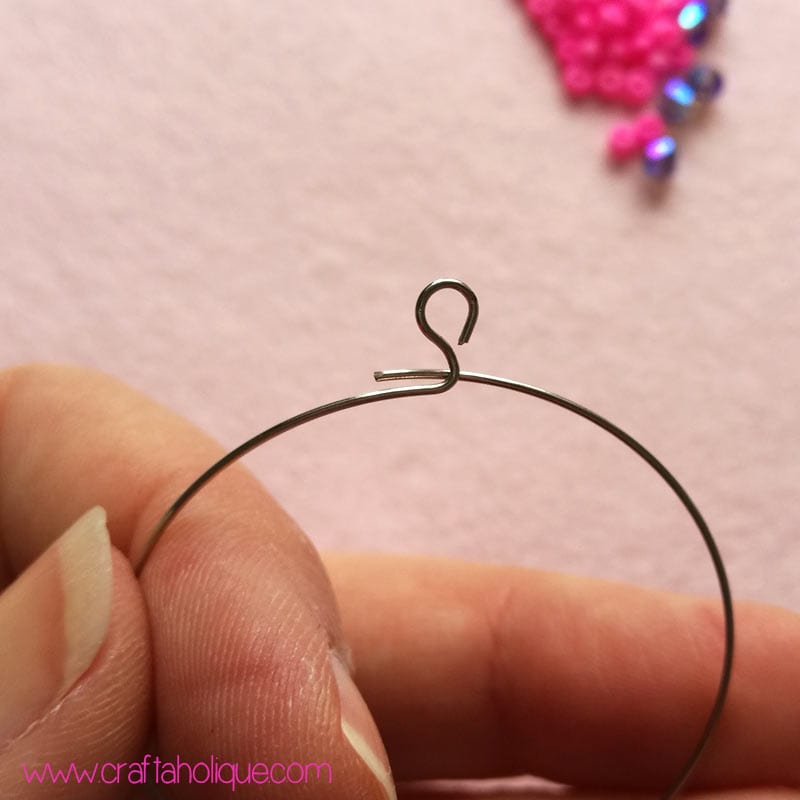
Use the tip of your round nose pliers to bend one end of the wire 90 degrees (do this around 1.5cm away from the end). Then make a loop with that part of the wire, by gripping the end of the wire with the same pliers and curling inwards.
Step 3: Add beads all the way around the hoop!
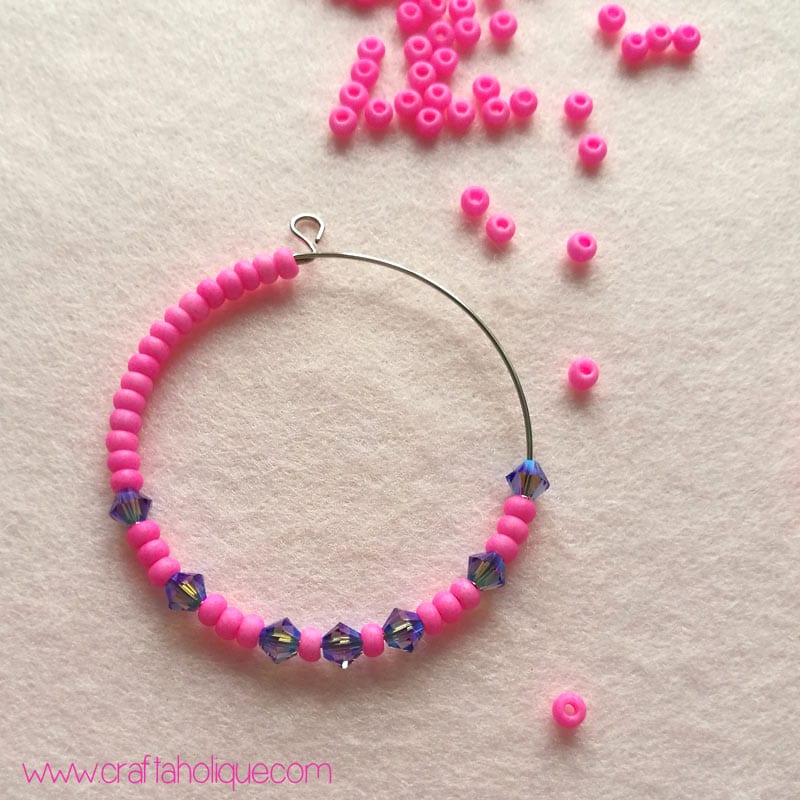
Thread your beads onto the other end of the wire. You can follow the pattern I’ve used, see pic above, or thread them on in another order if you prefer. The main thing to note is that you’ll want your pattern to look the same on both sames of the hoop.
Step 4: Closing up the hoop
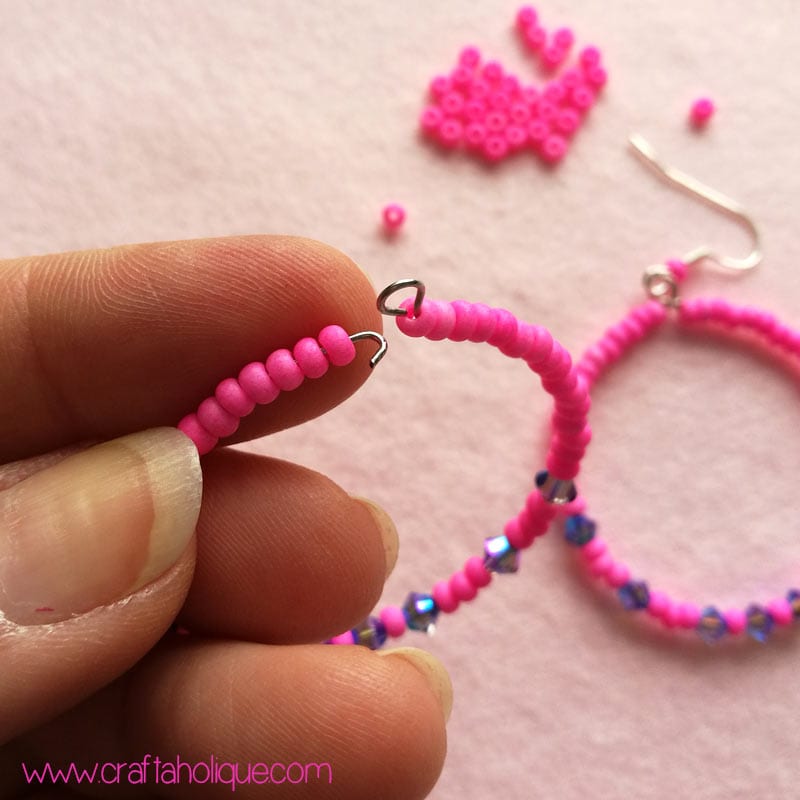
Once you’ve threaded on all your beads, you’ll need to make a hook shape in the other end of the wire, as shown above. Use your round nose pliers for this. Then hook it around the other end of the wire, under the loop you made earlier, to connect the two ends together. Use your chain nose pliers to press the edges of the wire inwards to make it nice and neat!
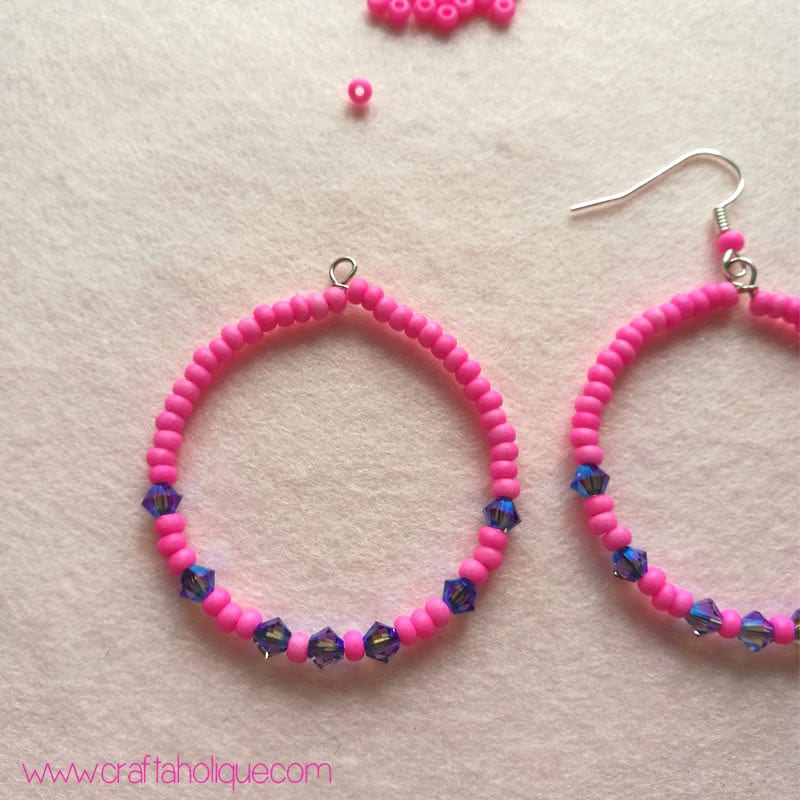
Step 5: Customising the earwire
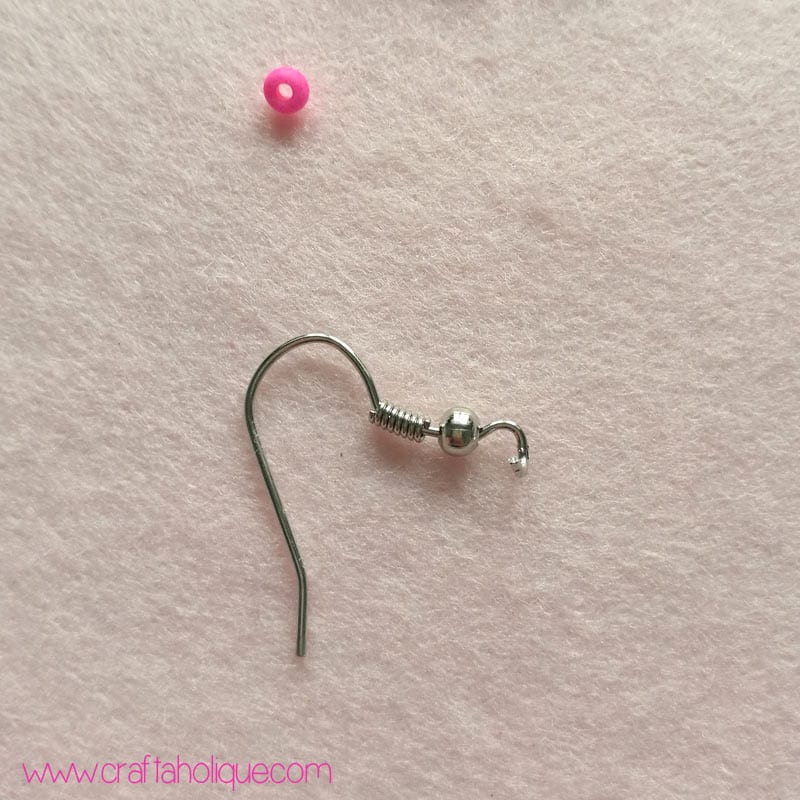
My fish hook earwires were very nice in their original form, but I wanted to add a pop of pink to them! So I swapped out the silver bead with a pink seed bead. If you want to do this, simply open up the loop at the bottom of the earwire, remove the silver bead and replace with a seed bead.
Then attach the earwire to the top of the beaded hoop and close up the loop – you’re done! Repeat steps 1 to 5 to make the other earring.
I hope you enjoyed this tutorial! If you did, please take a moment to share this post online.
Before you go, you might want to check out some of my other tutorials too:
- DIY Boho / Festival Earrings Tutorial
- Mini Tassel Earrings Tutorial
- Crystal Heart Glam Earrings Tutorial
*Affiliate links are contained in this post. This means that I will receive a small commission should you decide to purchase anything through one of my links, at no cost to you. I only ever recommend products that I think are great and any commissions received help me to keep this site up and running! Thanks for using my links if you are able to!
*Images © Craftaholique.


Leave a Reply