*Affiliate links are included in this post.
Jewellery Making Tutorial! Level – Easy
I’ve had a selection of pretty crystal hearts in my bead stash for a while now. I got them originally to make pendants with but because they have a bit of depth I could never seem to get a jump ring or bail through the drilled holes!
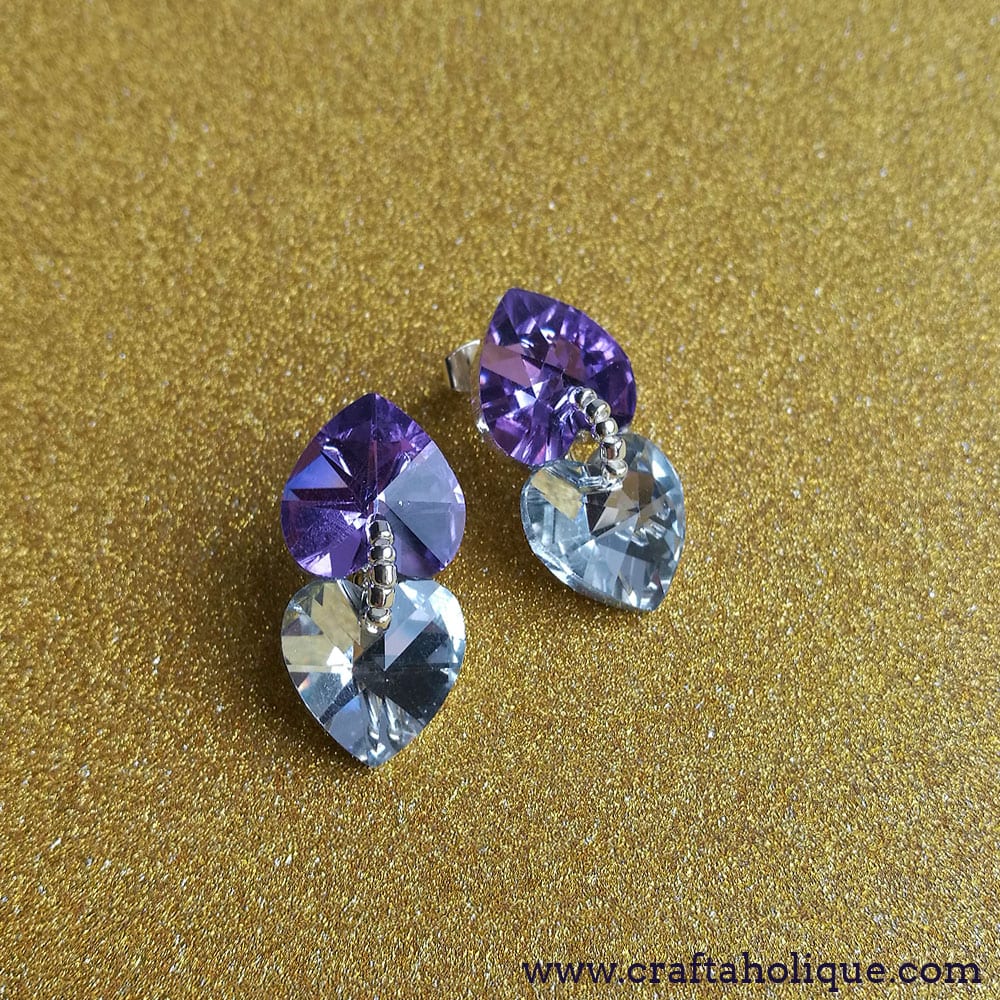
However, today I made something pretty cool with them – these very glamorous earrings! I’m sharing the tutorial with you here. These earrings are quick and easy to make, once you’ve gathered your supplies together.
You’ll need the following materials to make these glamorous crystal heart earrings:
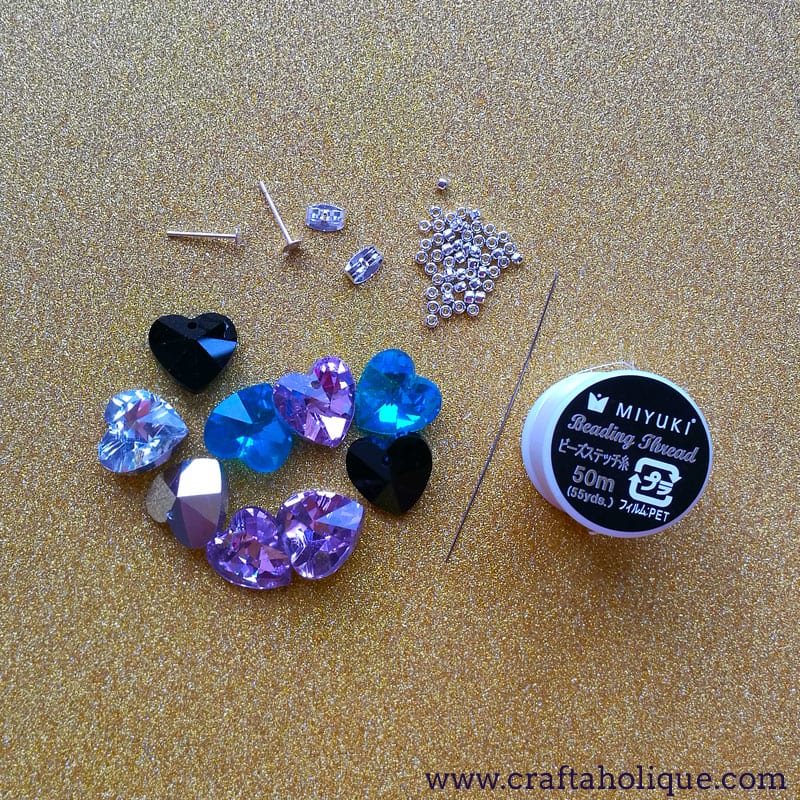
- 2 x 14mm foil back crystal heart pendant beads. (For extra sparkle, go for Swarovski hearts!)
- Selection of Toho round size 11/0 seed beads
- 2 x 4mm silver tone flat ear posts and butterfly ear nuts
- Beading needle size 10 or 12
- Beading thread such as Miyuki or Nymo in a neutral colour
- Jewellery or gemstone glue such as e6000
Step 1: Glue two crystal hearts together at the tips
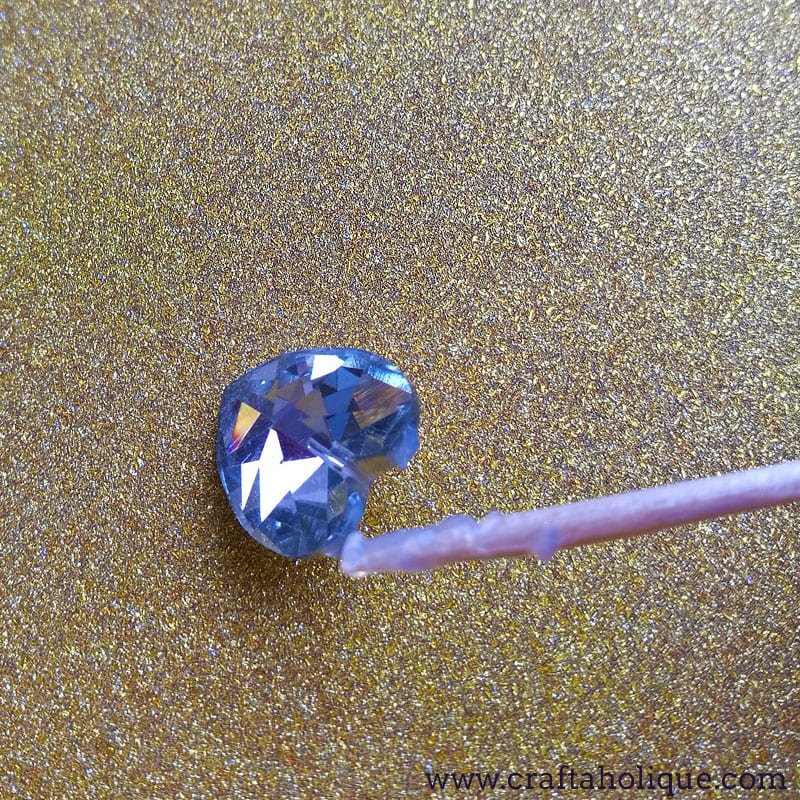
Use a cocktail stick to dab a little jewellery glue onto the tips of one of the crystal hearts.
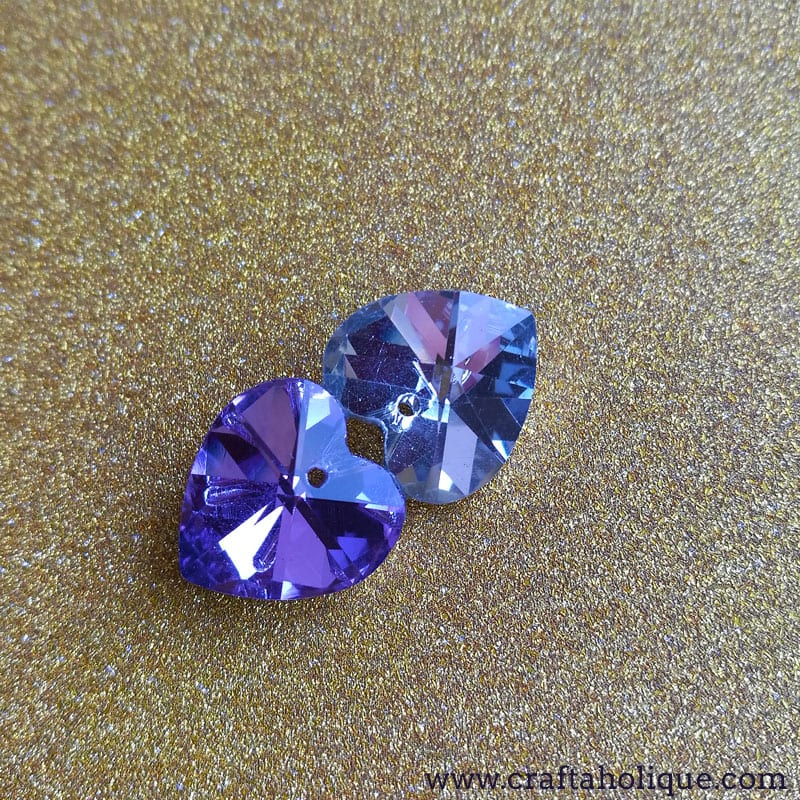
Then press the other crystal heart into the glue so both sit pointing away from each other (with the foil backs on the underside) as shown in the above pic! Leave them to dry for an hour or so to be sure that they won’t come apart.
Step 2: Link the two hearts with seed beads
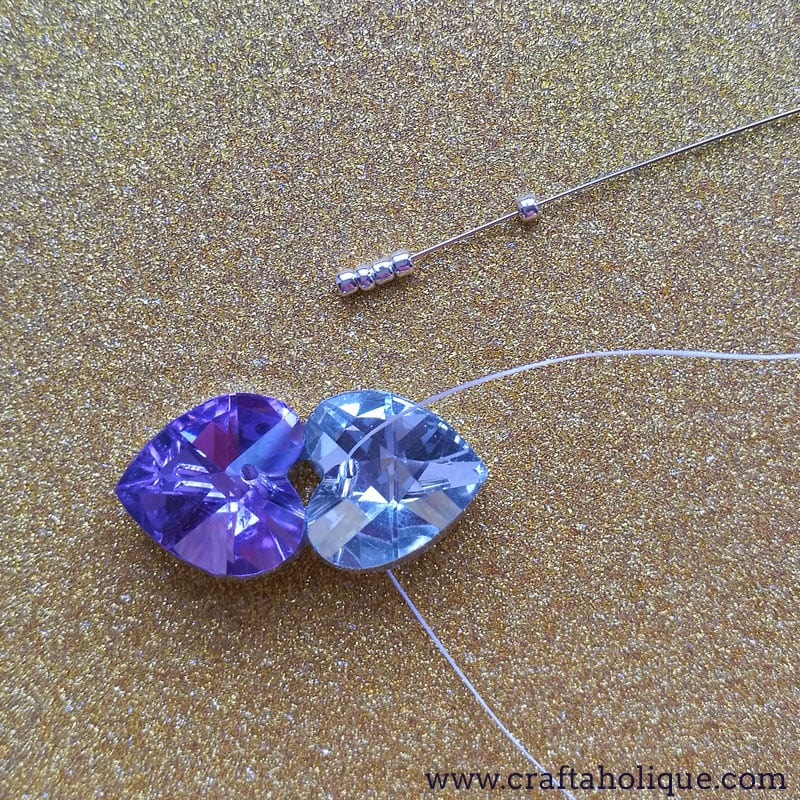
As an extra security measure (and to cover up the drilled holes), link the two hearts together by sewing a small strand of seed beads inbetween them.
Thread your needle with the beading thread and pass it through the underside of one of the hearts, leaving a six inch tail. Pick up 5 seed beads onto your needle.
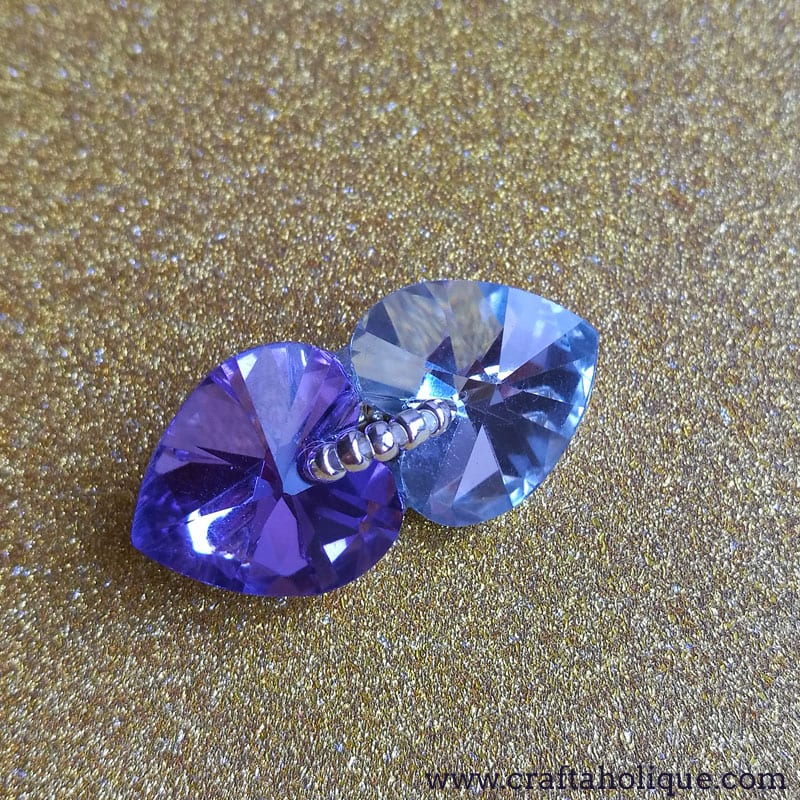
Then pass the needle down through the hole of the other crystal heart, effectively making a bridge of seed beads between them.
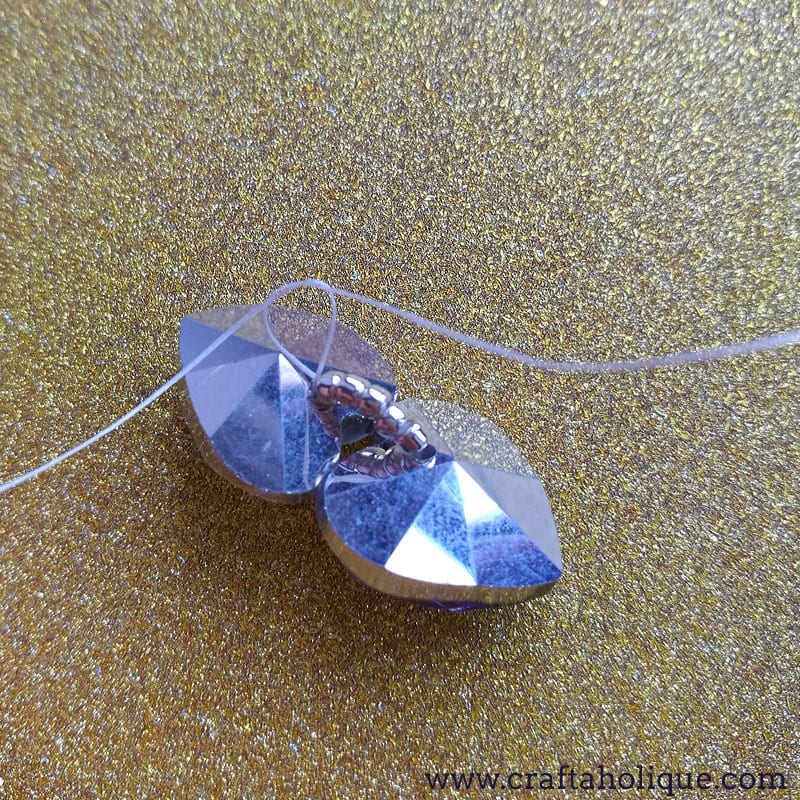
Do exactly the same on the underside of the crystal hearts. Pick up 5 seed beads and go up through the hole of the first crystal heart where you started from. Reinforce the strand of seed beads by sewing through all of them again, until you reach the underside of the hearts again, where the tail is.
Tie the tail and working thread together in a double knot, then go through a few seed beads with your needle before trimming the thread (do this with the tail end of the thread too).
Step 3: Turn the crystal hearts into earrings!
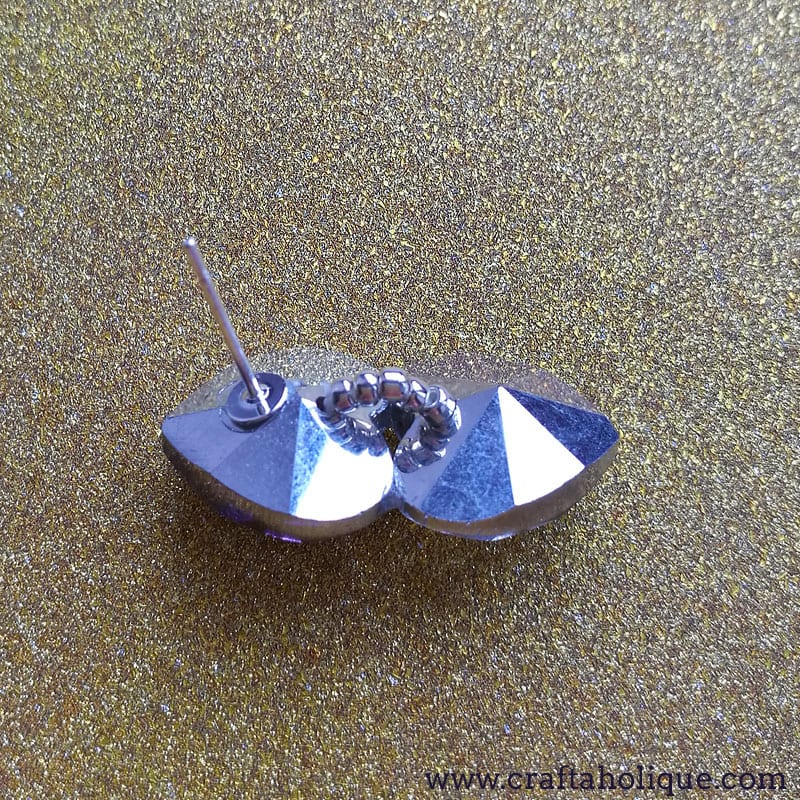
Finally, turn your creation into earrings, by adding an ear post. Simply dab some glue onto the back of the crystal hearts, making sure to do this on the heart that you want to appear at the top of the earring.
Be generous with the glue; no-one will see it when you’re wearing these! Leave to dry for at least an hour before trying them on or adding the butterfly ear nut.
Note – you’ll see from the above pic that the ear post leans slightly to one side. Don’t worry about this, it shouldn’t make your earrings wonky when you’re wearing them. The weight of the crystal hearts will ensure that they sit properly on your ear lobes!
Repeat steps 1 to 3 to make the second earring!
I hope you enjoyed this tutorial! Before you go, why not check out some of my other jewellery making tutorials below:
[one-third-first]
Flat Even and Odd Count Peyote Stitch [/one-third-first][one-third]
Beautiful Waterfall Earrings DIY [/one-third][one-third]
Beaded Flower Ring Tutorial [/one-third]
*Affiliate links are contained in this post. This means that I will receive a small commission should you decide to purchase anything through one of my links, at no cost to you. I only ever recommend products that I think are great and any commissions received help me to keep this site up and running! Thanks for using my links if you are able to!
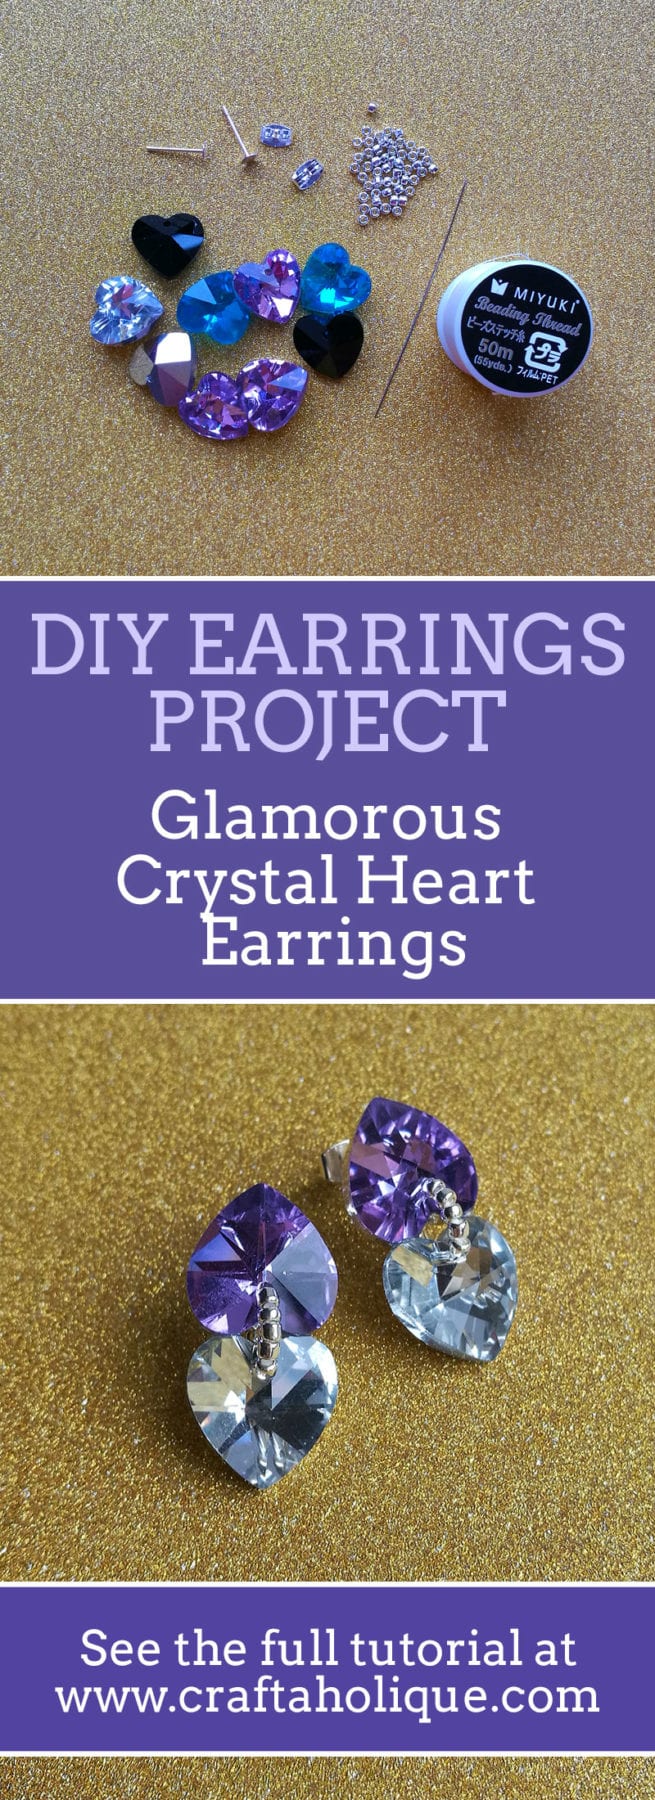
*Image source: all images owned by Craftaholique.


Leave a Reply