*Affiliate links are contained in this post.
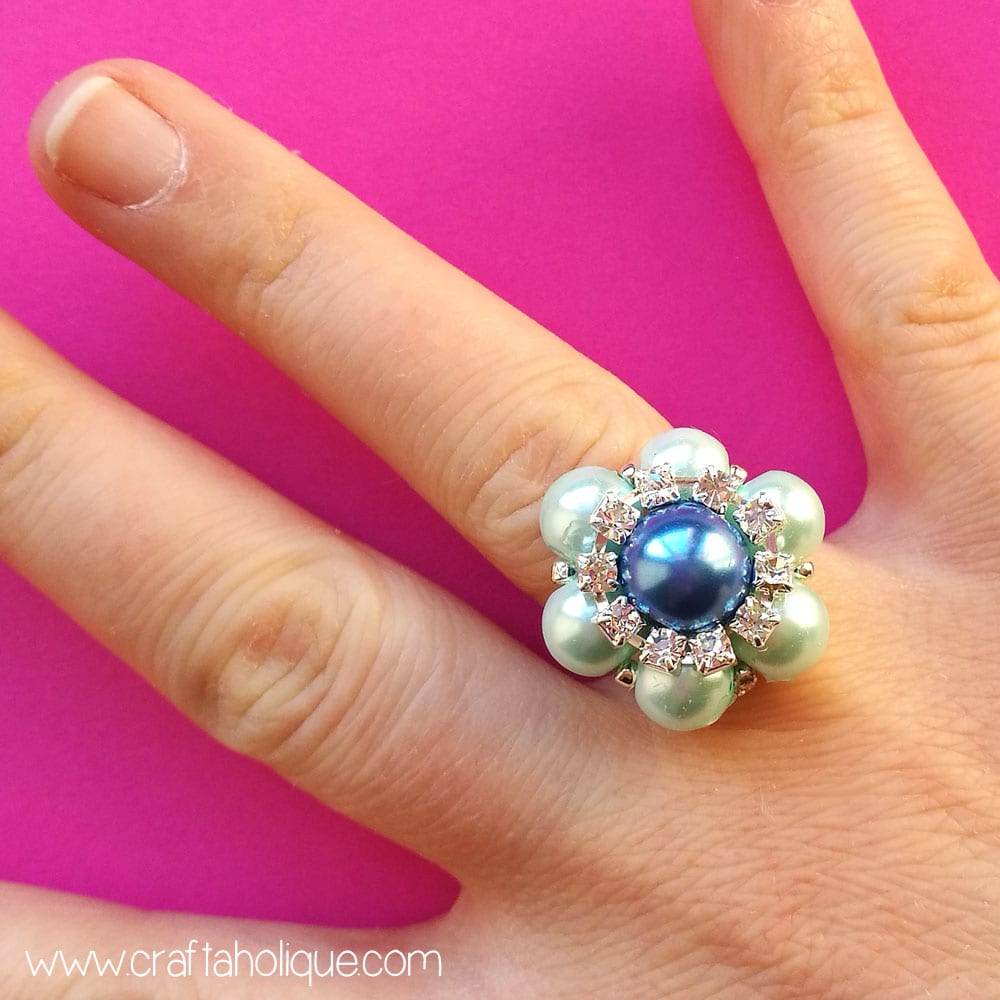
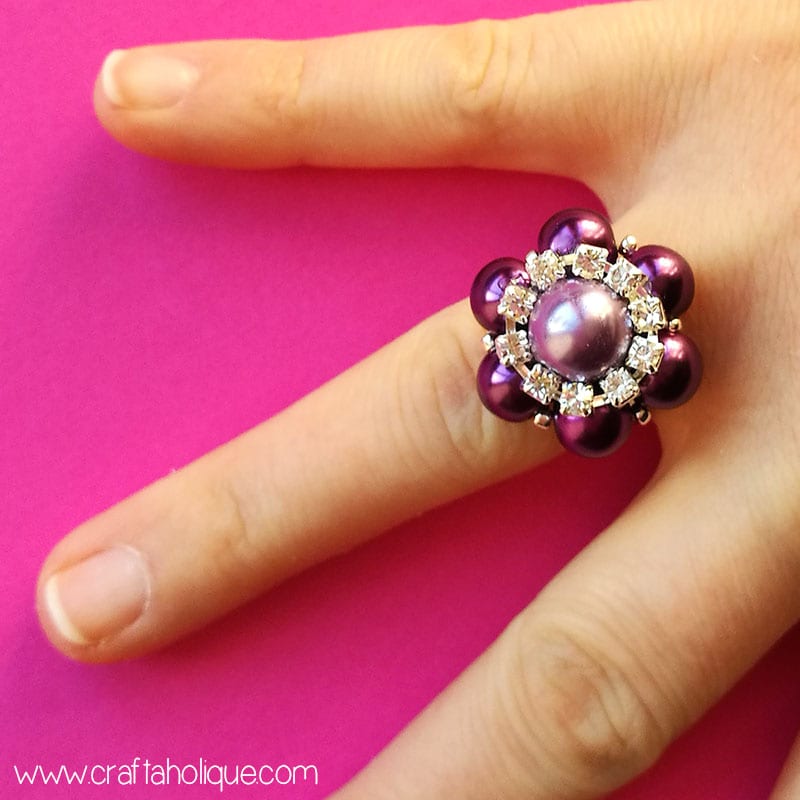
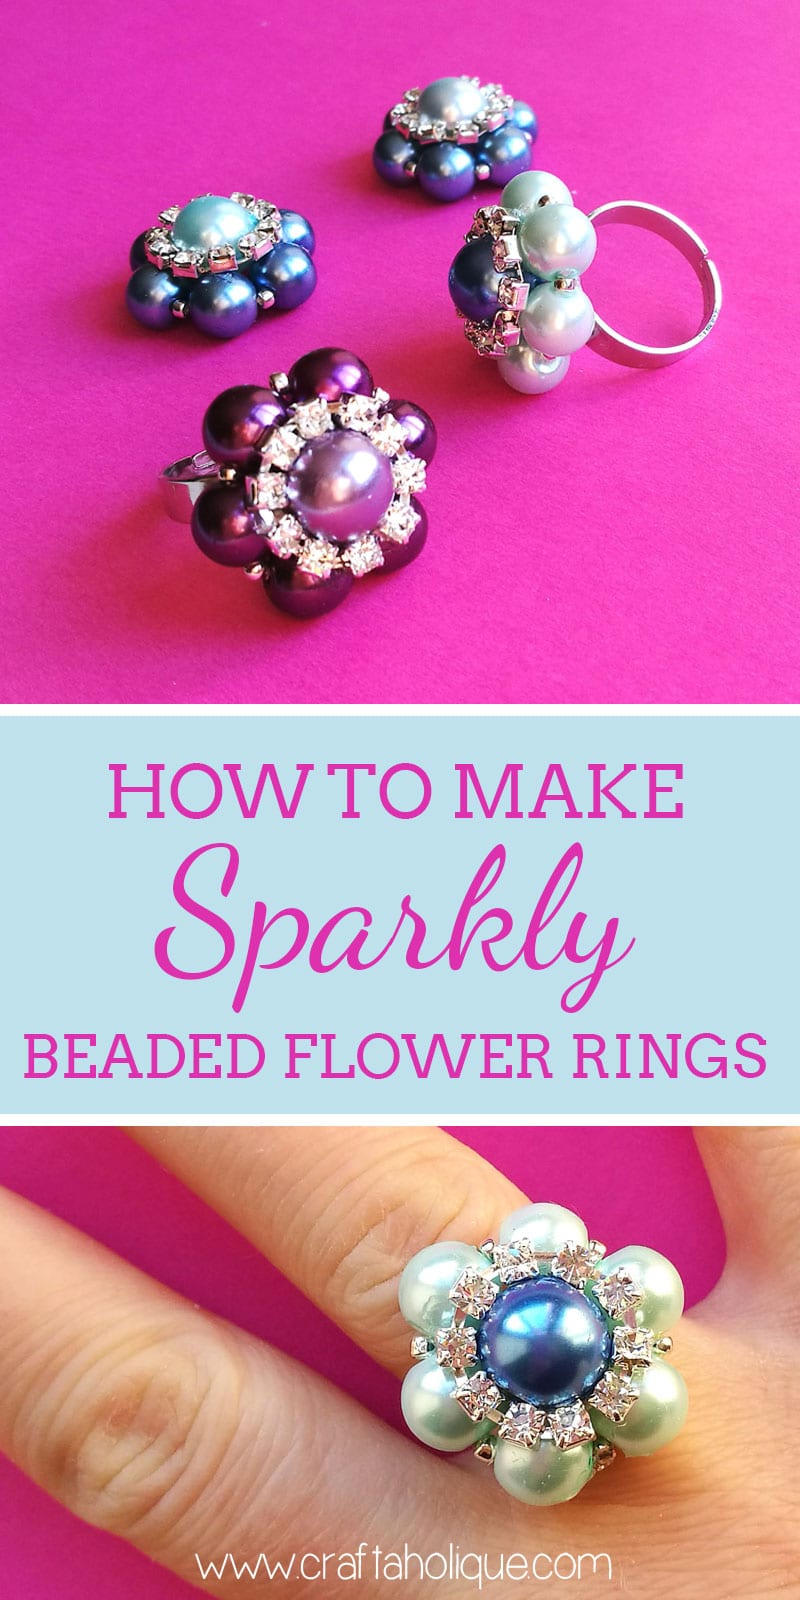
So earlier this week, I posted a tutorial on how to make some pretty beaded flower components – if you missed it, you can catch up here! Because in today’s post, I thought I’d show you the jewellery I created with the beaded flowers I’d made. I turned them into chunky statement rings – it only took a few minutes!
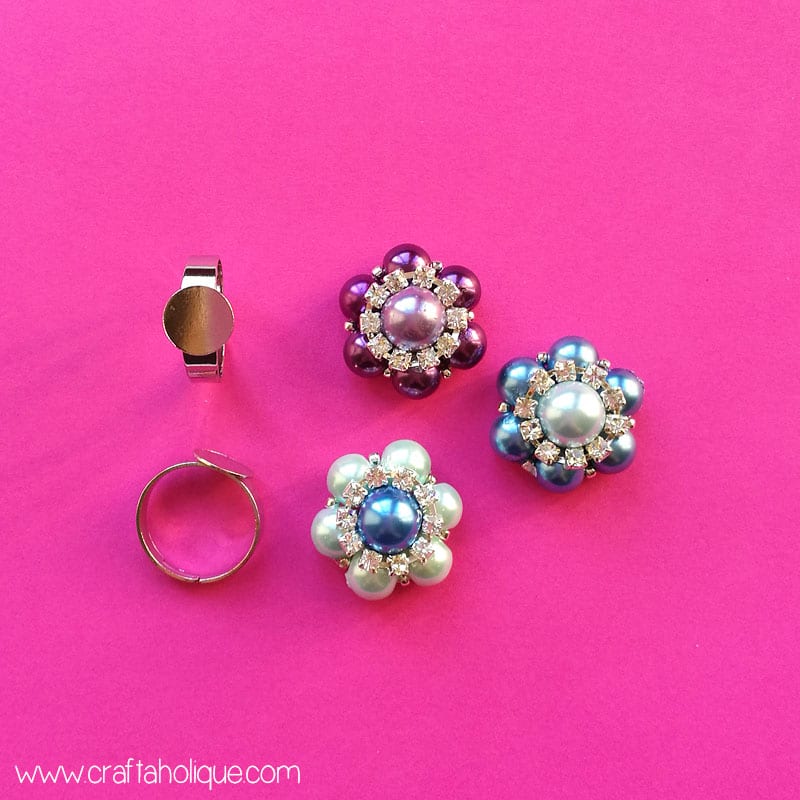
If you fancy making one of these beaded flower rings, you’ll need to first of all make the beaded flower components for this project by following the tutorial I’ve linked to above.
You’ll need the following for this beaded flower ring tutorial:
- Beaded flower components – see how to make them here.
- Silver ring blanks with flat pad base.
- Jewellery glue such as e6000.
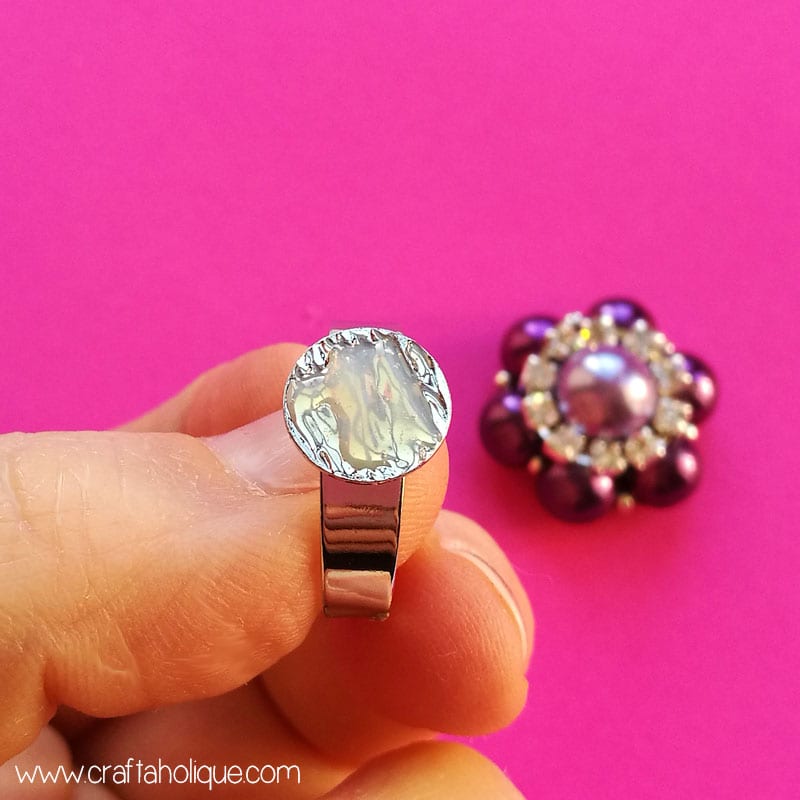
Step 1
Simply add some jewellery glue onto the flat pad ring blank as shown in the above photo! I know, it’s just too easy, right? 🙂 And yet the finished ring is so pretty and eyecatching!
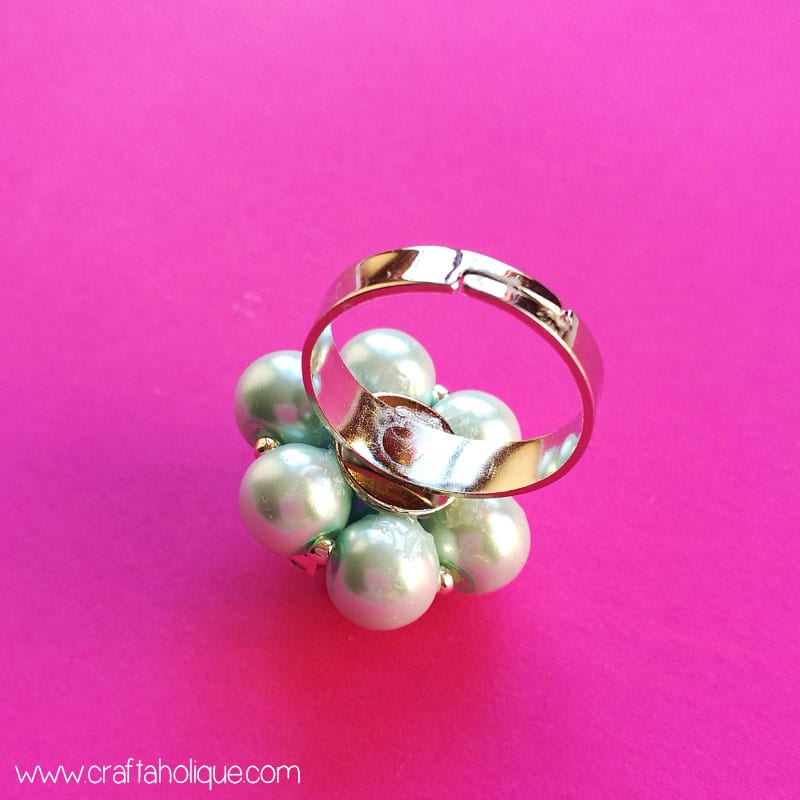
Step 2
Then, glue the ring blank to the underside of the beaded flower component and prepare yourself for the hardest part of this project – waiting! Wait for around 10 minutes or until the glue has fully tried before trying it on.
That’s all there is to it – an easy jewellery making project, once you’ve made those beaded flower components. Hope you enjoy making these as much as I did!
Before you go, don’t forget to check out these posts below!
- How to make sparkly beaded flowers
- Washi tape project – wooden bangle with leaf design
- Autumn leaf earrings
*Affiliate links are contained in this post. This means that I will receive a small commission should you decide to purchase anything through one of my links, at no cost to you. I only ever recommend products that I think are great and any commissions received help me to keep this site up and running! Thanks for using my links if you are able to!
*Image source – all images owned by Craftaholique. Please contact me if you’d like to use my images on your own website.


Leave a Reply