*Affiliate links are included in this post.
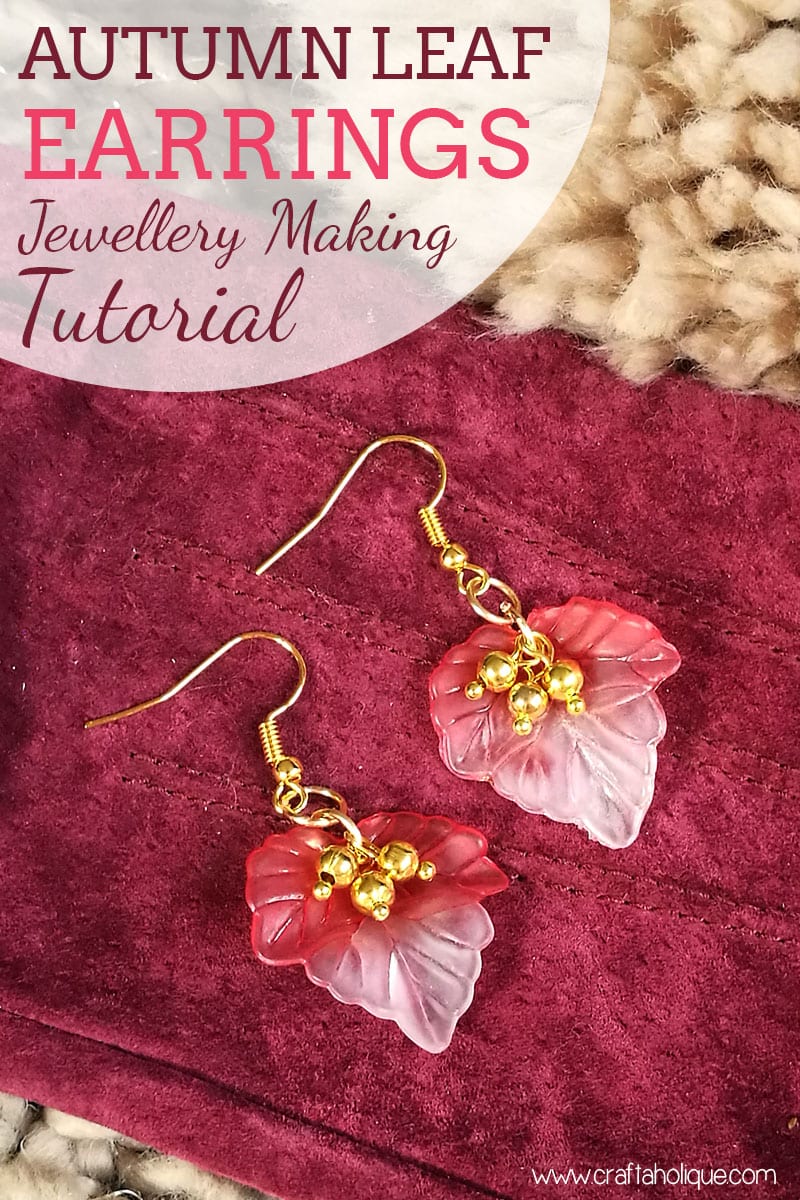
I have a quick jewellery making tutorial for you today on how to make a pair of pretty autumn leaf earrings! These are made with lucite leaf beads which are very lightweight, round beads and gold tone findings.
These earrings will literally take 10 minutes to make if you have the supplies to hand. I had most of the supplies already at home, but I’ve linked to similar materials on Etsy if you need to stock up.
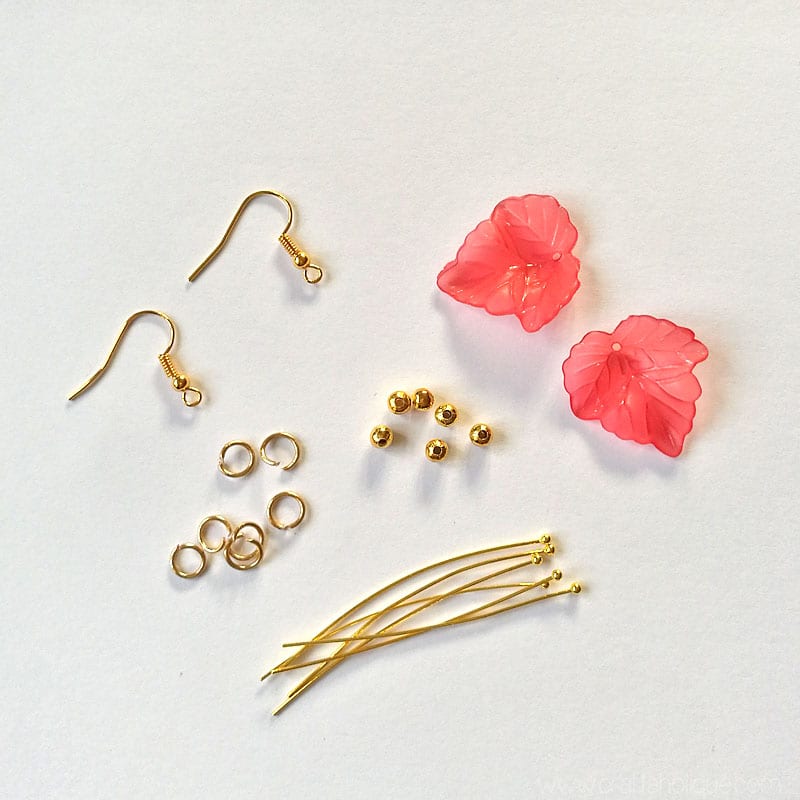
Here’s what you’ll need to make this project:
- Lucite leaf beads in pink or red x 2 (this autumn mix is also really nice)
- Gold tone round beads x 6
- Gold tone ball tip headpins x 6
- 5mm gold tone jump rings x 4
- Gold plated earwires x 2
- Round nose and flat nose jewellery pliers and jewellery wire cutters
- Nail polish remover and cotton wool pads (optional)
Step 1
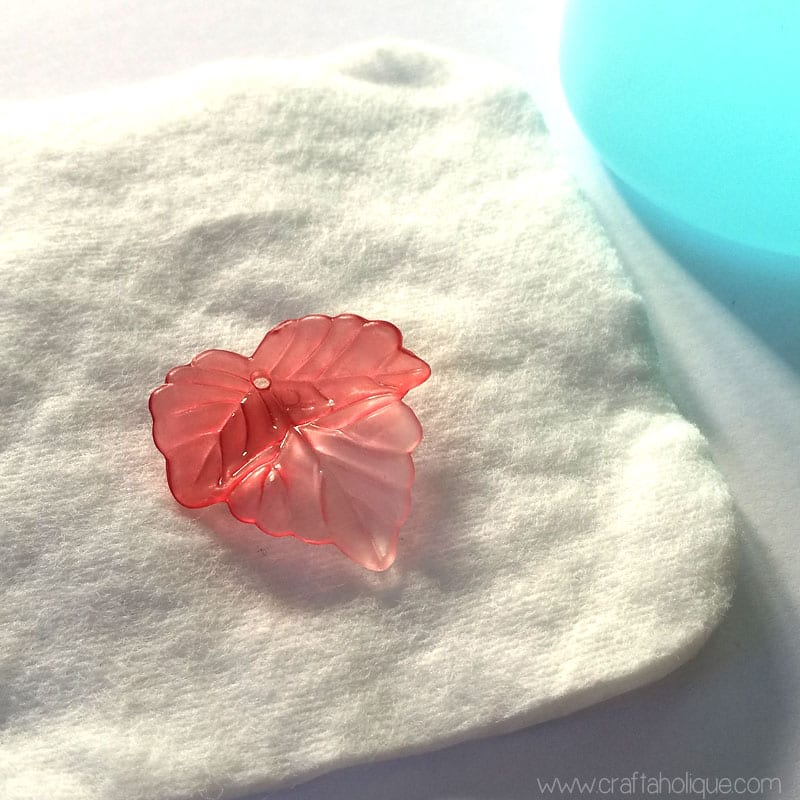
You can use the lucite leaf beads just as they are, but I wanted to change mine up a little. After all, how often do you see leaves that are just one colour? I made my lucite beads slightly translucent at the tips by applying a little nail polish remover to them.
I just used a cotton wool pad soaked in nail polish remover to rub away some of the coloured coating, until I had the result that I wanted.
Step 2
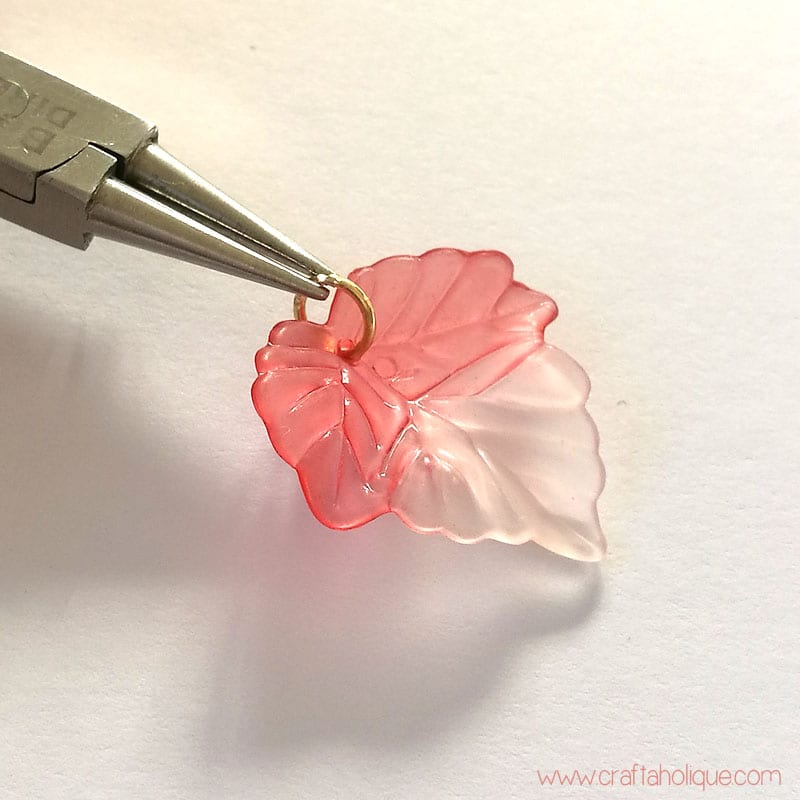
Attach a jump ring to the hole at the top of the lucite leaf beads. Do this by opening and closing the jump ring with your jewellery pliers.
Step 3
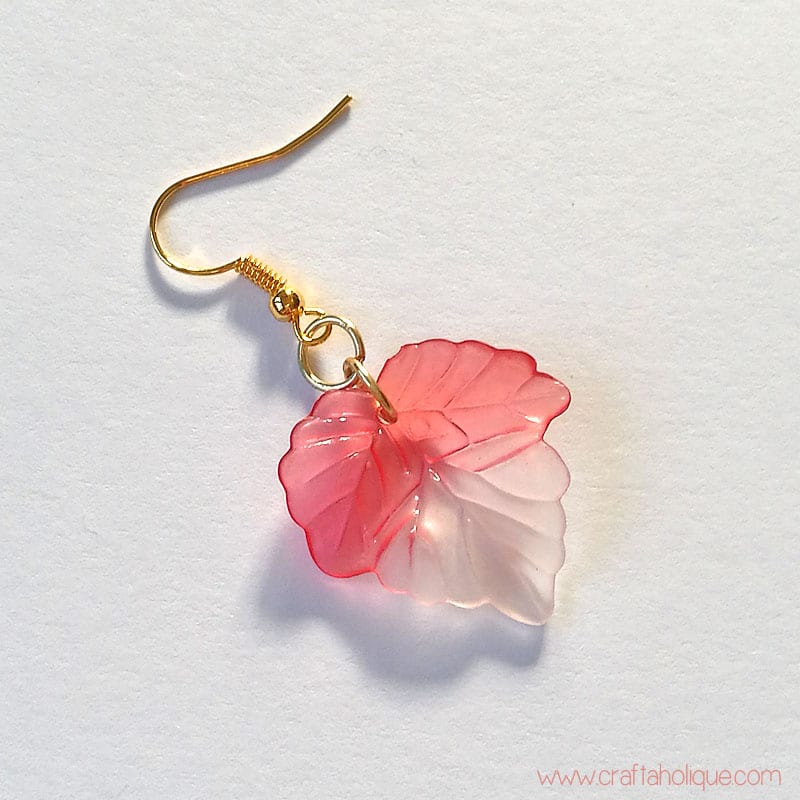
Use another jump ring to attach to the one already in place. Then add one of your earwires to the top jump ring, again by opening and closing the loop up with your jewellery pliers.
Step 4
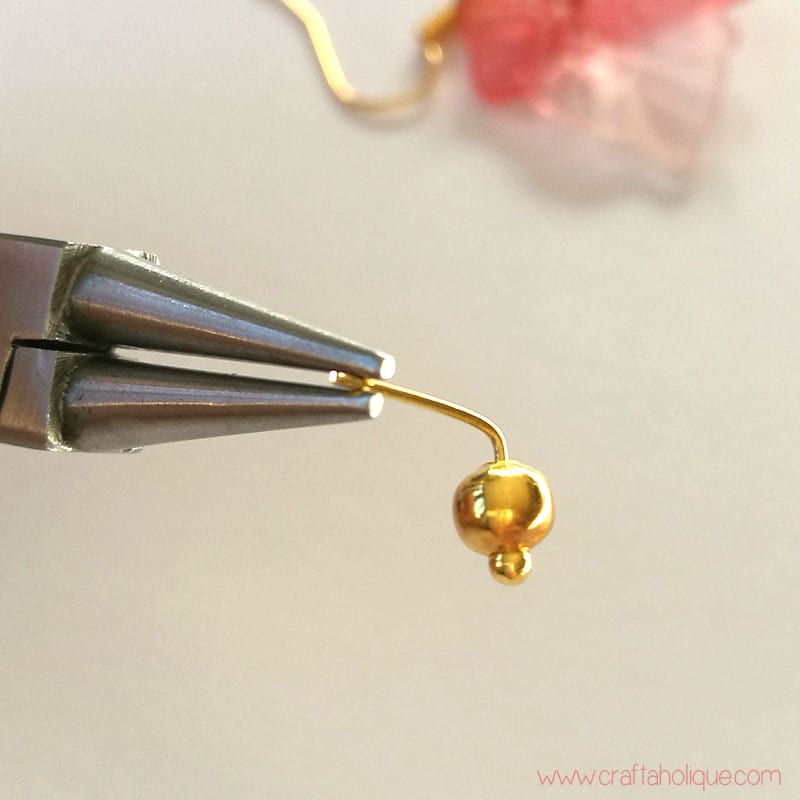
Take one of your headpins and slide on a round bead. Make a 90° angle with your round nose pliers – hold the nose of the pliers right next to the round bead to do this. Then leave around 1cm of wire, before trimming off the excess with your wire cutters.
You should have something that looks like the above photo. Curl the end of the wire back in towards the round bead to make a loop. Attach this component to the bottom jump ring, the one nearest the leaf bead. Close up the loop with your pliers.
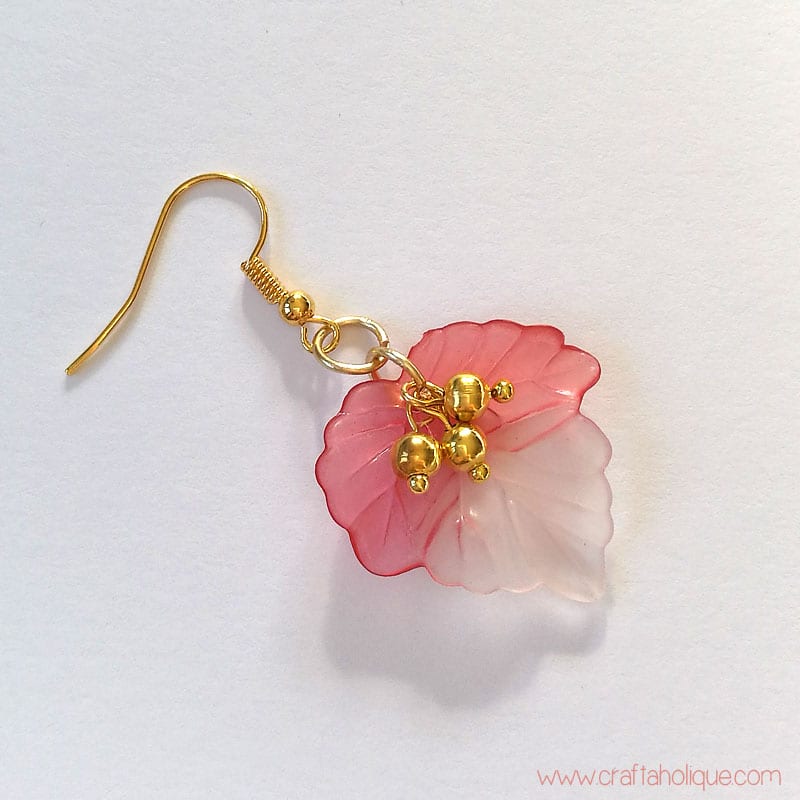
The finished component should look a little bit like an acorn!
Step 5
Make two more “acorns” and then repeat steps 1 to 5 to make the second earring. I hope you enjoyed this jewellery making tutorial!
Why not check out some other tutorials here on the blog? You could also subscribe at the top of the site to be kept updated of more posts like this.
*Affiliate links to Etsy are included in this post. This means that if you make a purchase through one of my links, I will earn a small commission at no cost to you. I only ever recommend products that I think are great and any commissions help me to keep this site up and running. Thank you for using my links if you’re able to.
*Image source – all of the above images are the copyright of Craftaholique. Please let me know if you want to use my images for your own website.



These are so pretty and simple gonna try these. Love your projects.
Thanks so much for commenting and I hope you like the way they turn out!