*Affiliate links are contained in this post.
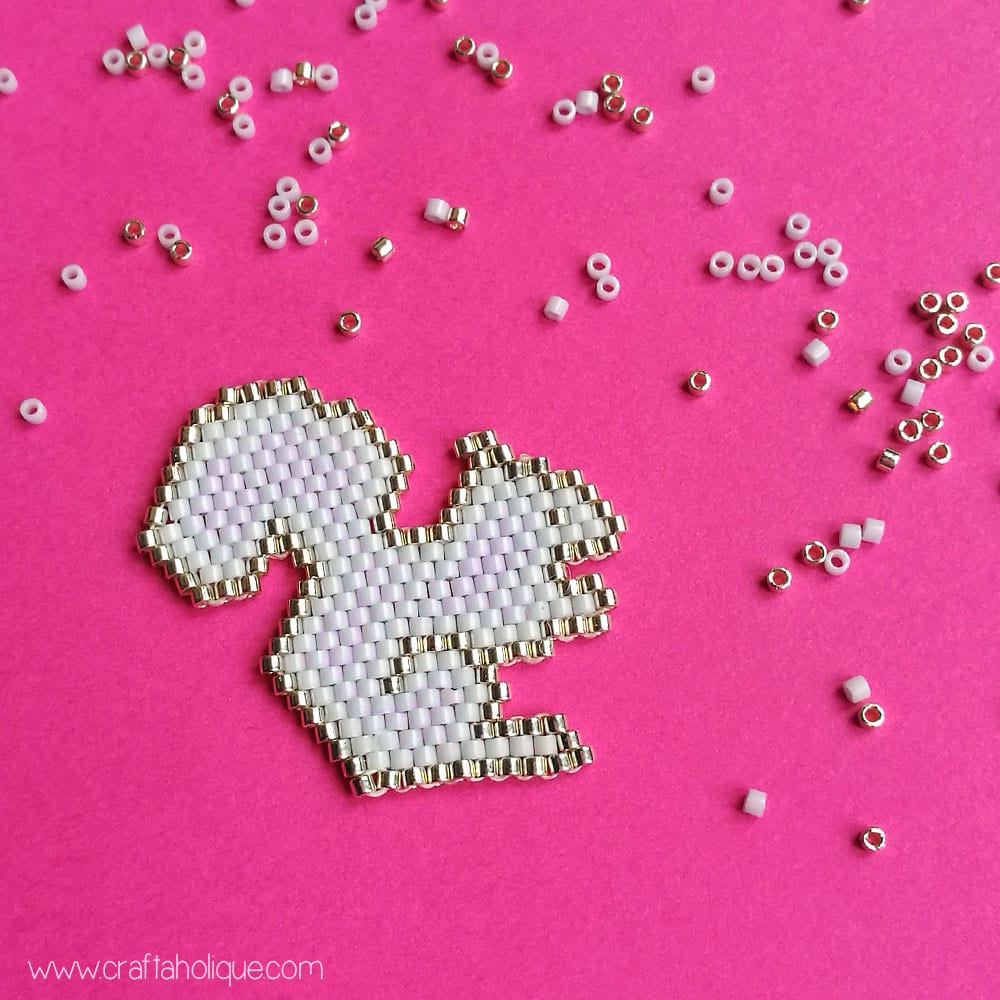
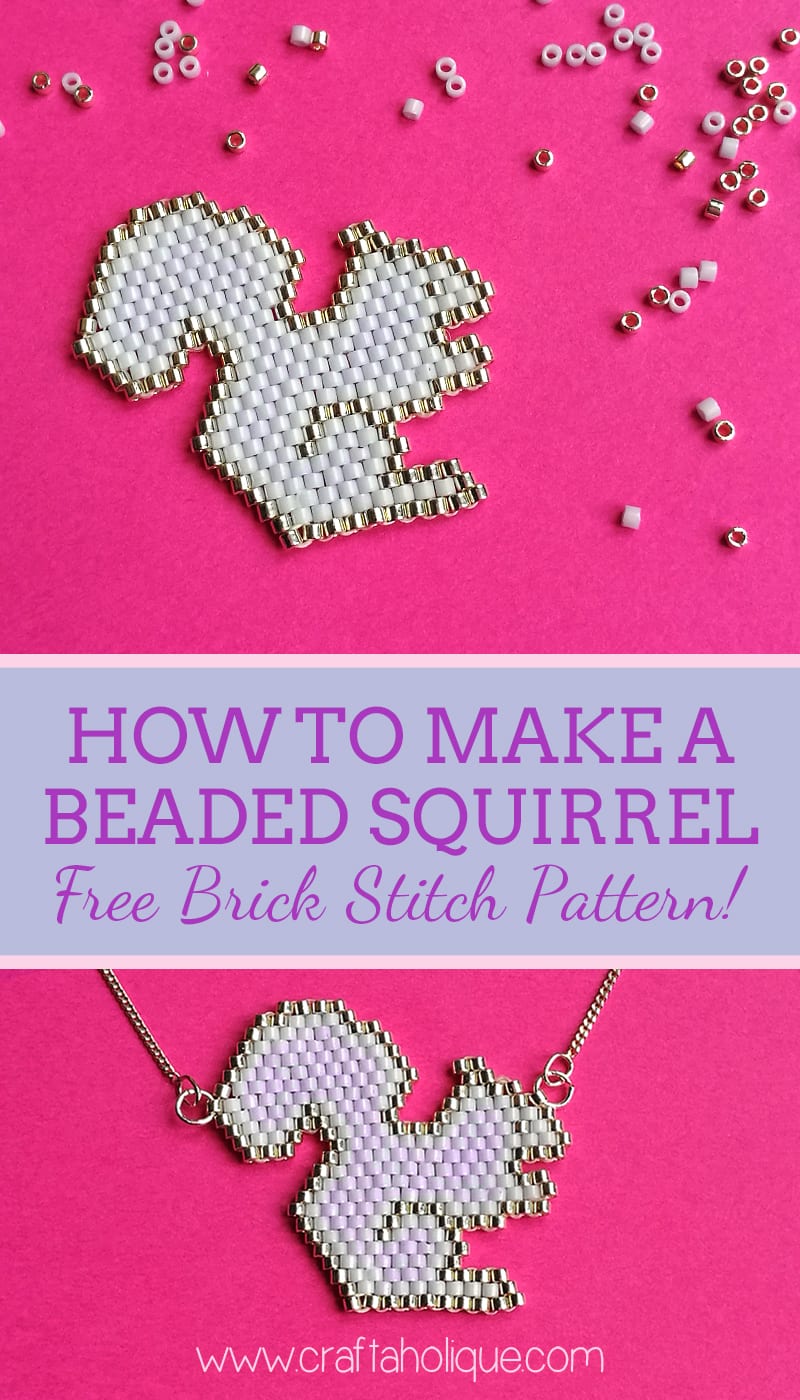
Today, I have a free beadweaving pattern for you – of a beaded squirrel that you can use for your own personal projects! This pattern mainly uses the brick stitch beading technique and also a little bit of ladder stitch. I created this pattern myself using my BeadTool software.
I’ve used size 11/0 Miyuki Delicas for this beading project. Miyuki Delicas are high quality Japanese beads that are very uniform in shape. They are a cylinder-shaped bead and they work really well in beadweaving projects that require the beads to sit perfectly side by side – like peyote stitch and brick stitch projects.
Materials:
- 11/0 Delica Galvanized Silver Cylinder Beads Miyuki DB-35
- 11/0 Delica Opaque Light Sky Blue Cylinder Beads Miyuki DB-1497
- Nymo beading thread in white
- Big eye beading needle
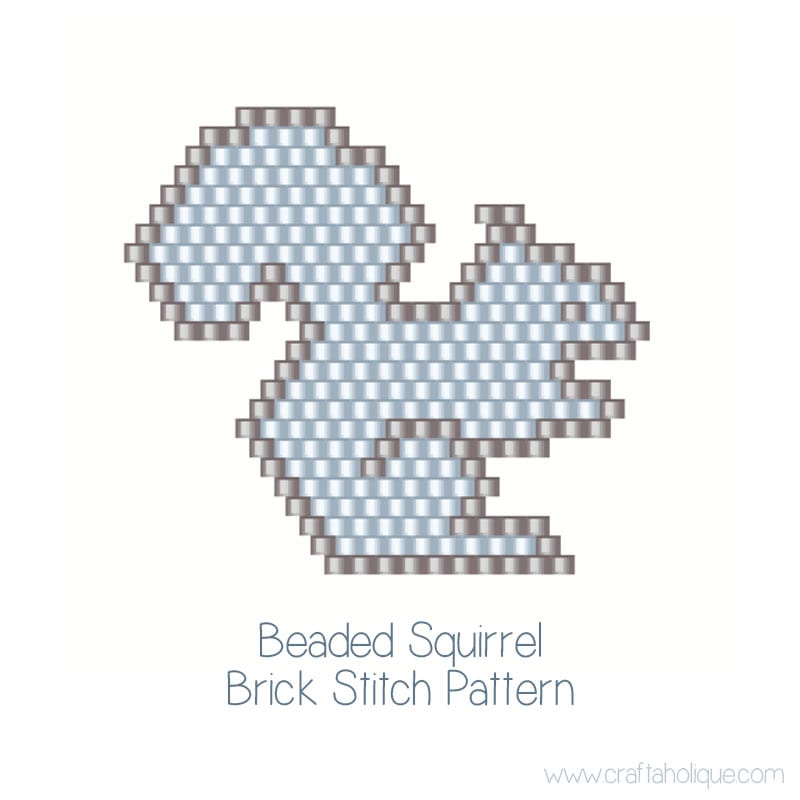
Here’s the pattern below and you can also download it as a PDF here. (Ignore the colours in the PDF though, they are just generic colours!)
I started my beaded squirrel in the evening and the light was really poor so I decided to take photos of my progress in the morning! To begin, I did a row of ladder stitch for the squirrel’s feet, using 10 silver Delicas.
Brick stitch always starts with a row of ladder stitch, because that’s how the first row is formed. In case you’re not familiar with ladder stitch, this article explains how to do it – it’s easy I promise!
I also used ladder stitch a little later on in the pattern a couple of times to extend areas like the squirrel’s face – see photo above.
Now let’s look at brick stitch in detail. Take a look at the photo below for guidance – pick up a bead onto your needle and then pass your needle and thread under the thread that connects the two beads below (the bridge).
Then pass your needle back up through the bead that you’ve just picked up. See photo below. This will secure the bead to the “bridge” of thread underneath – that’s basically brick stitch! You’ll just keep on doing this all the way through.
Note – when you start a new row, you’ll always pick up two beads to begin the row. Then keep picking up one bead until you reach the end of each row.
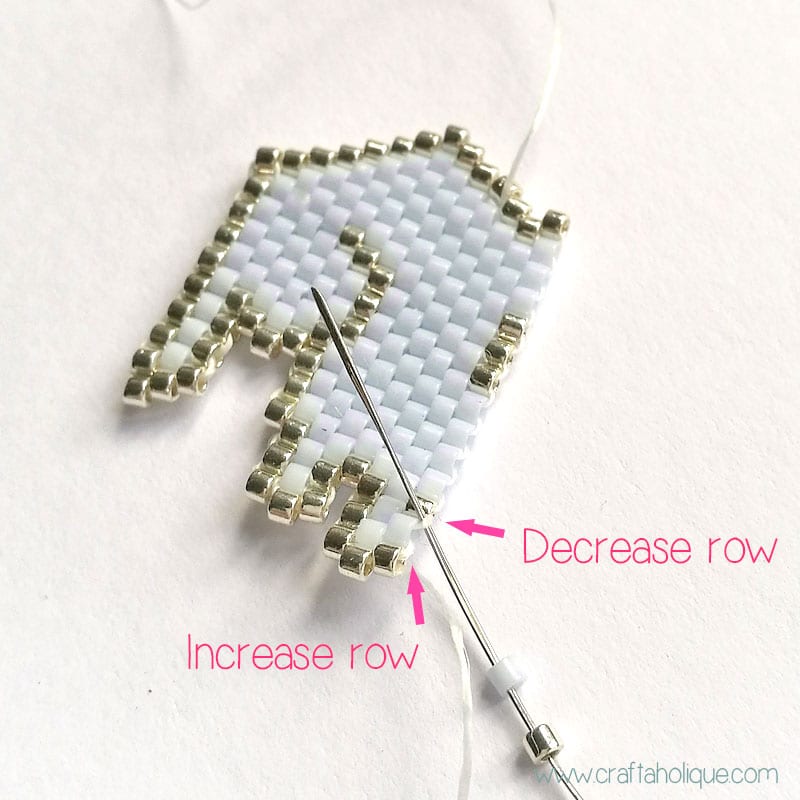
The only times brick stitch gets a little tricky is when you’ll need to increase and decrease a row… I’ve highlighted on the image below which bridge you need to pass your needle and thread under in order to make an increase or a decrease. (Note that I had two beads on my needle as I was starting a new row).
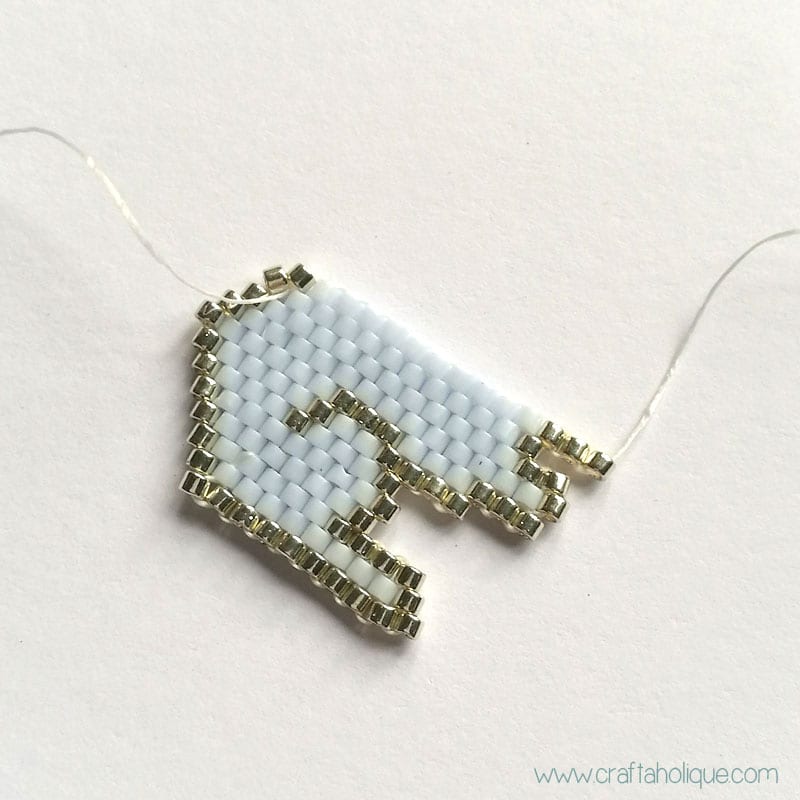
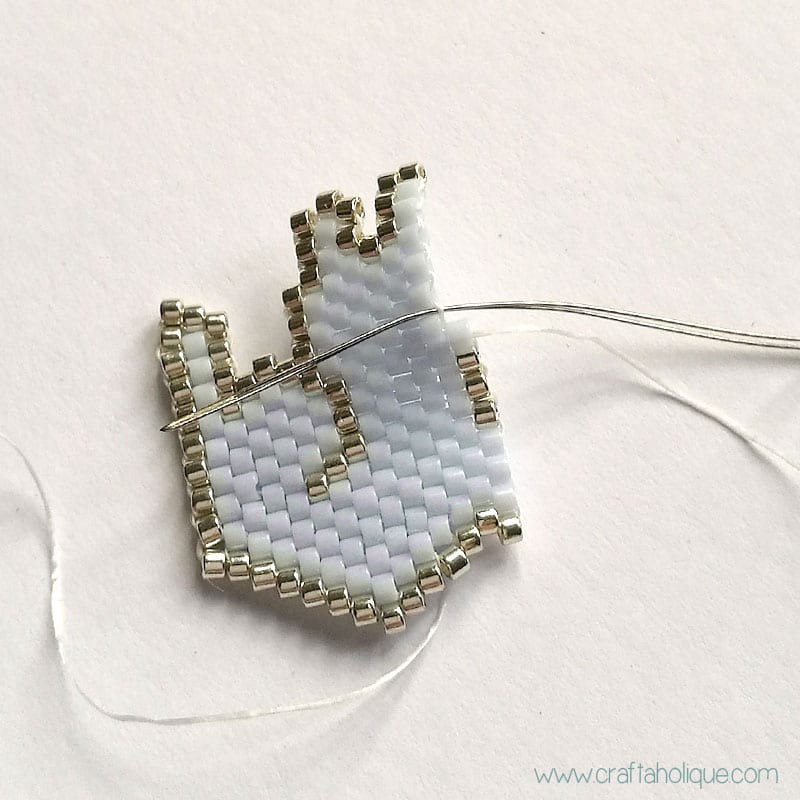
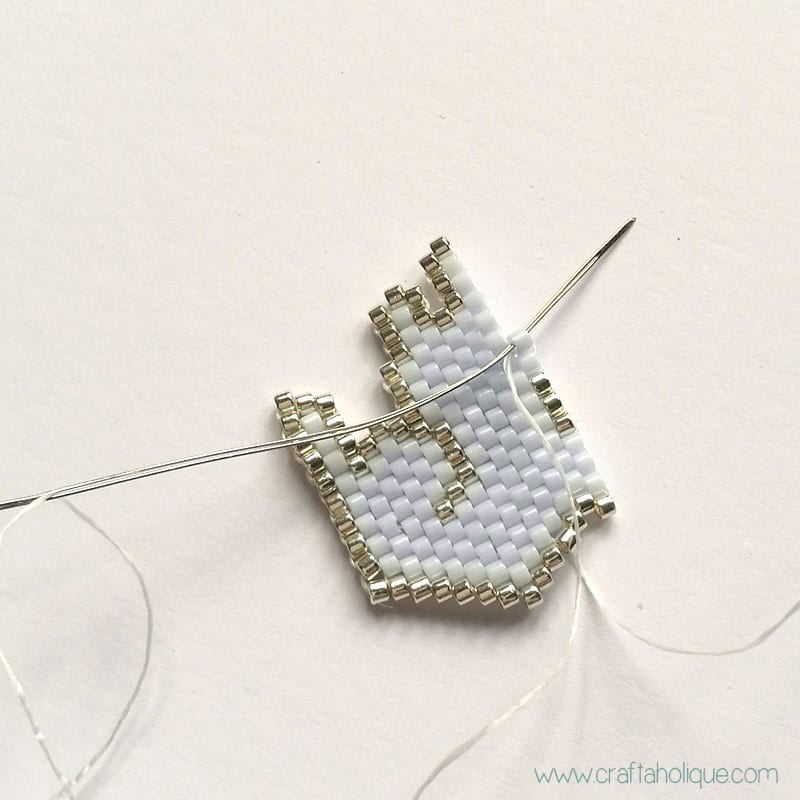
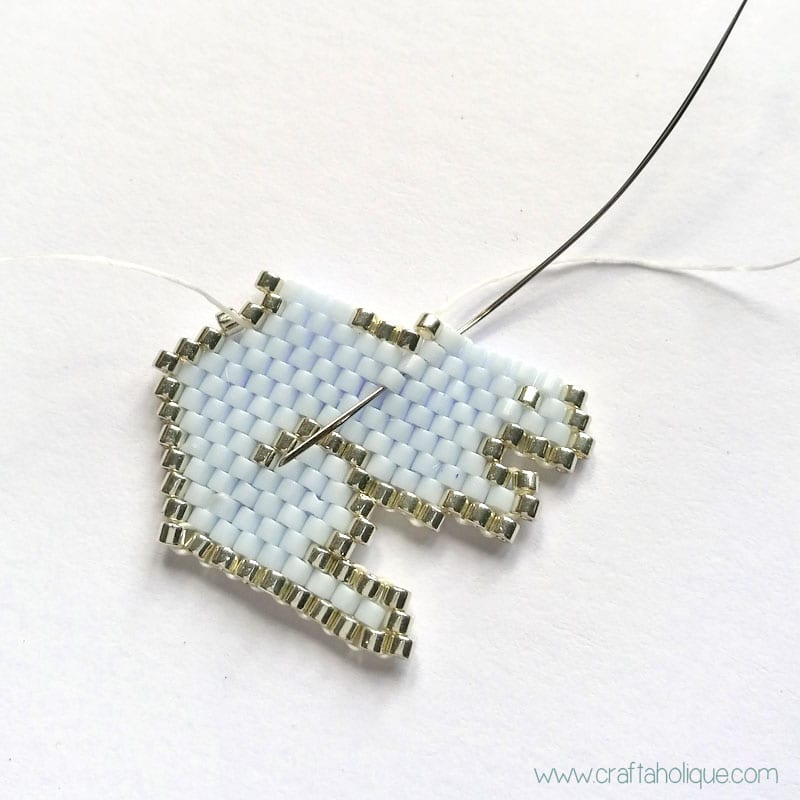
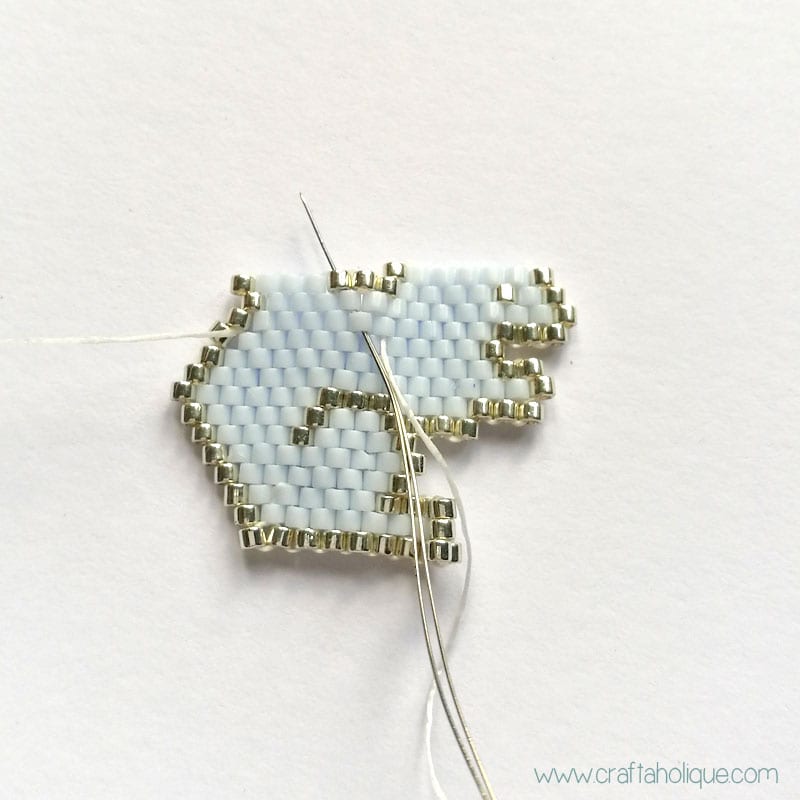
The squirrel pattern has little breakaway parts when you start making the tail and head. To move to another part of the pattern seamlessly, just go through a few beads that are directly in line diagonally as show in the next two photos!
So what can you do with your beaded squirrel once you’ve completed it? Well, you can attach it to a chain and make a beautiful pendant necklace, or you could attach it to a keychain. You could even incorporate it into other beadwork projects or autumn crafts.
I hope you enjoyed this free beadweaving tutorial and pattern. If you did, please take a moment to share this online with your followers and subscribe for blog updates!
*Affiliate links to Etsy are included in this post. This means that if you make a purchase through one of my links, I will earn a small commission at no cost to you. I only ever recommend products that I think are great and any commissions help me to keep this site up and running. Thank you for using my links if you’re able to.
*Images and pattern are the copyright of Craftaholique. You may use the pattern for your own personal use (not for commercial use).
This post was linked up at The Pin Junkie!


I love squirrels! Thank you so much for a great tutorial! I can’t wait to make it!
Yay! Glad you liked this tutorial and have fun making your squirrel!