*Affiliate links are contained in this post.
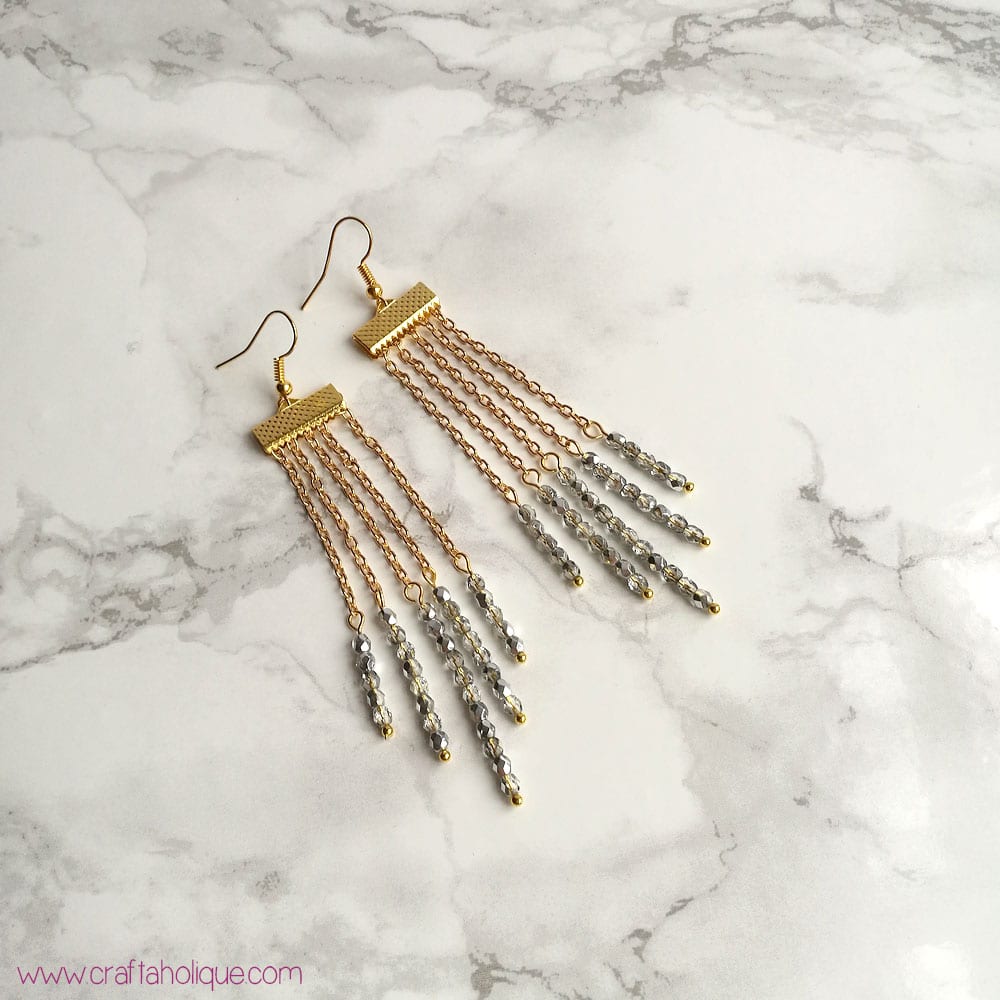
I have another beautiful beaded earring tutorial for you today! These waterfall earrings are perfect to dress up a casual outfit, or to wear on a night out. What’s more, they’re simple to make and don’t involve too many materials!
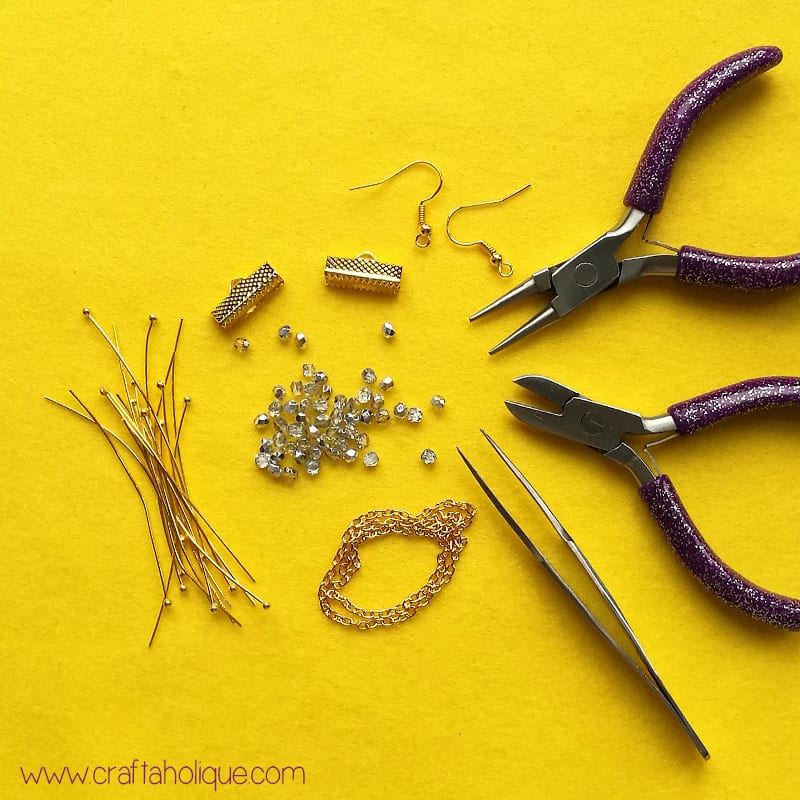
To make these fabulous waterfall earrings, you’ll need the following materials:
- 74 x silver transparent Czech glass fire polished beads (3mm)
- Gold tone trace/tiny cable chain
- 2 x gold tone flat ribbon end findings
- 2 x gold tone fish hook earwires
- 10 x gold tone ball pins
- Jewellery-making tools: wire cutters, round nose pliers, flat nose pliers, tweezers
- Jewellery glue such as e6000
Step 1
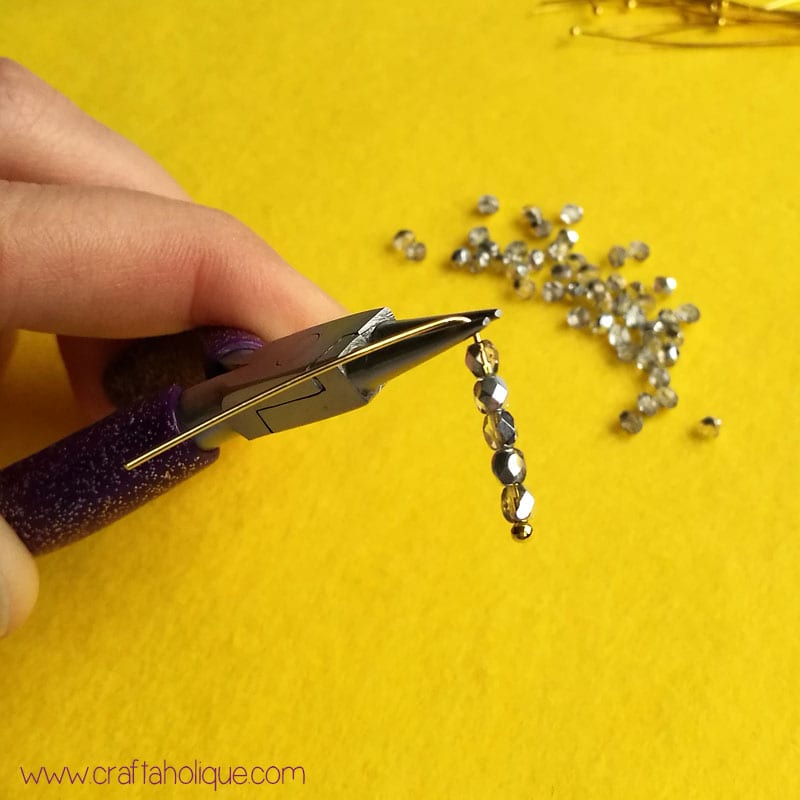
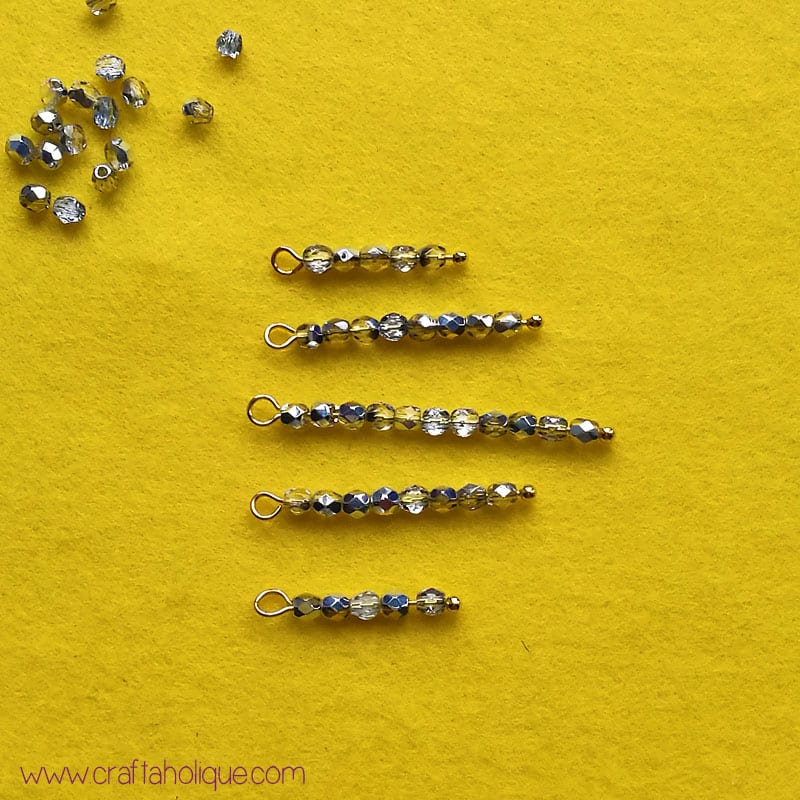
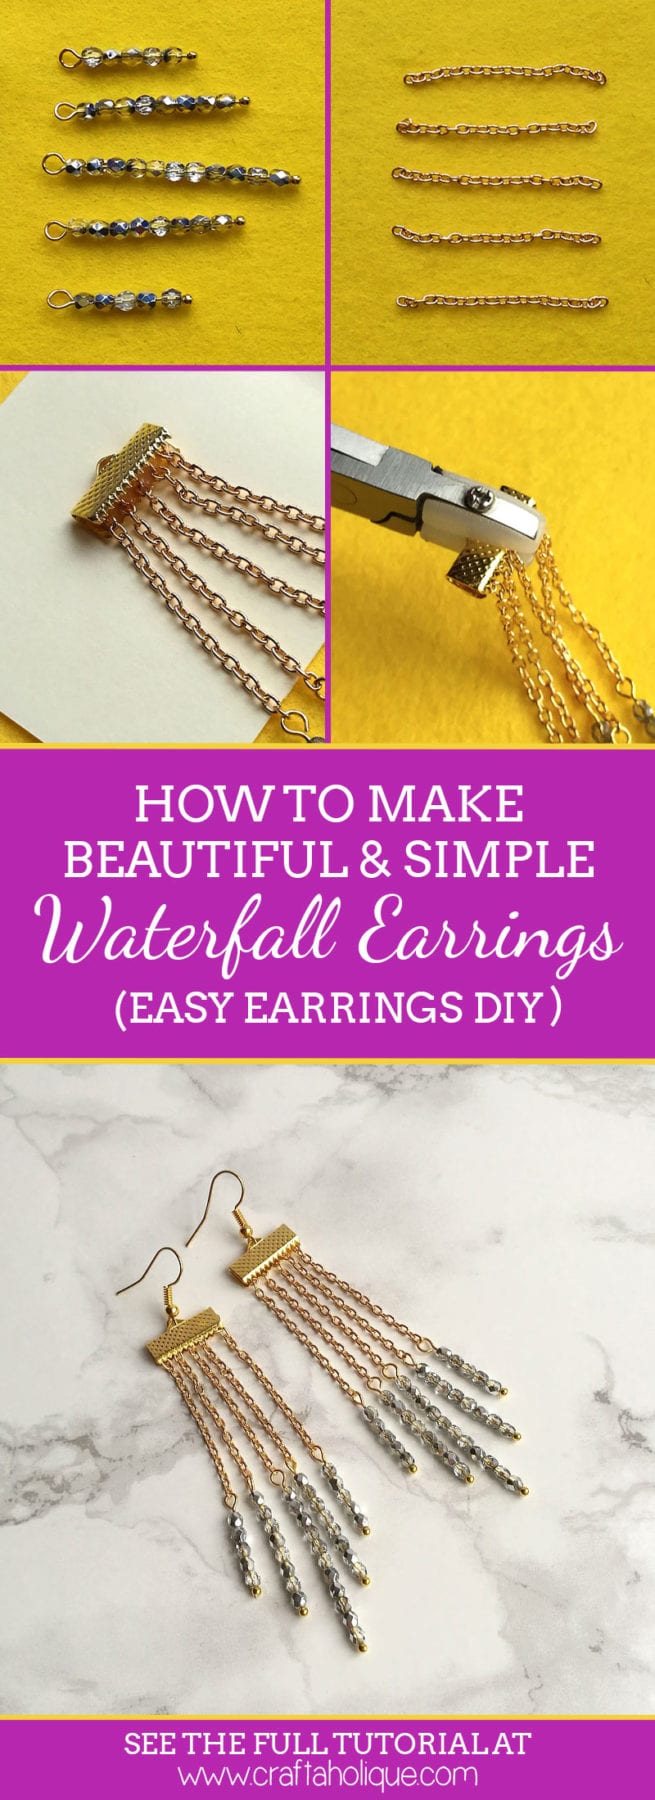
Thread on 5 x Czech glass fire polished beads onto one of the ball pins. Use your round nose pliers to bend the wire as shown in the photo above.
Step 2
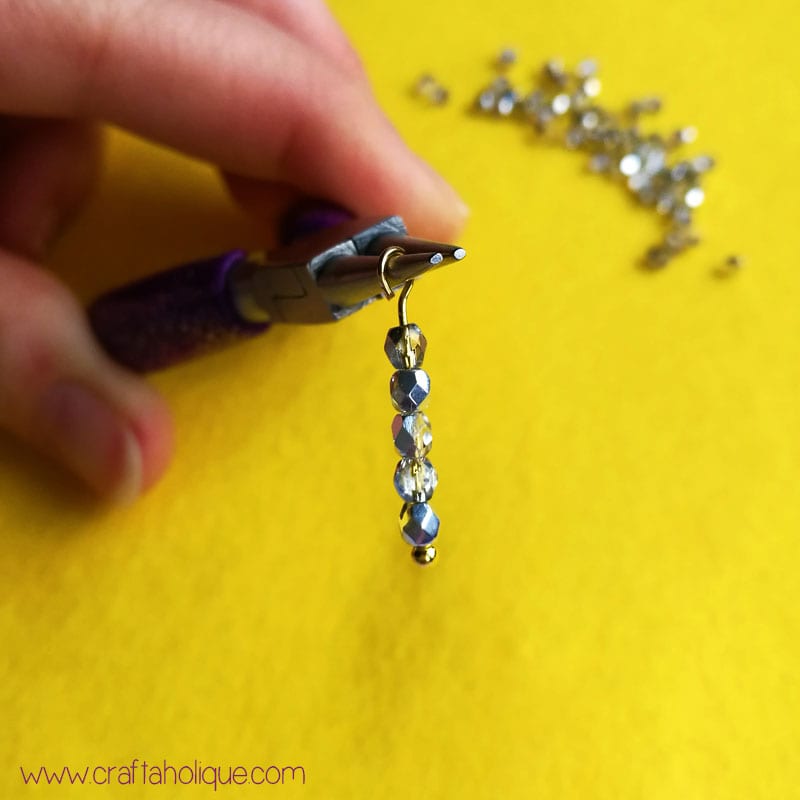
Trim off the excess wire, leaving around 1cm of wire to play with. Then curl the wire back in towards the beads with your pliers to make a loop. This will be your first beaded strand.
Step 3
Make a set of 5 beaded strands for each earring. Stagger the amount of beads you’re putting onto the strands so that your earrings will cascade just like a waterfall! I’ve used 5 beads for the outer strands, 8 beads for the inner strands and 11 beads for the longest beaded strand in the middle.
Step 4
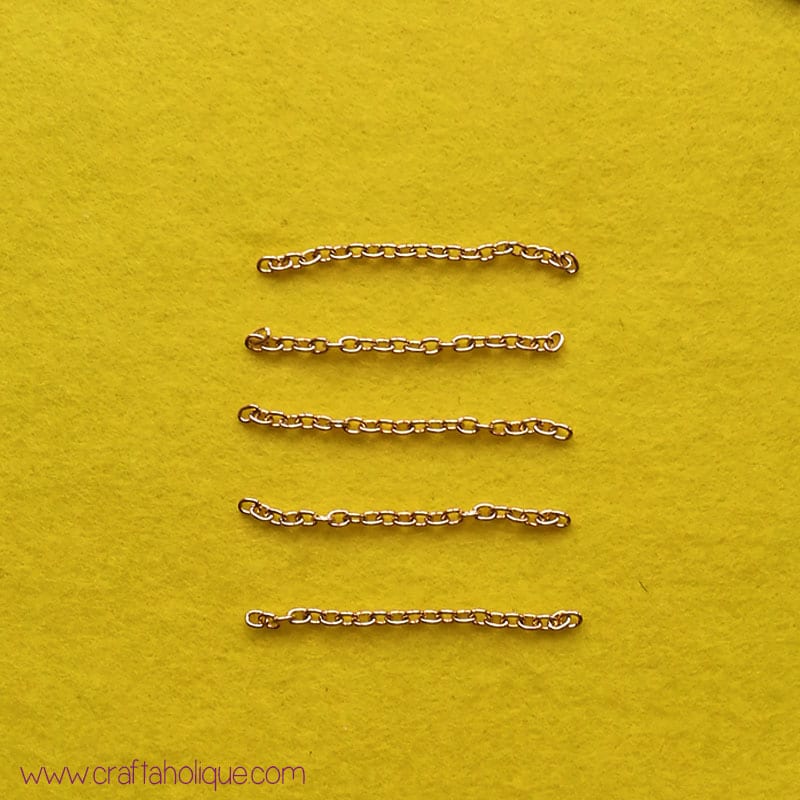
Once you’ve done that, trim off 5 lengths of trace chain so that they are exactly the same size. For this tutorial, I’ve made each length of chain to be 21 links, but you can make them shorter or longer if you wish!
Step 5
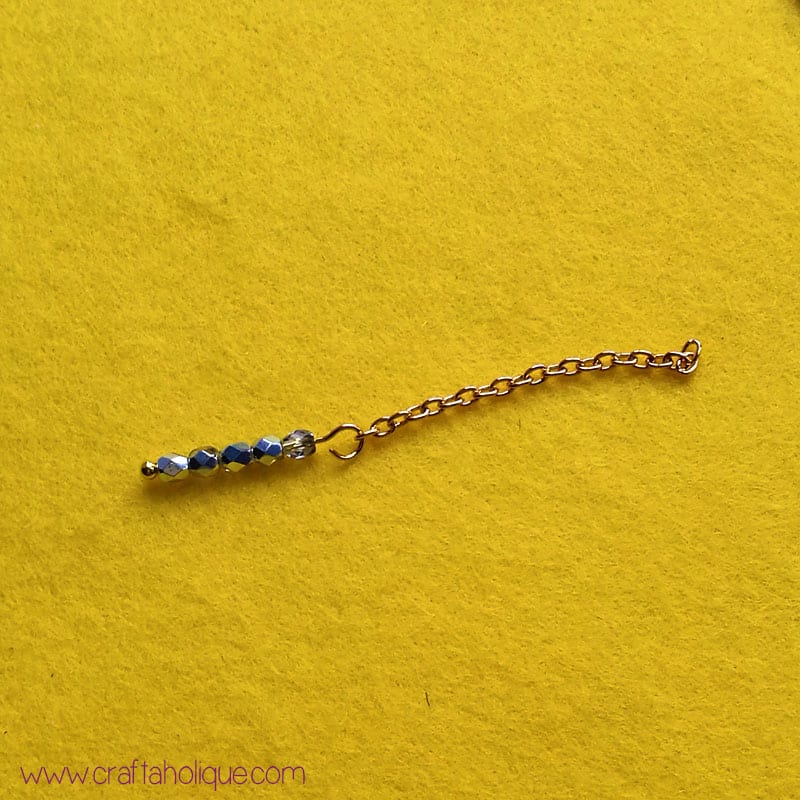
Next, attach one piece of chain to one of the beaded strands you’ve just made as shown in the photo above. Use your round nose pliers to open and close the loop at the top of the beaded strand. Do this for each one of the strands.
Step 6
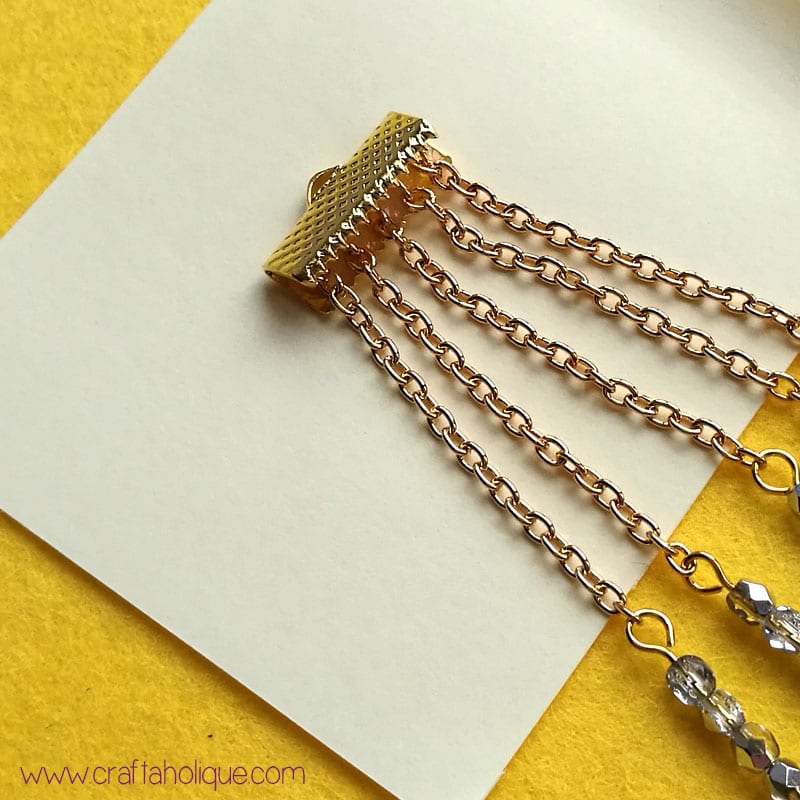
Attach the chains to one of your flat ribbon end findings. The easiest way to do this is to dab a little jewellery glue inside the flat ribbon end and use your tweezers to carefully place the chains inside. Tip! Start with the middle beaded strand and work your way to the outer edges! Leave to dry for at least half an hour.
Step 7
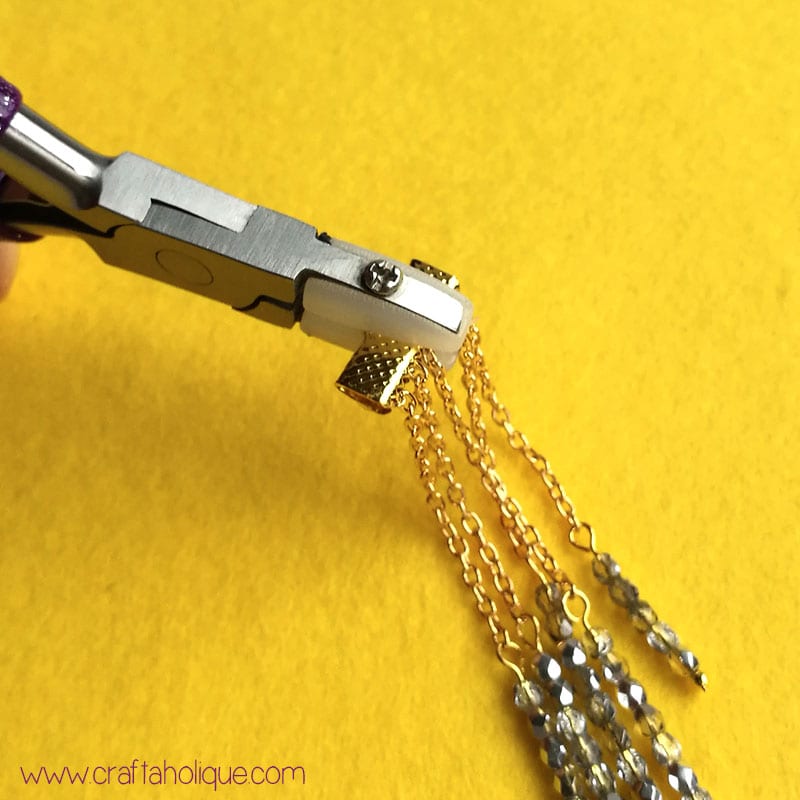
When the glue is dry and the chains are held in place, close up the ribbon end with your flat nose pliers. I’ve used pliers with a nylon jaw for this, so as not to mark the metal. Like these? Get some here.
Step 8
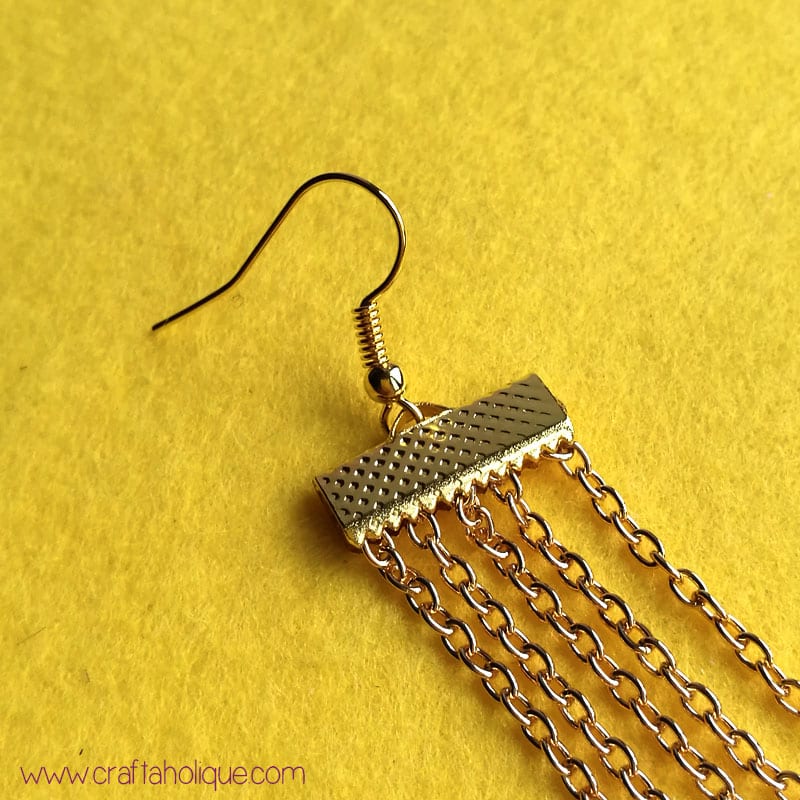
Finally, attach the earwire finding to the top of the flat ribbon end and you’re done! Repeat steps 1 to 8 to make the other earring!
I hope you enjoyed this jewellery-making tutorial! If you did, please take a minute to share this online with your social media followers! And don’t forget to subscribe to be kept updated of more posts like this one.
Before you go, why not check out some of my other jewellery-making posts:
- How to make a beaded flower ring
- Diamante & tassel fringe earrings DIY
- Washi tape leaf bangle project
*Affiliate links are contained in this post. This means that I will receive a small commission should you decide to purchase anything through one of my links, at no cost to you. I only ever recommend products that I think are great and any commissions received help me to keep this site up and running! Thanks for using my links if you are able to!
*Image source: all images © Craftaholique.


Wow these are beautiful! I’ve not ventured much into jewellery craft yet but will have to give it a go soon!
Thank you Rachel! I appreciate you stopping by and checking these out! 🙂
These are so pretty. Tried my hand at waterfall earrings but they always seemed a little lopsided. This is perfect. Thank you.
Hope you enjoy making these Lena! Thank you for stopping by and commenting! 🙂
Thanks for sharing such a lovely idea. Mine were done with grey on silver and look fabulous. Will wear them everywhere!
Thank you for reading Karen, I’m glad you found some inspiration from this post! I can imagine your version of the earrings looks brilliant! 🙂
These are so lovely, I can’t wait to try this! Thank you!
Thank you Marti! I hope you enjoy making them! 🙂
Hello Haley,
I recently stumbled across your blog through AllFree Jewelry Making which listed these Waterfall Earrings. I love your clear instructions and especially your wonderful photographs, you make everything look easy. I have joined your newsletter and I look forward to future tutorials. Thank you!
Dianne
Hi, these look stunning. Im a new bee to jewelery making but i am so going to try an make these. When i get more practice, thank you
Hi Hayley, thank you so much for such an easy to follow tutorial, which results in a beautiful pair of earrings!! I love them, thank you very much!!
Thank you for your kind words, much appreciated!
Beautiful earrings but how do I print out the pattern
Hello! There isn’t a pattern as such listed here, but there are step by step photos and instructions. You can print this out as a webpage, just like you would a word document. Hope that helps!