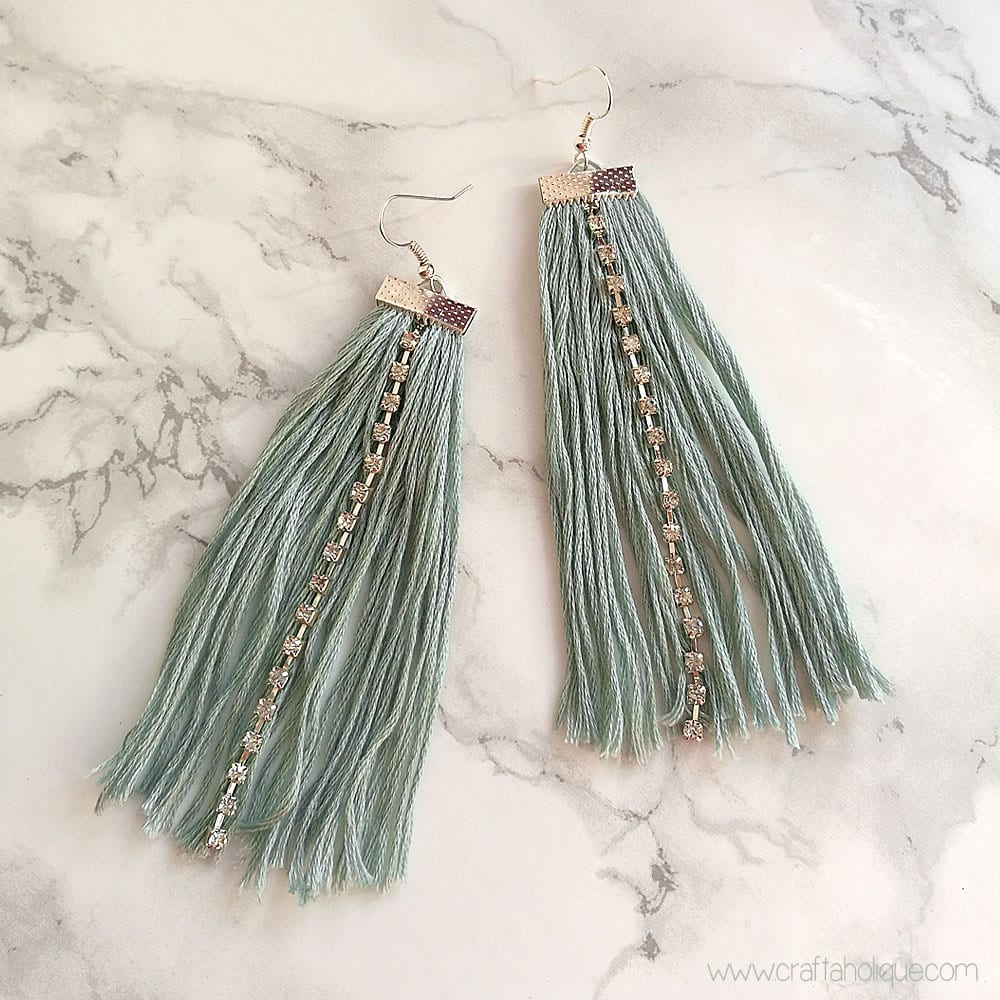
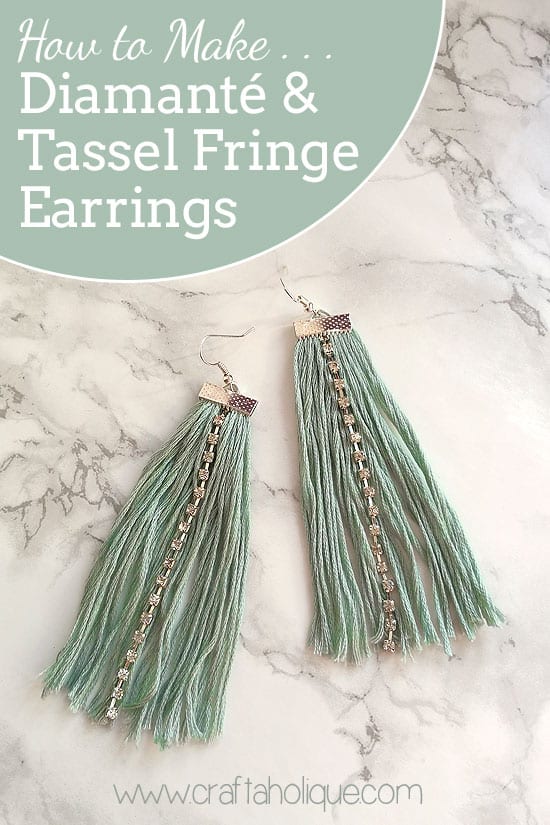
I have a fun jewellery-making tutorial for you today on how to make a pair of beautiful sparkly fringe earrings using just a few materials. You can make these in around 30 minutes, but if you’re familiar with how to make tassels, you could probably make these in just 10 minutes!
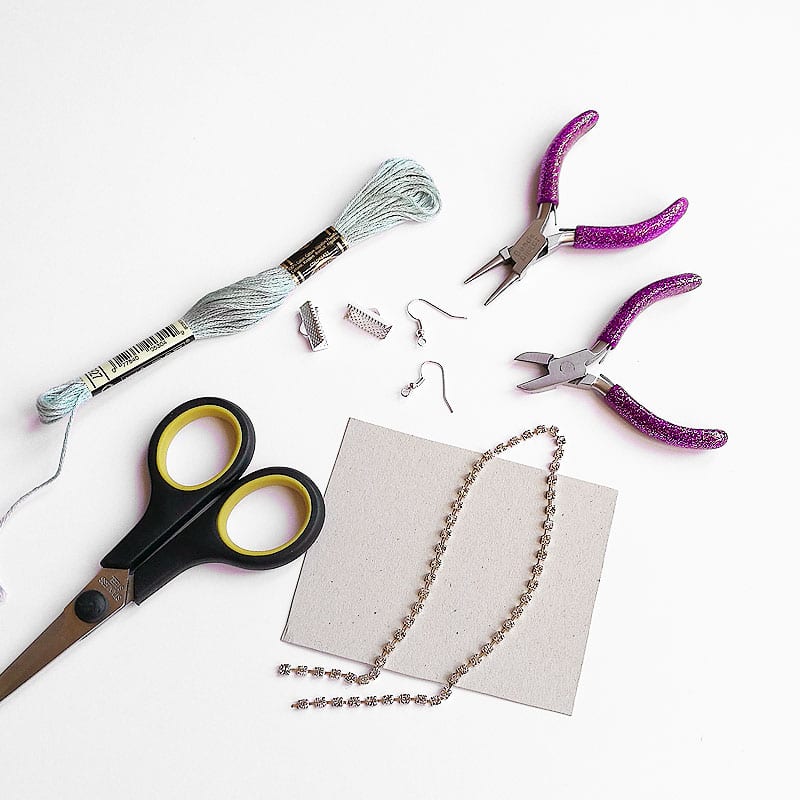
For this jewellery-making project, you’ll need the following:
- Embroidery thread / floss in a teal colour.
- Diamanté cupchain
.
- Silver-plated flat ribbon end findings.
- Silver-plated earwires.
- Jewellery pliers and wire cutters (you might be interested in this set
).
- Scissors.
- Piece of cardboard cut out into a square or rectangle.
(Affiliate links have been included above.)
Step 1 – Making a tassel
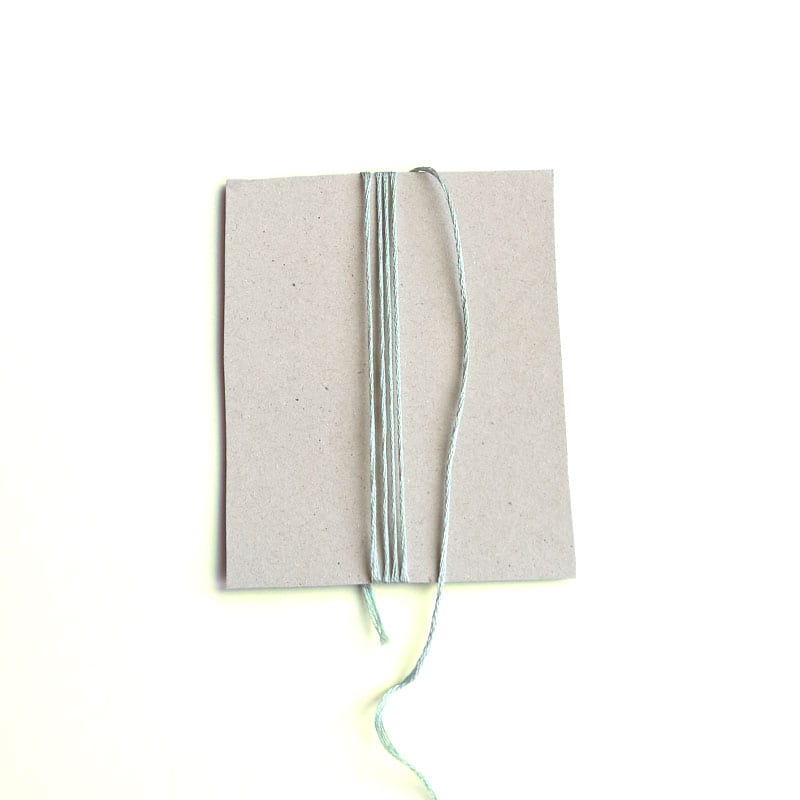
To begin, wrap a length of your embroidery thread around the piece of cardboard approx. 20 times. When you’ve done that, cut a short length of thread and pass it under the thread you’ve just wrapped, tying it into a double knot as shown in the photo below.
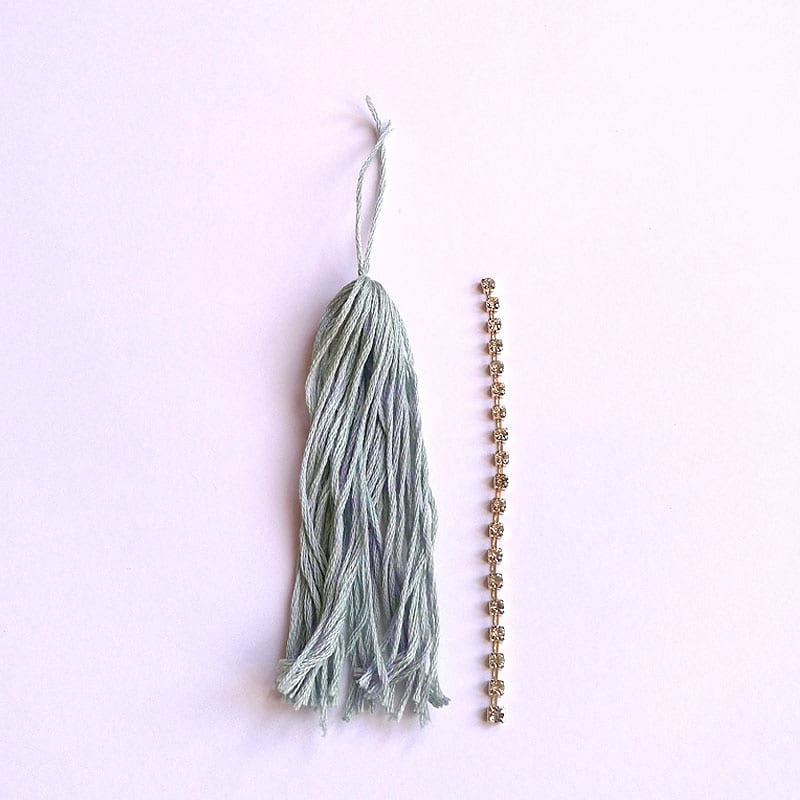
Once the knot is secure, remove the cardboard and holding the tassel by the knot you’ve just made, cut the wrapped thread at the opposite end to break open the tassel.
Step 2 – Prepare your diamanté chain
Trim your cupchain to a length around the same size as the tassel. You’ll need your wire cutters for this part!
Step 3 – Turn your tassel and diamanté cupchain into earrings!
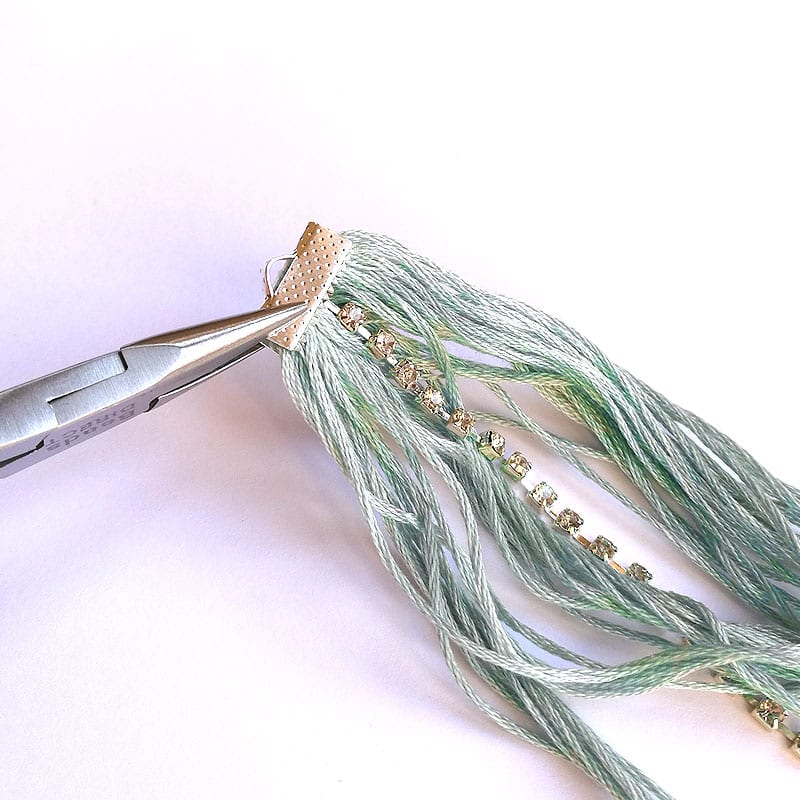
That’s right, all you need to do is position your cupchain in the centre of the tassel and slot both elements into one of your flat ribbon end findings. To be fair, this can be a bit fiddly! But persevere as the end is in sight!
Once you have the tassel and cupchain in place, close up the flat ribbon end with your flat nose jewellery pliers. Make sure that the teeth of the ribbon end catch the thread and cupchain securely. You can also add a dab of jewellery glue such as E6000 into the ribbon end to make your earring component extra secure.
Step 4 – Affix the earwire
Using your round nose pliers, open the loop on one of your earwires and attach it to the top of the ribbon end finding. Close the loop up with your pliers. That’s it, one earring complete! Repeat steps 1 through to 4 to make the second earring.
I hope you enjoyed this tutorial and that you have fun making your own pair of Diamanté & Tassel Fringe Earrings! Let me know how you get on in the comments below.
Please take a minute to share this post online. Thank you!
*Affiliate links are contained in this post to Etsy and Amazon. Craftaholique is a participant in the Amazon Services LLC Associates Program, an affiliate advertising program designed to provide a means for sites to earn advertising fees by advertising and linking to www.amazon.co.uk




[…] 13. Diamond Chain and Tassel Earrings […]