*Affiliate links are included in this post.
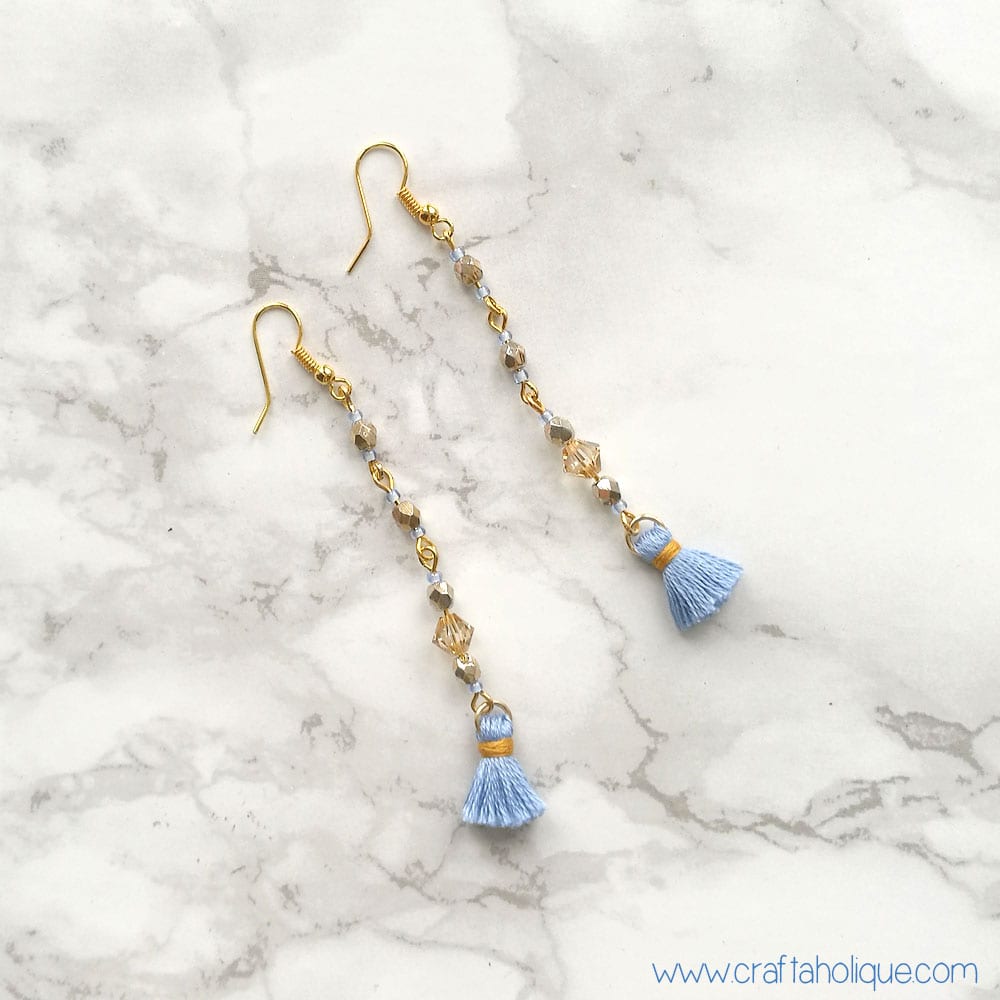
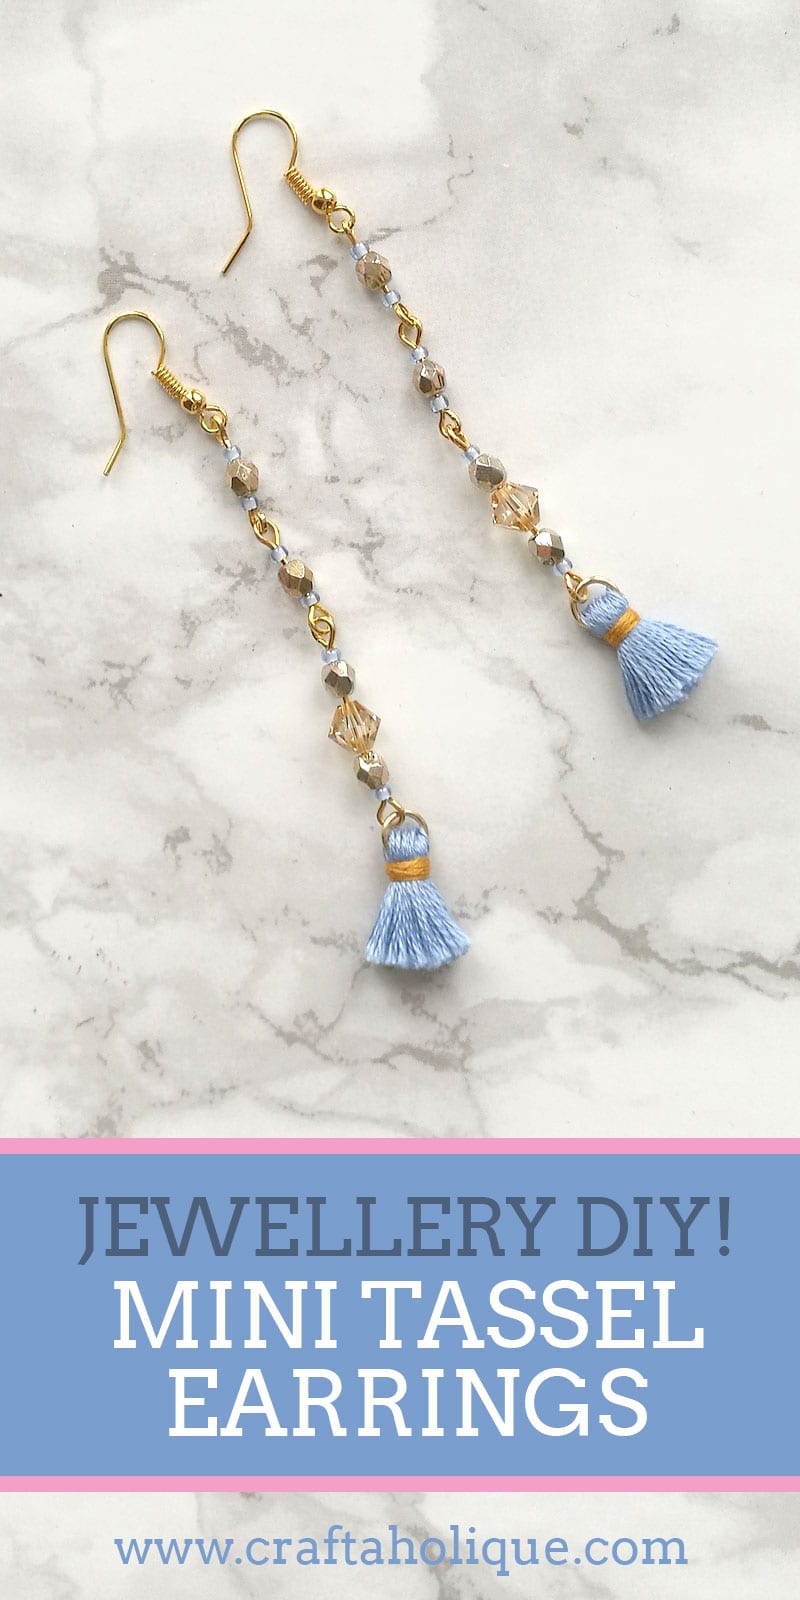
I’m a bit obsessed with tassels at the moment! Following on from last week’s tutorial on how to make a pretty tassel necklace, I now have another jewellery making tutorial to share, this time for a pair of beautiful long dangle earrings complete with mini tassels.
I was inspired to make these after seeing a similar pair in Accessorize at the weekend. My version is longer and I’ve used different beads and colours. They’re really simple and quick to make once you have your materials ready!
Materials needed for mini tassel earrings:
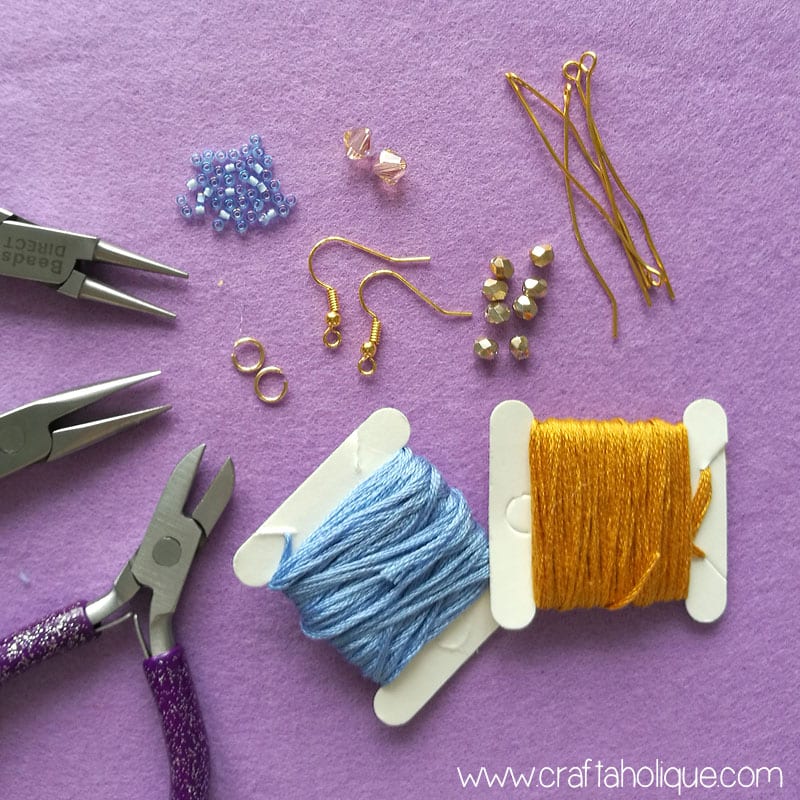
- Embroidery thread in blue and gold.
- 8 x fire polished round beads in gold.
- 2 x gold tone jump rings.
- 2 x gold tone fish hook earwires.
- 6 x gold tone eye pins.
- 12 x silver lined pale blue Toho seed beads (size 11/0).
- 2 x 6mm Swarovski bicone beads in pale gold.
- Jewellery making tools – round nose and chain nose pliers, plus wire cutters.
- Scissors
(I have included my affiliate links to Etsy above as they have similar materials to what I’ve used).
Step 1: Making the tassel
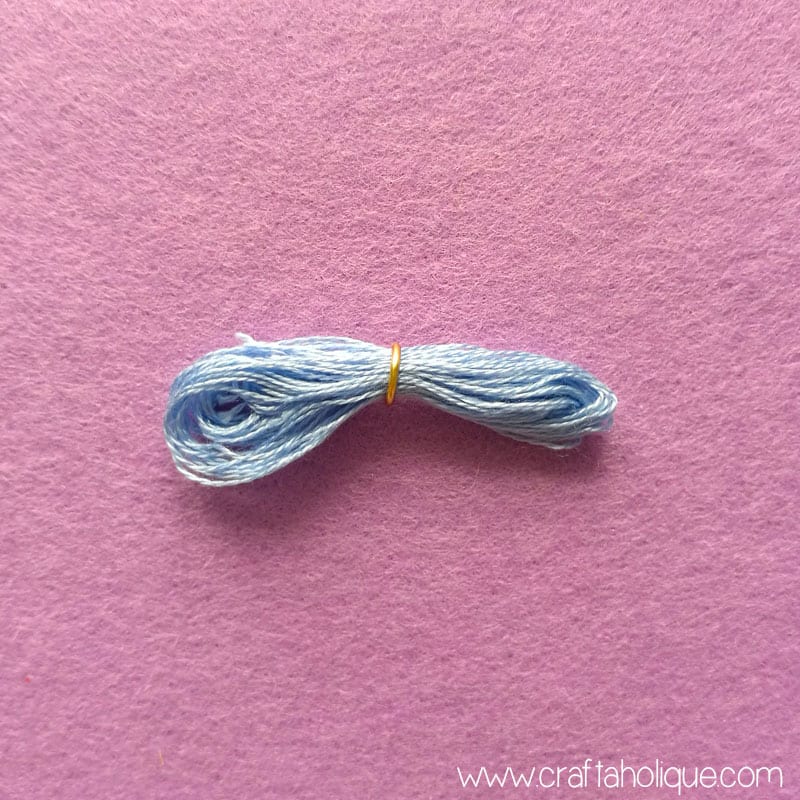
Trim off a length of the blue embroidery thread around 60cm long. Fold in half over and over again until you have a bunch of thread measuring around two inches. Twist one end through a jump ring and pull it so that the jump ring is in the middle as shown in the photo above.
Tip! To make sure the tassel will look full and silky later, separate the individual strands of embroidery thread before you start folding them (you should have 6 thin strands).
Step 2: Wrapping the tassel
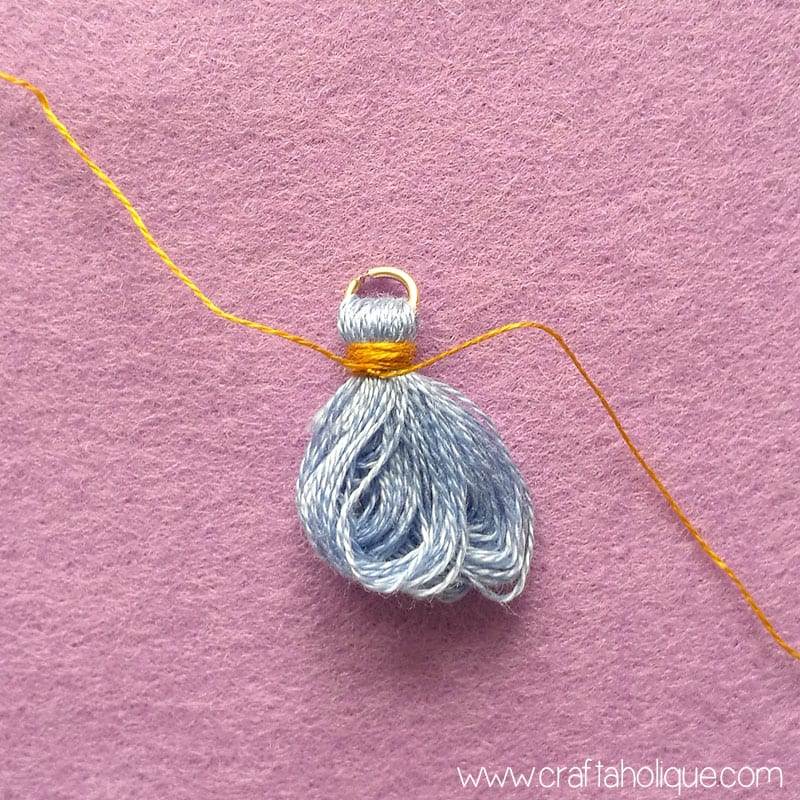
Use an individual strand of the gold embroidery thread to secure the tassel underneath the jump ring. Wrap it around several times and tie it off, using a double knot.
Step 3: Trimming the tassel
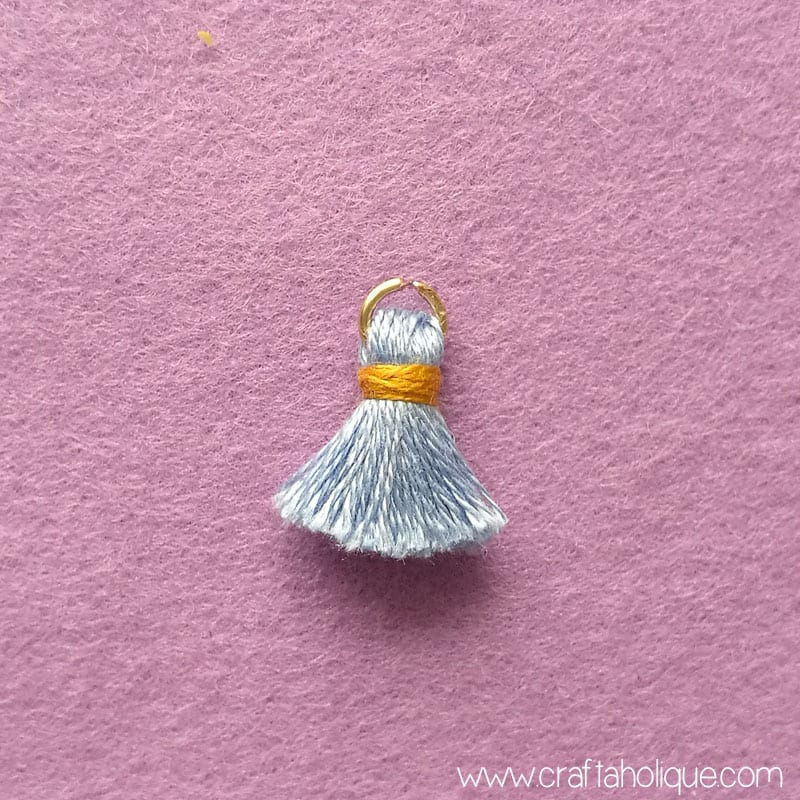
Use scissors to cut the loops of the thread and then trim the tassel until you have around 1cm of thread underneath where you’ve wrapped the gold thread.
Step 4: Making a beaded strand
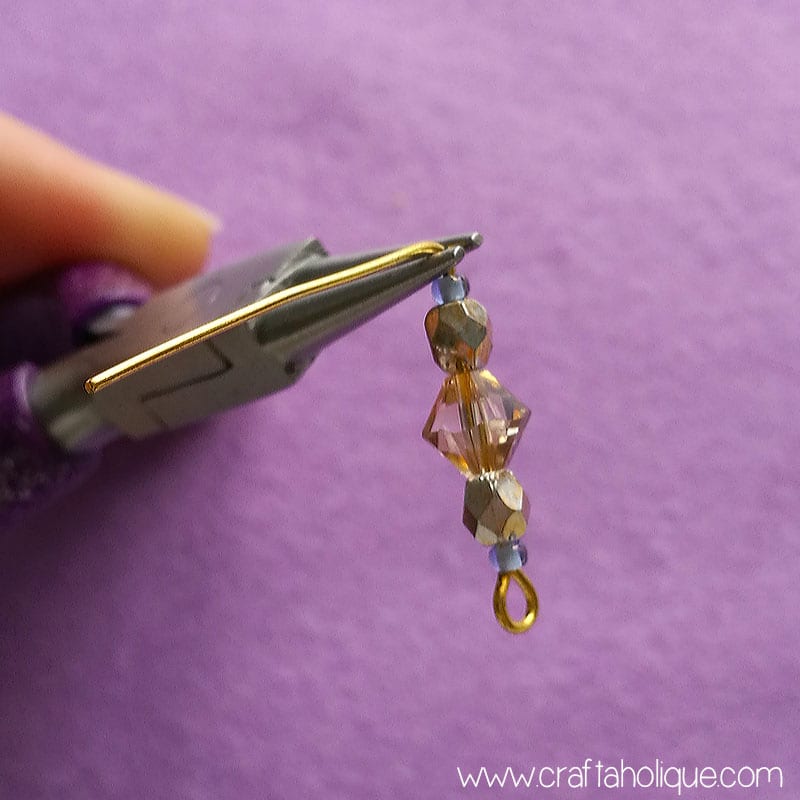
Pick up one of your eye pins and thread on 1 x seed bead, 1 x fire polished bead, 1 x Swarovski bicone, 1 x fire polished bead and 1 x seed bead. Use your round nose pliers to bend the wire to 90 degrees just above the last seed bead. Trim the wire so that only 1cm remains and then use the round nose pliers again to curl the wire inwards, making a loop.
Step 5: Attaching the tassel
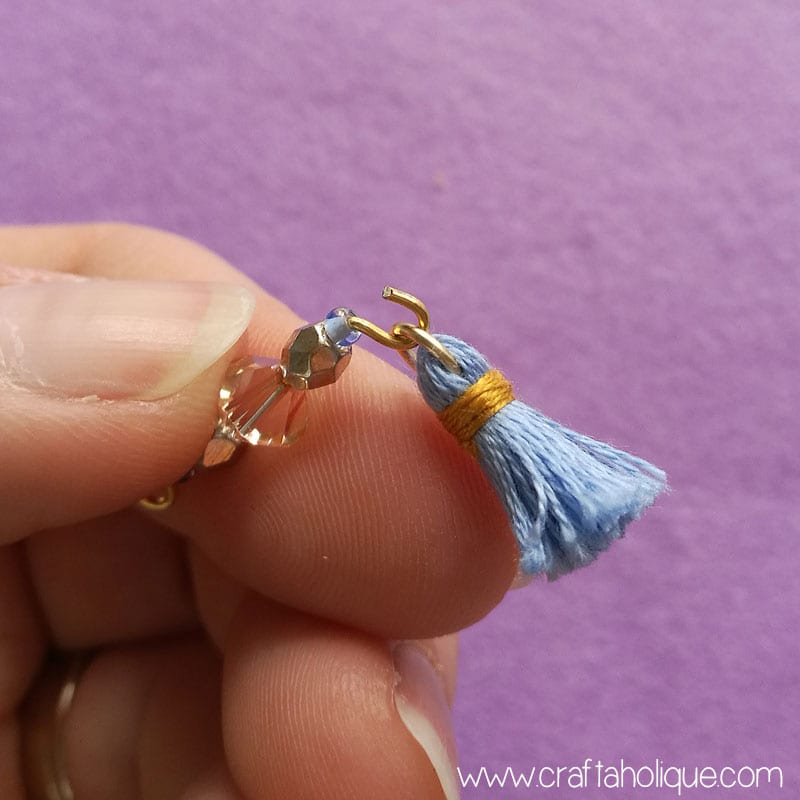
Before you close the loop up, attach the tassel as shown in the above photo.
Step 6: Making two other beaded strands
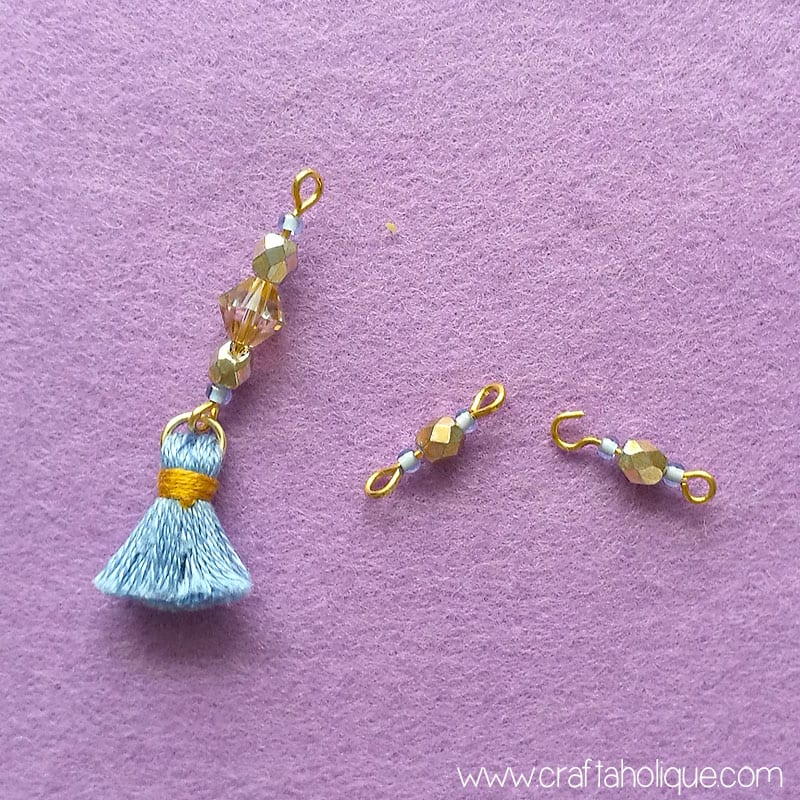
Slide 1 x seed bead, 1 x fire polished bead and 1 x seed bead onto an eyepin, repeating the process to make two beaded strands.
Step 7: Attaching the strands together to make an earring
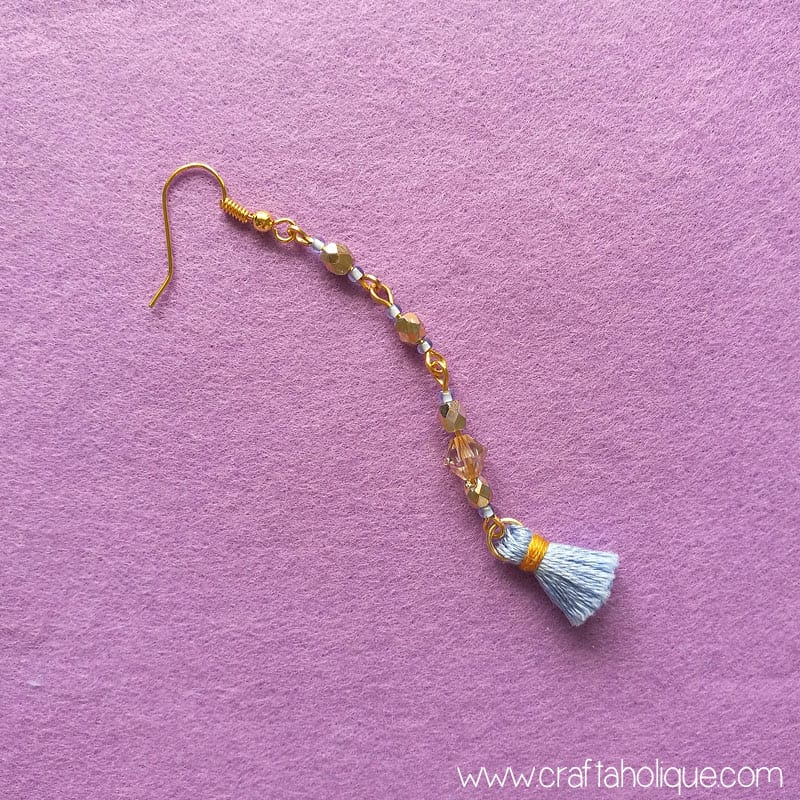
Attach each of the beaded strands to each other using your pliers to open and close up the loops in the wire. Attach the top beaded strand to an earwire. Then repeat steps 1 to 7 to make the other earring!
I hope you enjoyed this quick earring tutorial. These really are a great accessory for a summer outfit!
Please take a moment to share this post online before you go. Why not subscribe to Craftaholique using the box at the top of the site to be kept updated about more posts like this?
Got the jewellery making bug? Check out some of my other tutorials below!
*Affiliate links are included in this post to Etsy. This means that if you make a purchase through one of my links, I will earn a small commission at no cost to you. I only ever recommend products that I think are great and any commissions help me to keep this site up and running. Thank you for using my links if you’re able to.


These earrings look like so much fun! I could see dressing them up or down.
Thank you Natasha! Really pleased you like them. Looking forward to checking out your blog! 🙂