*Affiliate links are included in this post.
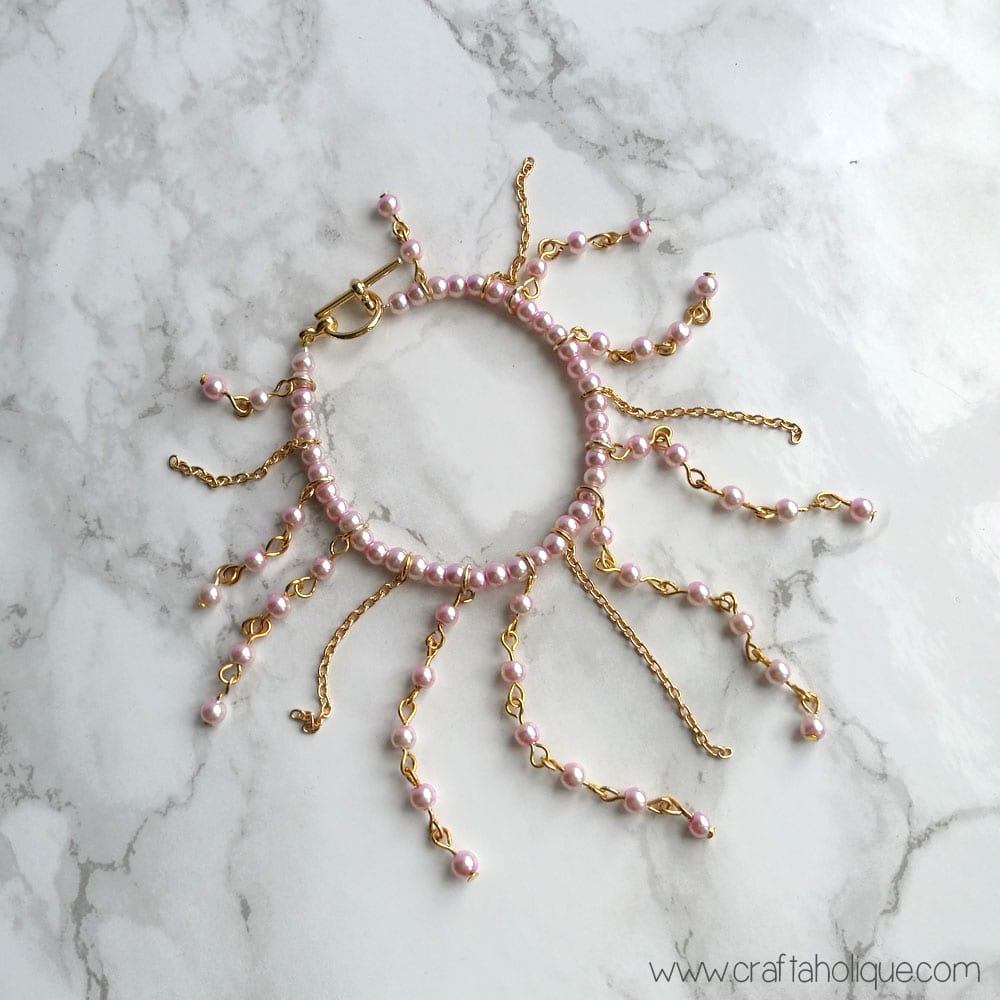
I have a great jewellery making project for you today on how to make a cascading beaded fringe bracelet.
This tutorial was inspired by some recent fashion trends I’ve seen on the catwalks where fringe bracelets are currently all the rage! It was so difficult to get the angle right when I took a photo of this bracelet on my wrist, but I can assure you, it looks fantastic when being worn!
For this beaded fringe bracelet, you’ll need the following materials:
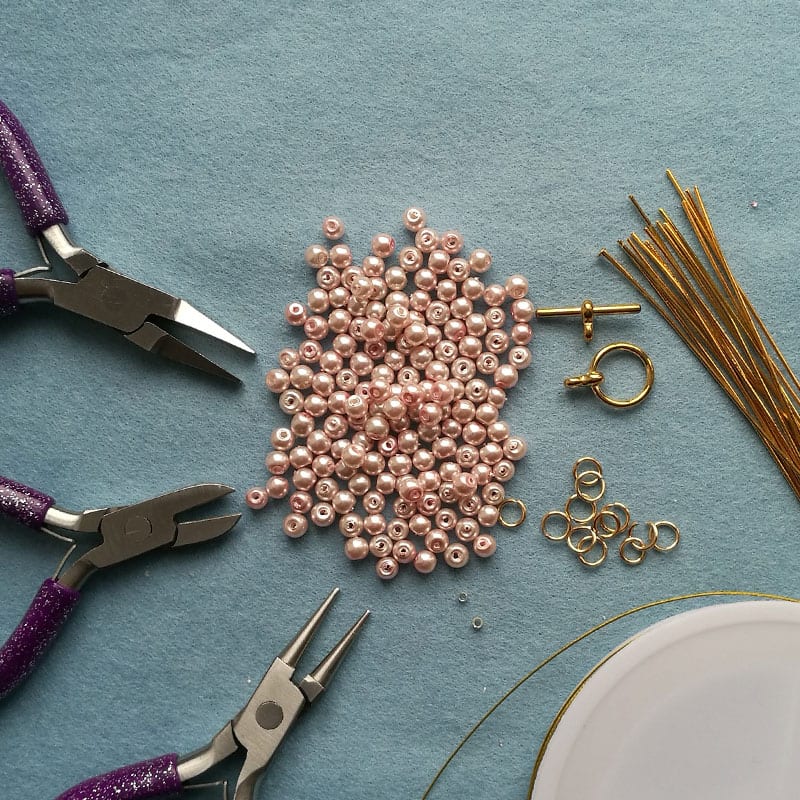
- A selection of 4mm glass pearl beads (I’ve used a pretty blush pink colour).
- Gold tone trace / cable chain
- Gold tone headpins
- Gold Soft Flex beading wire
- Gold tone jump rings
- Gold tone toggle clasp
- 2 x crimp beads
- Jewellery making tools – round nose and flat nose pliers along with wire cutters
Step 1
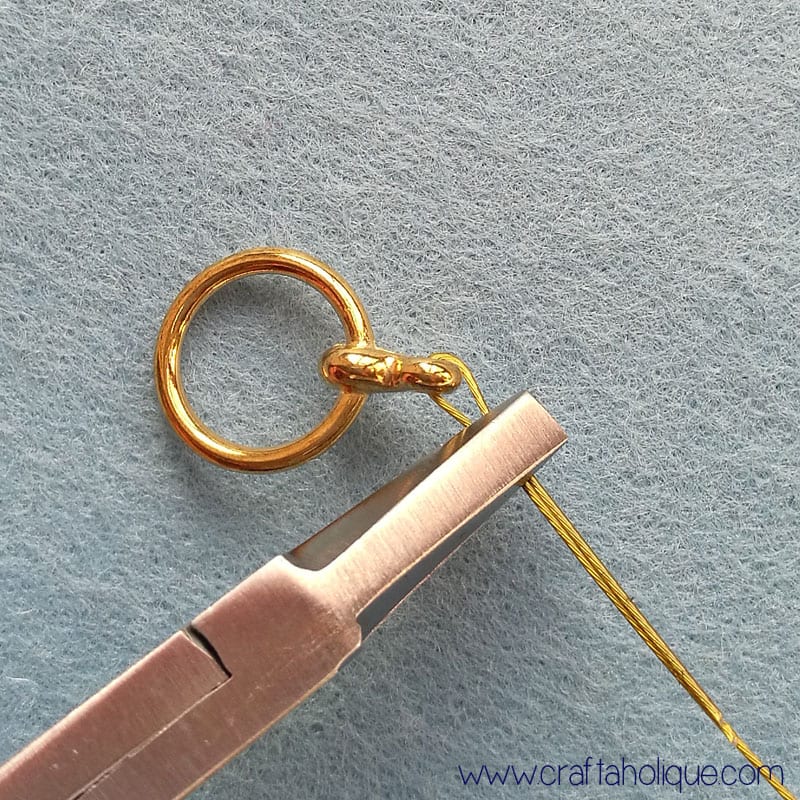
Trim off a length of the beading wire and slide a crimp bead and one part of the clasp onto one end. Fold the end of the wire over and into the crimp bead to secure the clasp. Press the crimp bead flat with your flat nose pliers.
Step 2
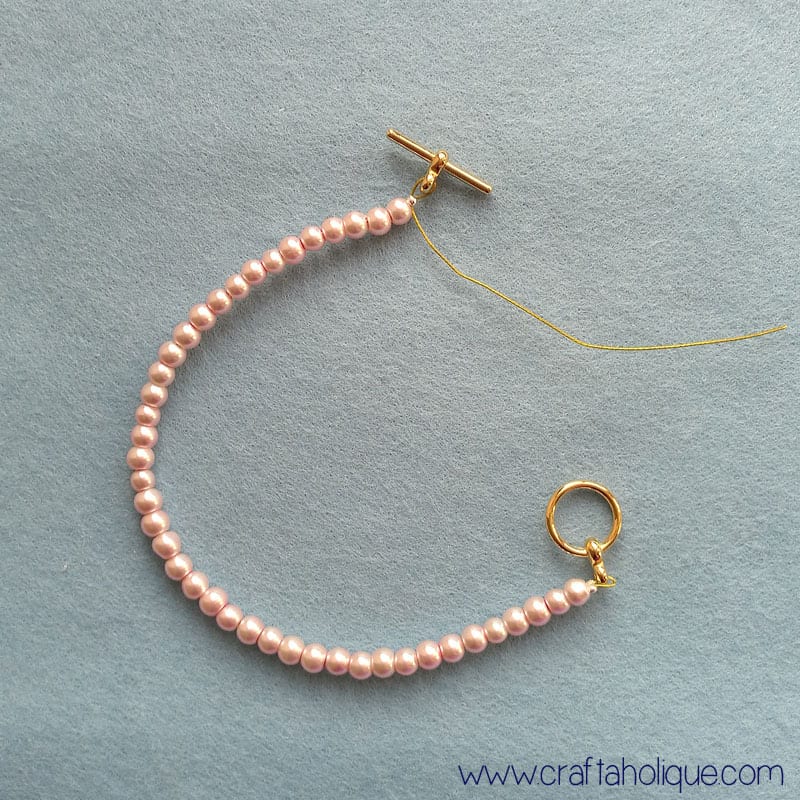
Next, string on as many of the glass pearl beads as are needed to make the main part of the bracelet. String the beads over the tail end that you’ve just created to keep things nice and tidy! Keep measuring it on your wrist as you go in order to make the right size.
Add the other part of the clasp to the end of the bracelet using a crimp bead as per step 1. Poke the tail of the wire through a few beads before cutting off the excess with wire cutters.
Step 3
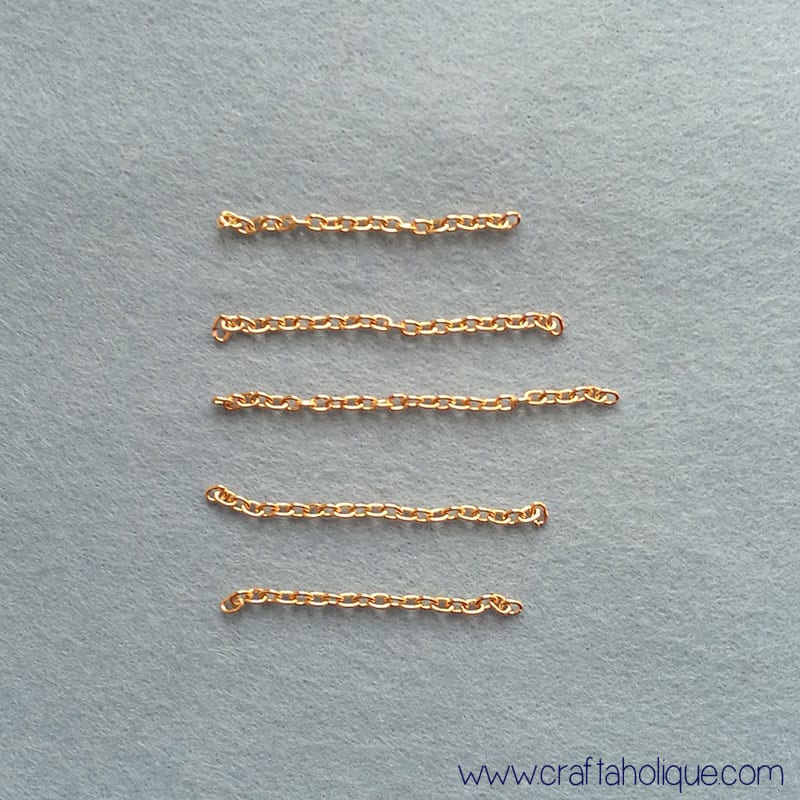
Use your wire cutters to trim off 5 pieces of chain in various lengths as shown in the above pic. You should have one long strand, two medium length strands and the other two slightly shorter (hard to see in the photo above as the chain kept curling up towards itself)!
Step 4
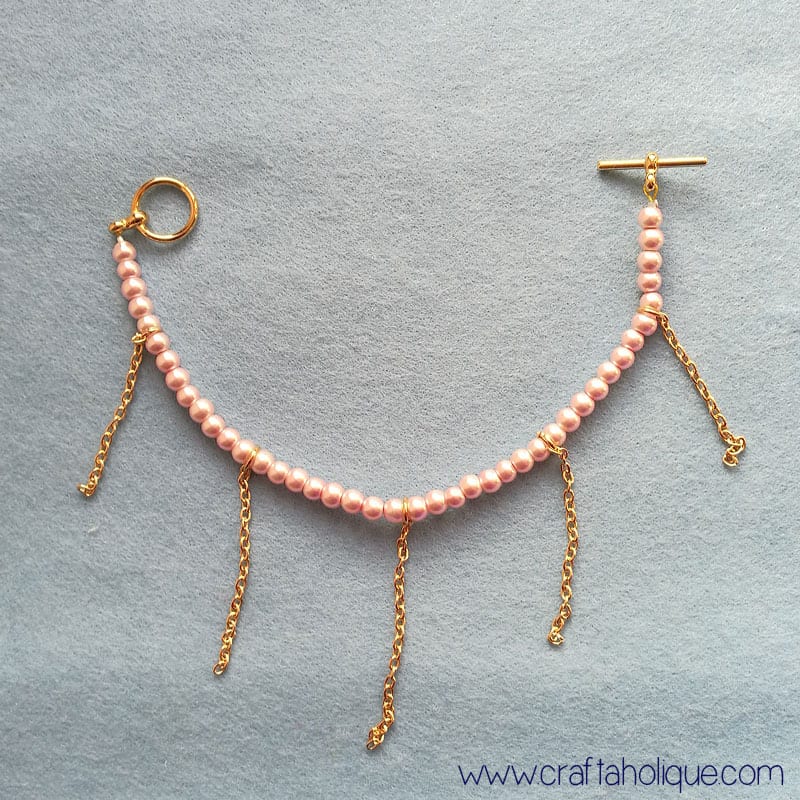
Fix the chain strands onto the bracelet in various positions as shown above. Use a jump ring to attach them in between the pearl beads. The longest strand should be in the middle and next longest at each side of the middle strand.
Step 5
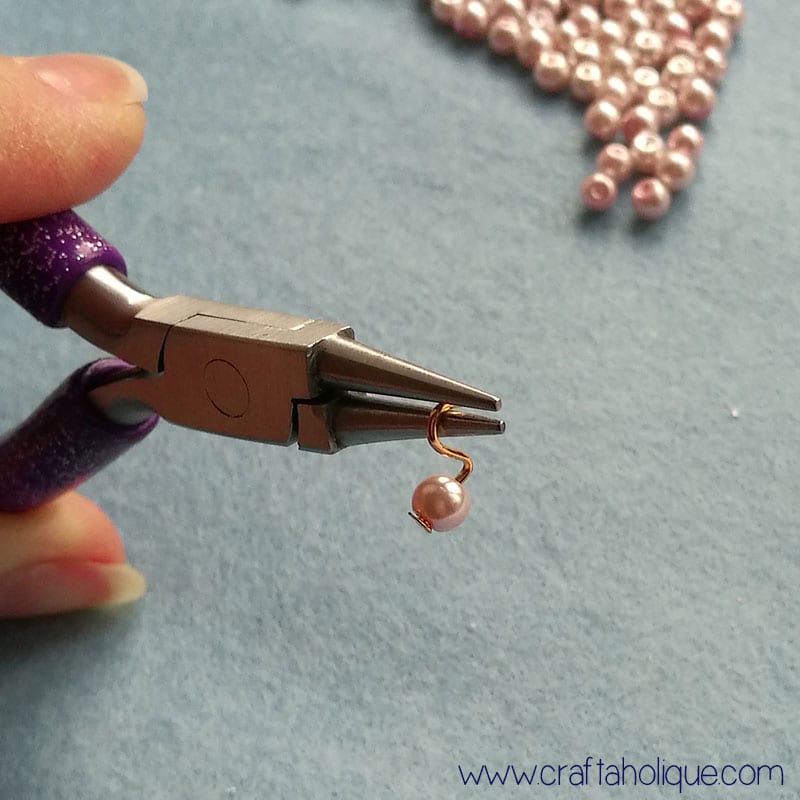
Begin to make beaded strands by sliding a pearl bead onto one of the gold tone headpins and making a loop with your pliers. First bend the headpin over to one side of the bead and trim off the excess leaving a 1cm length of wire. Place the tip of your round nose pliers at the end of the wire and curl inwards, towards the bead to make the loop.
Step 6
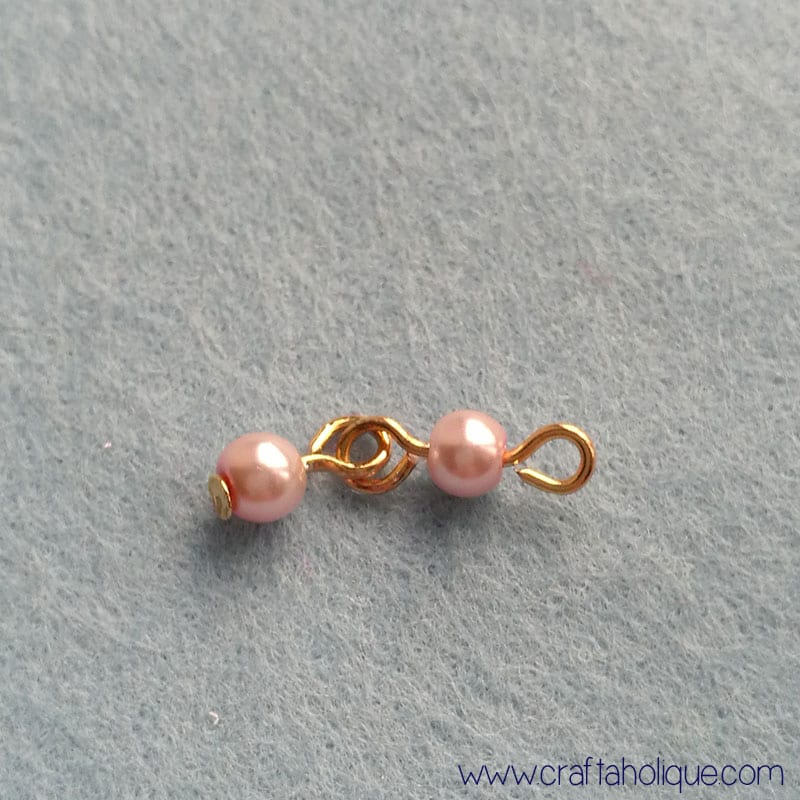
Using the excess wire of the headpin, make loops at both ends to make a connecting bead component. Attach to the first one as shown in the above pic. Add as many of these as you like to complete your beaded strands!
Step 7
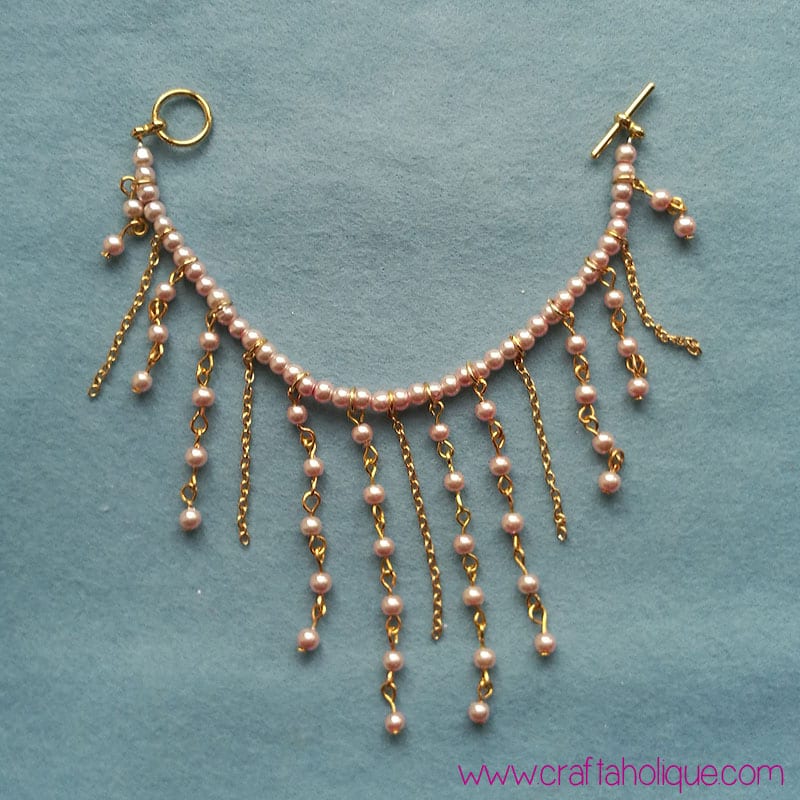
Attach your beaded strands to the bracelet in the same way that you did with the chain strands. I made eight strands for this tutorial in various lengths, but you could make more if you wanted to, or instead add more chain strands if you prefer.
I hope you enjoyed this beaded bracelet tutorial and that you’ll give it a go! Do you know anyone else who’d like to make this? Please share this post online if so!
Before you go, check out these posts below:
- Ombre Ice Peyote Stitch Cuff Bracelet Pattern
- How to Make Beautiful Waterfall Earrings
- How to Make a Beaded Flower Ring
*Affiliate links are contained in this post. This means that I will receive a small commission should you decide to purchase anything through one of my links, at no cost to you. I only ever recommend products that I think are great and any commissions received help me to keep this site up and running! Thanks for using my links if you are able to!
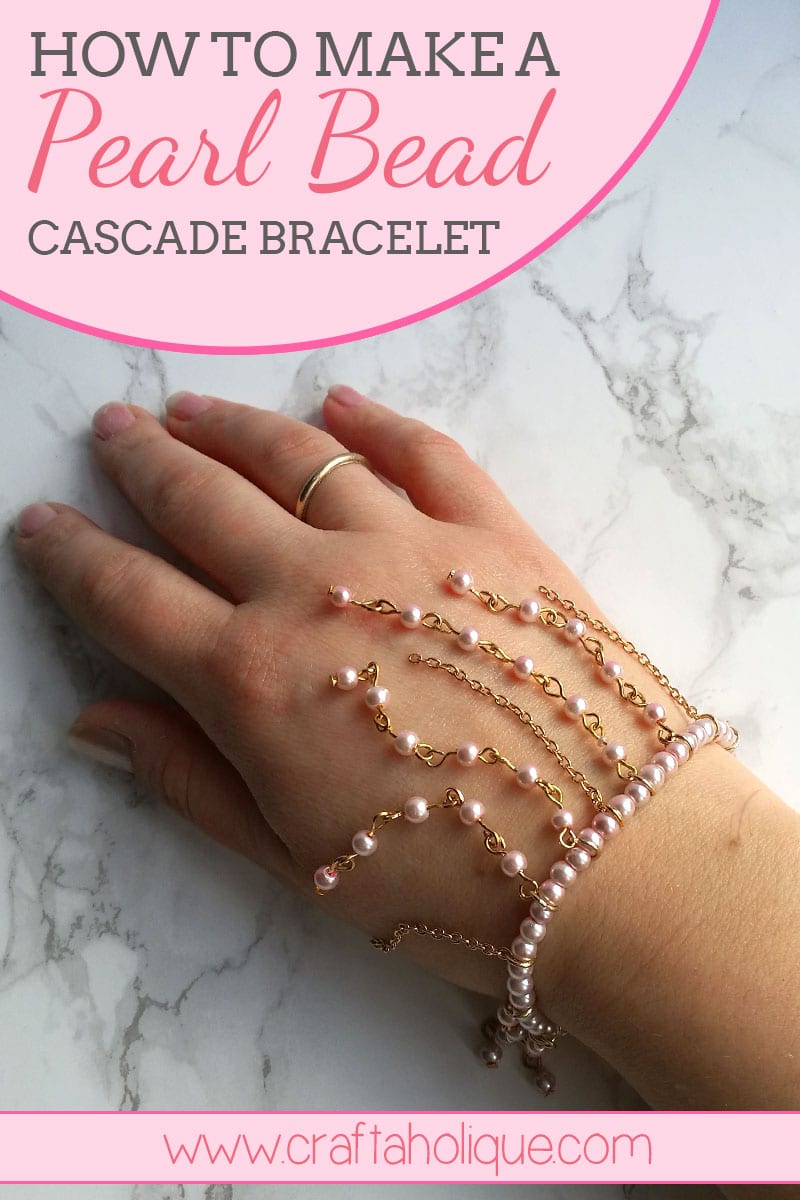
*Image source: all photos © Craftaholique


Beautiful, absolutely gorgeous. The explanation was so easy and the showing also, thank you so much for that, well, well done.
Thank you again Hayley, done with purrrfection.
I’m so glad you found this tutorial useful! 🙂 Thank you so much for your feedback.