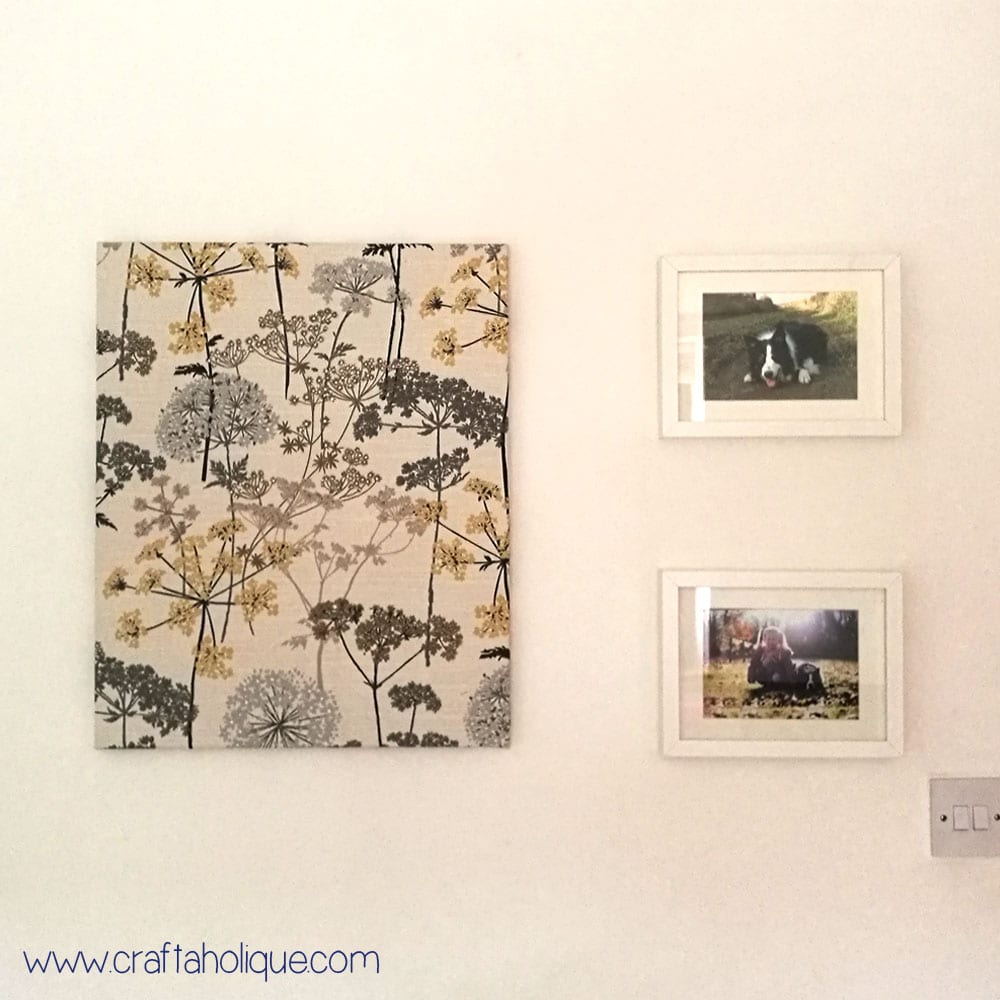
*Collaborative post.
Fabric canvas pictures make lovely furnishings for the home and they’re super easy and cheap to make too! I have two enormous fabric pictures in the alcoves either side of my fireplace. I made them several years ago, but they still look great with my interior decor. And when they don’t look so good anymore, I can easily change them!
I recently made some more fabric wall art, after the kind people over at Interior Goods Direct sent me a fun fabric bundle to play with – and here’s the tutorial for it below.
First of all though, you’ll need:
- Fabric in your chosen colour or pattern – fat quarters are great for this.
- Staple gun – Hobbycraft sell these for just £5.
- Stretched canvas – Hobbycraft have a great selection of these too.
**My affiliate links have been included above.
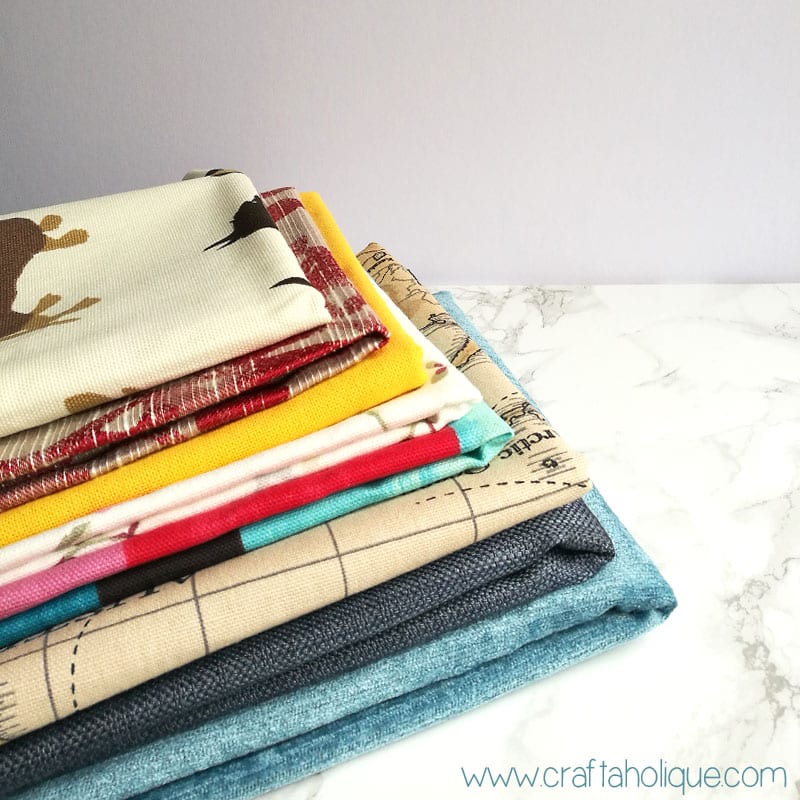
These are some of the fabrics I received from Interior Goods Direct as part of their fabric fun bundle, which you can get for just £15. It arrived all wrapped up, almost like a present, so it was very exciting to open it!
There were many different types of fabric inside, some with funky patterns and others plain or textured. All of them were very thick and great quality – perfect for a wall art project like this – and they would be great for curtain or upholstery projects too.
I received one that had a map of the world on it, it was so interesting! And one had a cute dog pattern on too, it would make a great dog bed for a small dog. My dog is huge however and I didn’t have enough fabric to make one for him! Still, I’m sure I’ll be able to put these fabrics to good use.
For my fabric wall art, I chose a fabric with a sprig pattern in soft blue, yellow and grey colours.
Step 1
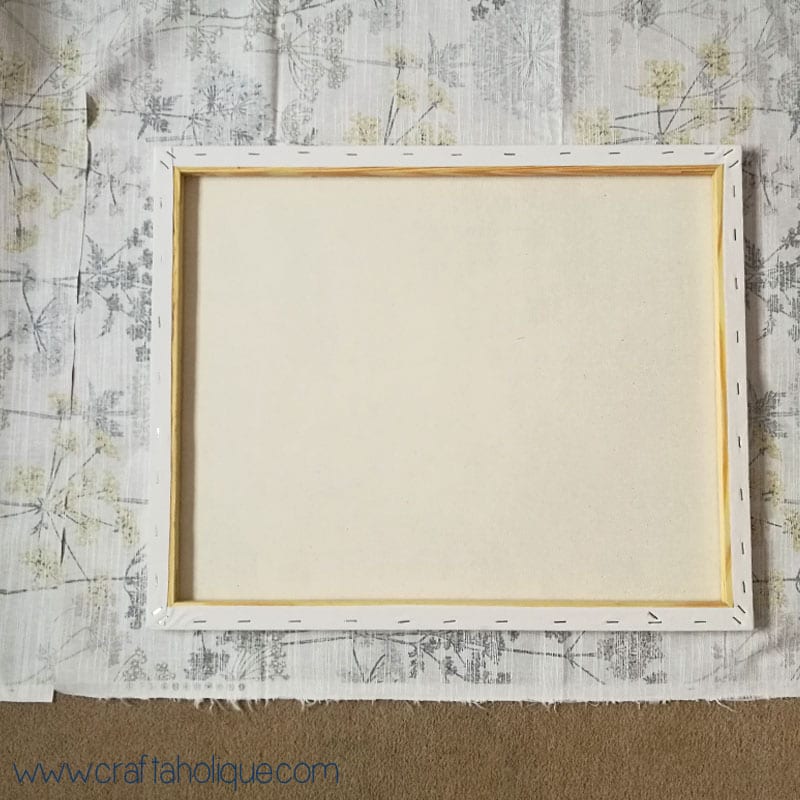
First of all, I lay my canvas on the underside of the fabric and cut around it leaving a 2 inch margin around the edge.
Step 2
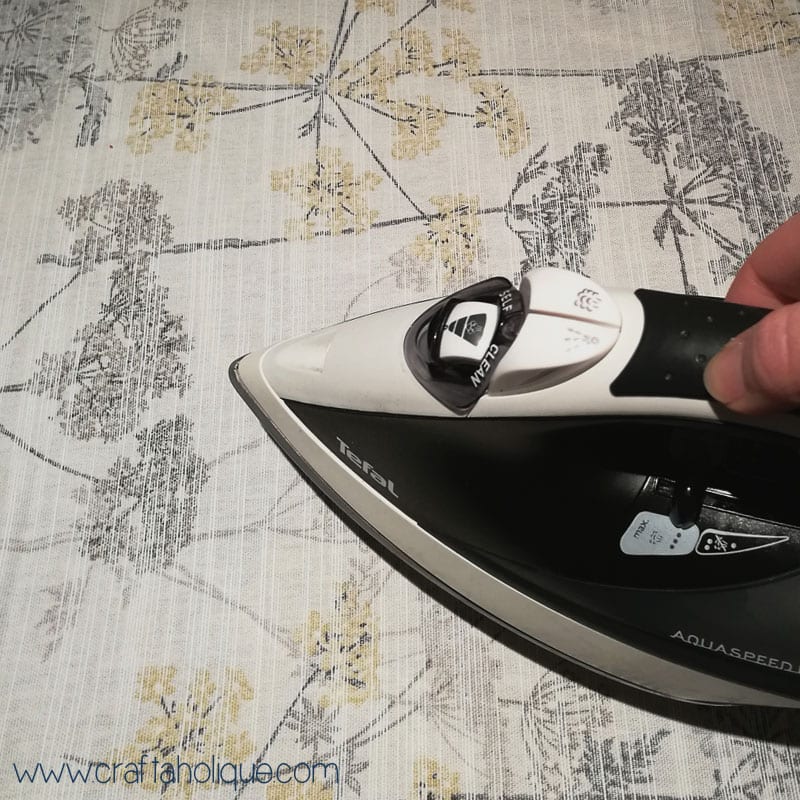
I then ironed my fabric carefully on the underside, to get rid of the creases!
Step 3
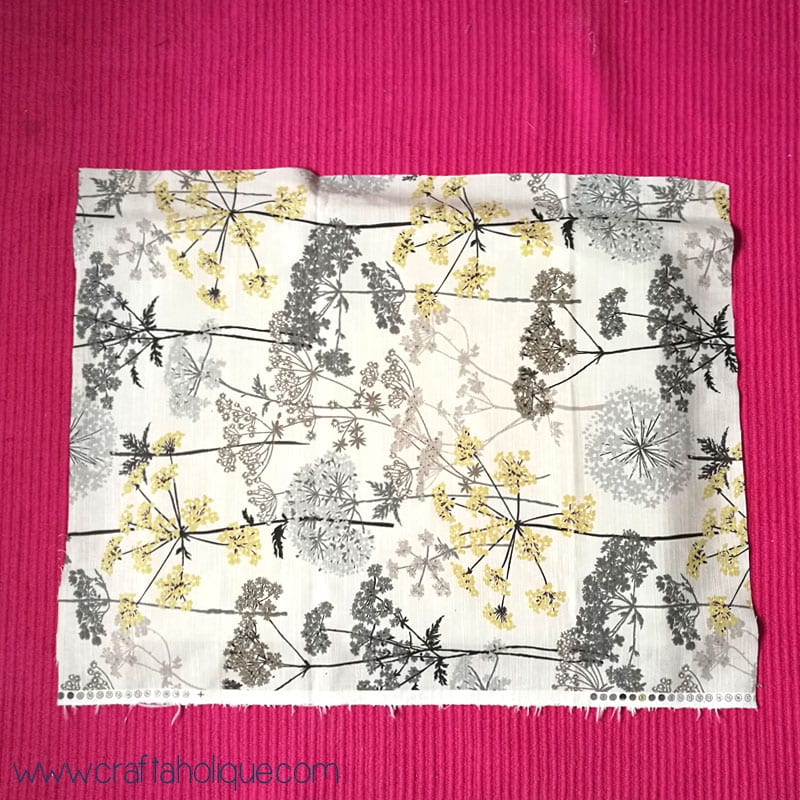
I placed the fabric over the right side of the canvas so I could see how the pattern would look before flipping the canvas over. This gave me the opportunity to straighten the fabric out and make sure the sprigs were where I wanted them to be.
Step 4
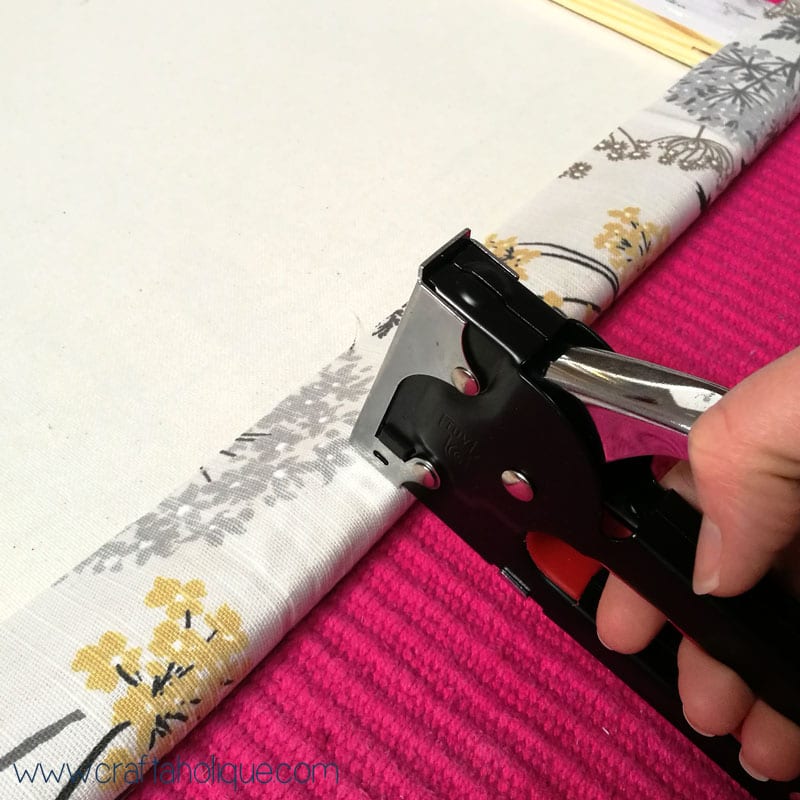
Pulling the fabric tight, I began to put staples into the frame to hold the fabric in place. The easiest way to do this is to put one staple in each frame edge, then add more all the way around the frame, until the fabric is tight and secure.
Step 5
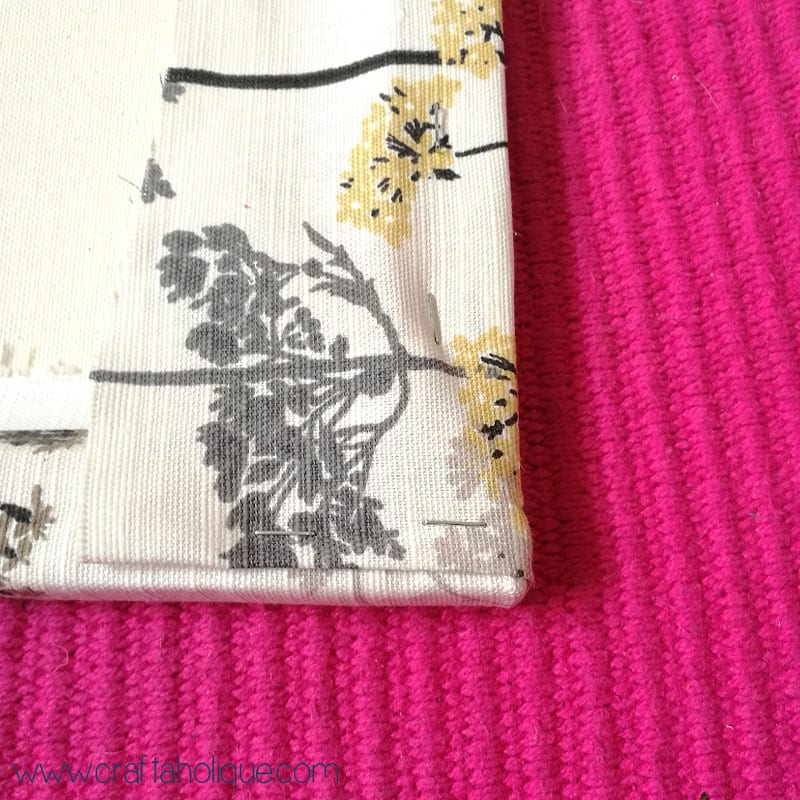
With regard to the corners, think of it as though you’re wrapping up a present! Fold the corners in neatly and staple, as shown in the above pic. Add a picture hook to the wall where you want to hang your fabric wall art and then you’re done!
A really easy fabric DIY project that can brighten up your home. Thank you to Interior Goods Direct for collaborating with me to bring you this post!
Please take a minute to share this post online. And before you go, check out these other craft tutorials!
- How to make decorative kitchen cupboard door hangers
- Make your stapler happy with this office stationery makeover!
- How to make a felt owl mobile phone case
*Affiliate links are included in this post. This means that if you make a purchase through one of my links, I will earn a small commission at no cost to you. I only ever recommend products that I think are great and any commissions help me to keep this site up and running. Thank you for using my links if you’re able to.
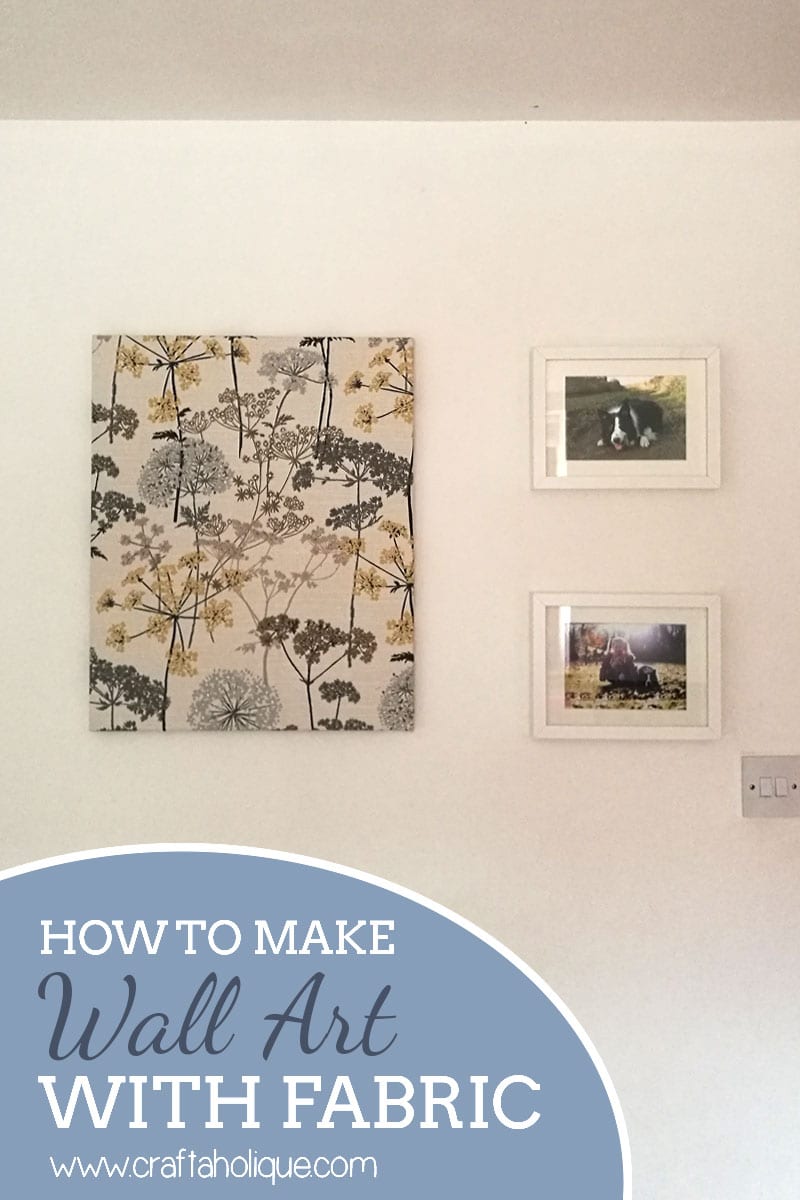
*All images © Craftaholique


Leave a Reply