*Affiliate links are contained in this post.
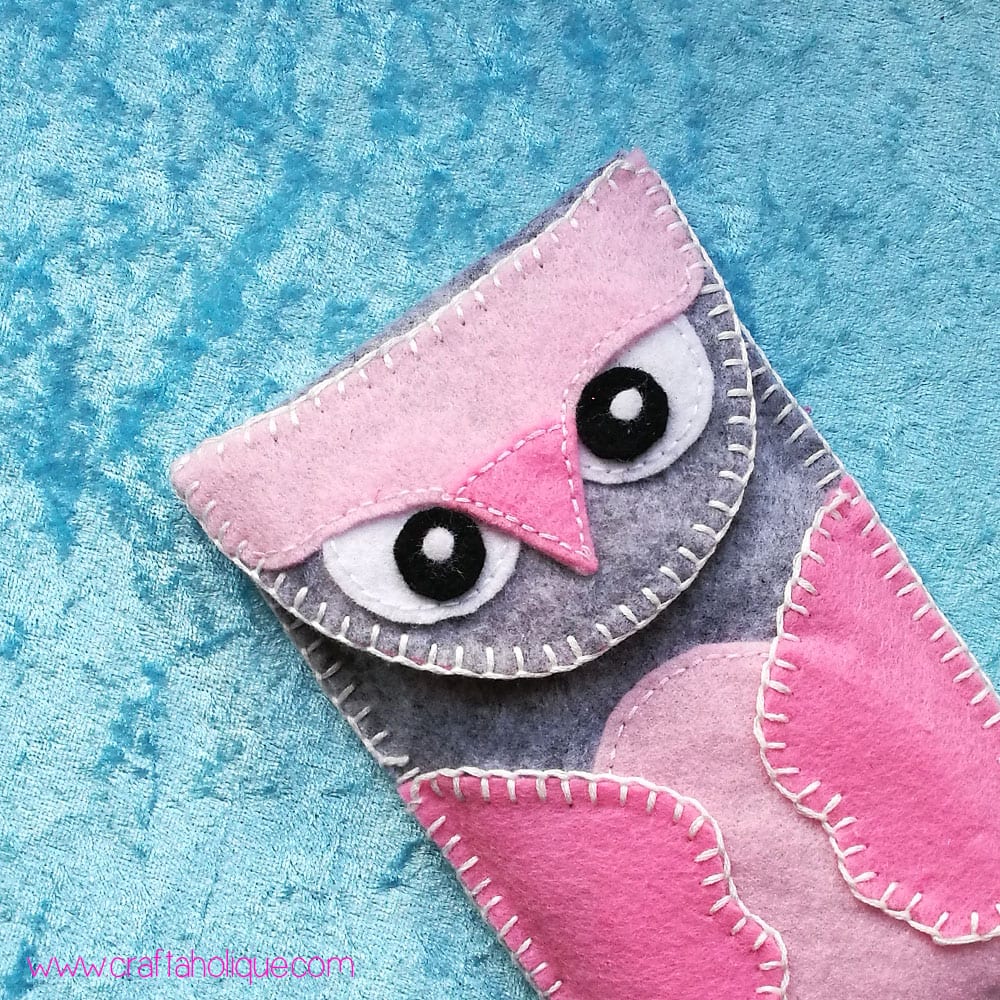
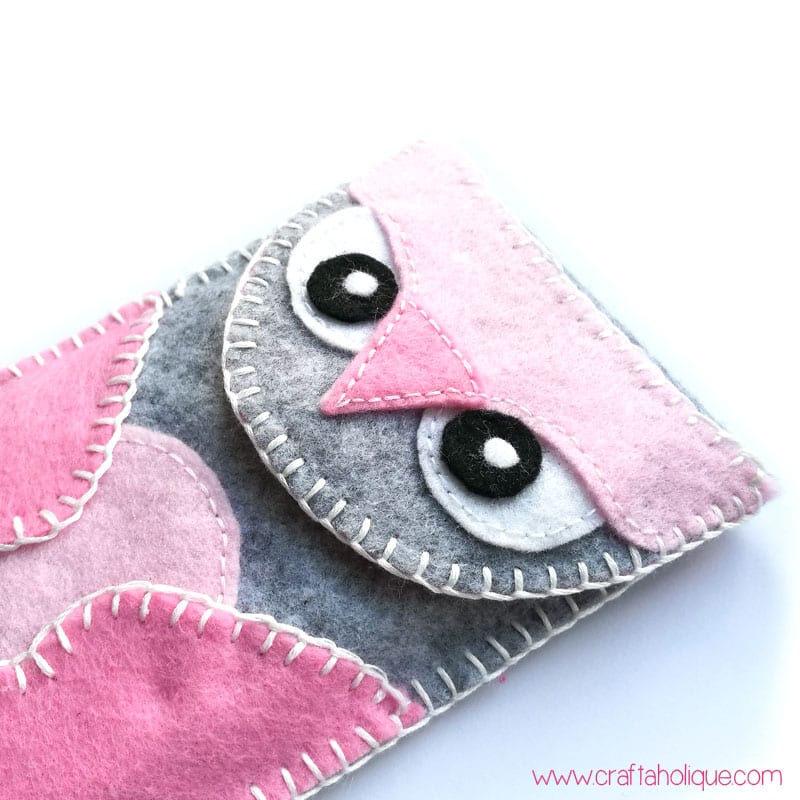
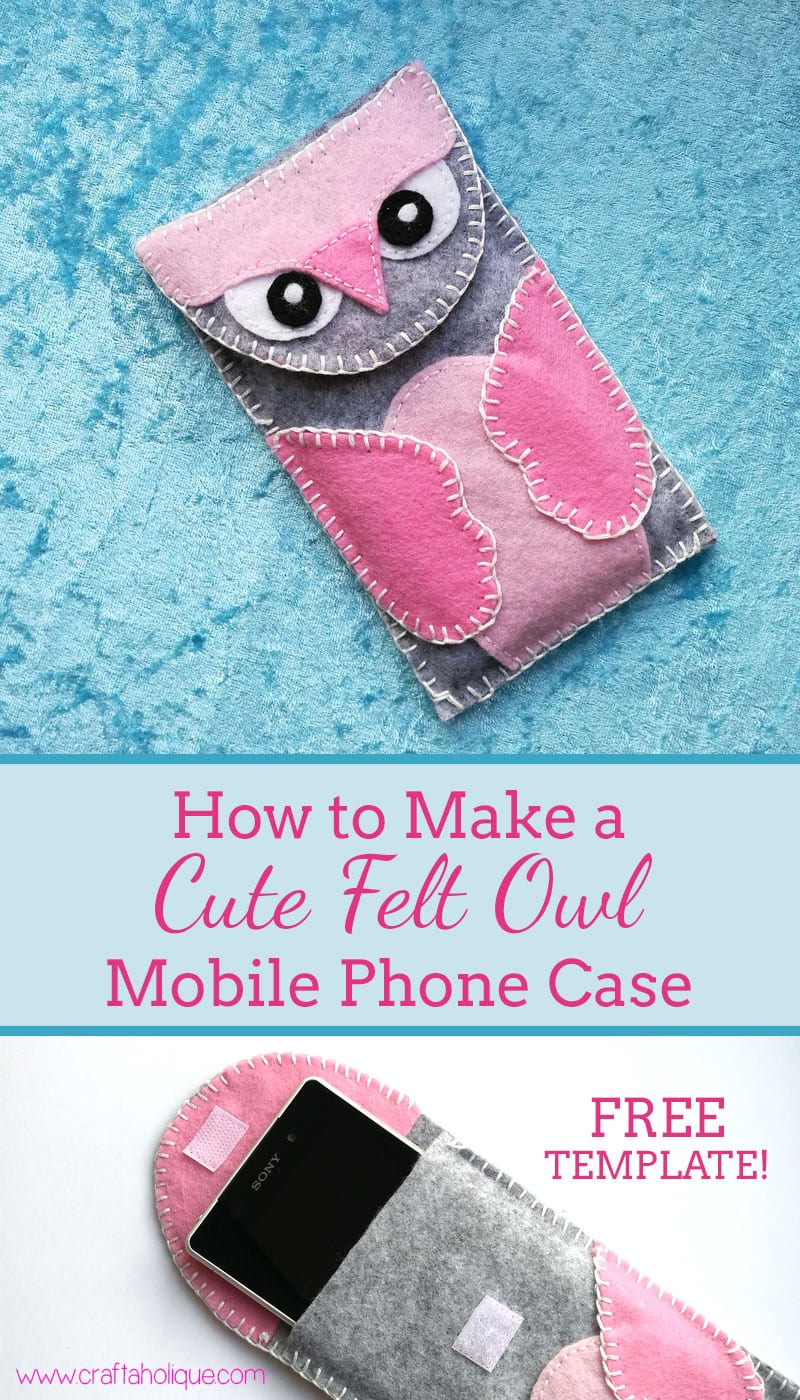
Over the last day or so, I’ve been busy creating this little creature to house my mobile phone – cute huh? This was so fun to make – I’m not the best at sewing but I do find it therapeutic and relaxing to sit there quietly stitching with the TV on in the background.
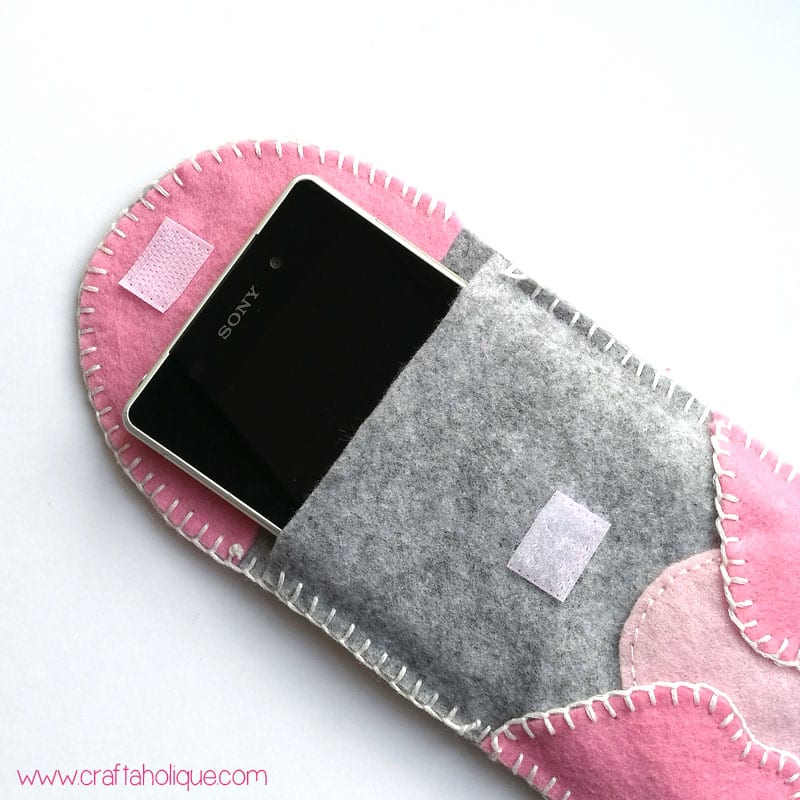
This felt owl phone case is made using just a few pieces of felt. It’s a great size for most smartphones. It fits my old Sony Xperia phone which is around the same size as an iPhone and it also fits the Hauwei P9 mobile I’m currently using too!
In case you want to make this cute felt owl phone case, I’ve included some templates that you can use as a guide to cut out the shapes. I didn’t actually use a template when creating this at first, I just drew some free-form shapes by hand. Afterwards, I thought how much easier this project would have been with some templates, so I created these afterwards!
Download the templates below:
For this project, you’ll need the following materials
- Sheets of flat felt in the colours of your choice, I used grey, two shades of pink, black and white.
- Cotton thread
- Sewing needle
- White embroidery thread
- Velcro for fastening
- Fabric glue (optional)
- Scissors
Step 1
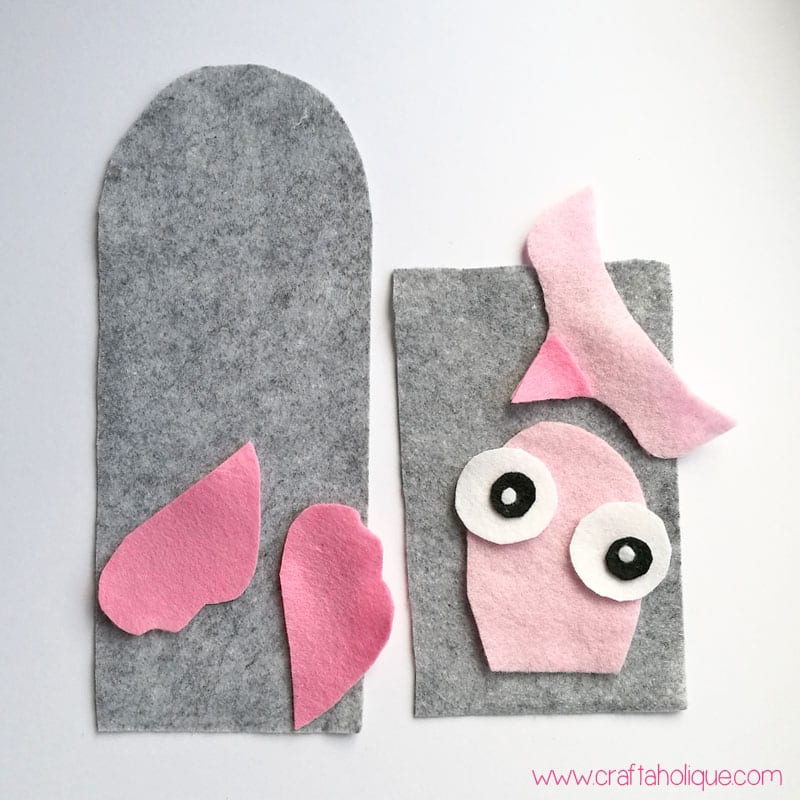
Use the templates provided as a stencil on your flat sheets of felt. It’s worth overlaying your own phone onto the templates first to make sure that these will indeed fit your phone when sewn together. You may need to make your felt shapes slightly larger or smaller if you have a different size mobile.
Step 2
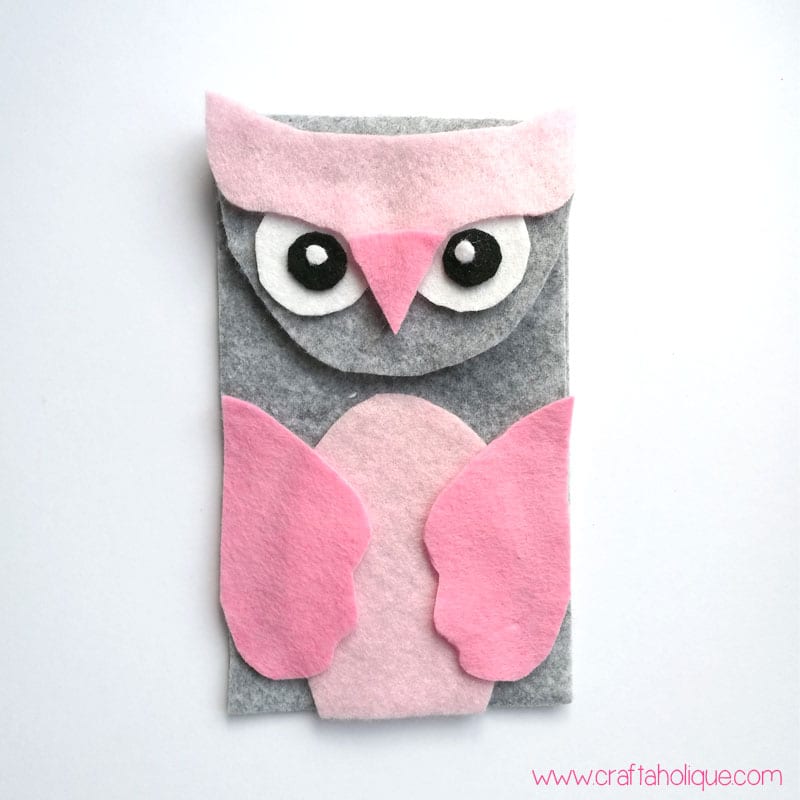
Once you’ve cut your shapes out, arrange them to form the owl design, so you can get an idea of how it will look. This will give you the chance to tidy up any edges if you need to.
Step 3
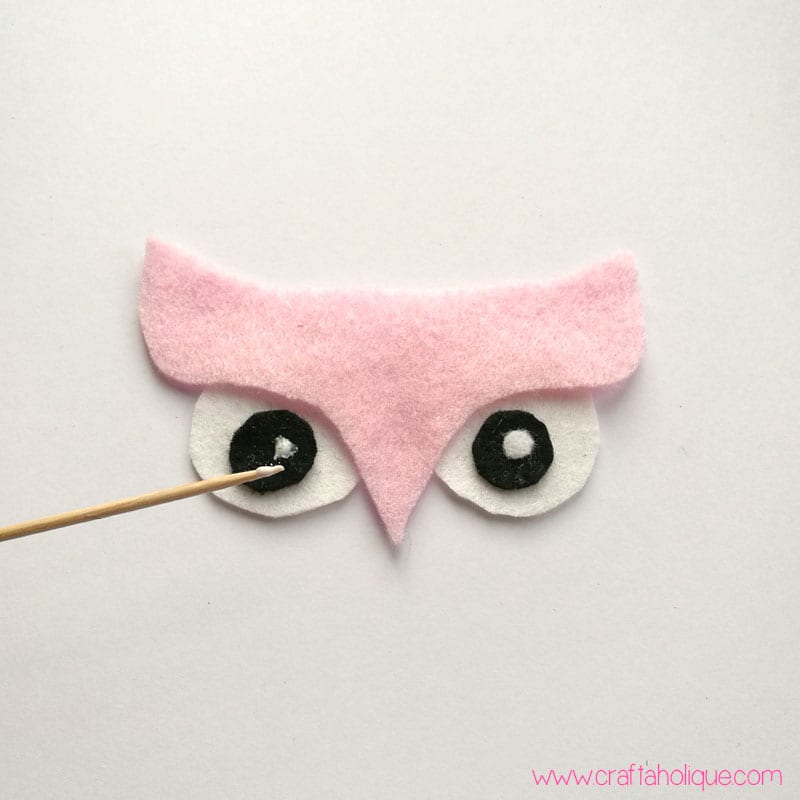
Whilst most pieces of this felt owl phone case are sewn together, I decided to glue the eyes together for ease. To get the pupils in the desired place, lay the “eyebrow” part of the owl over the eyes, so you can see where to glue on the pupils!
Step 4
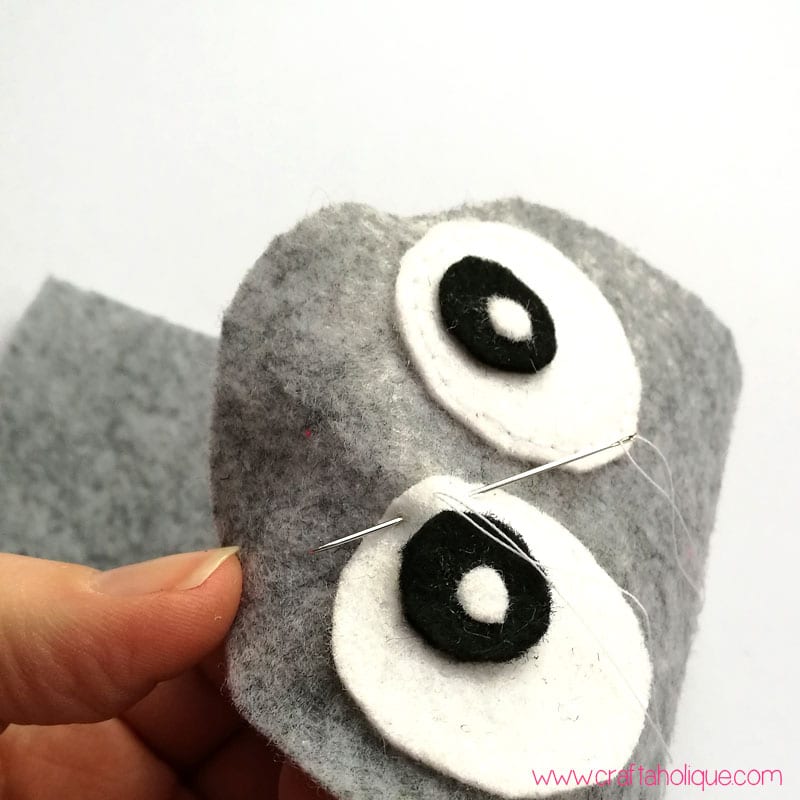
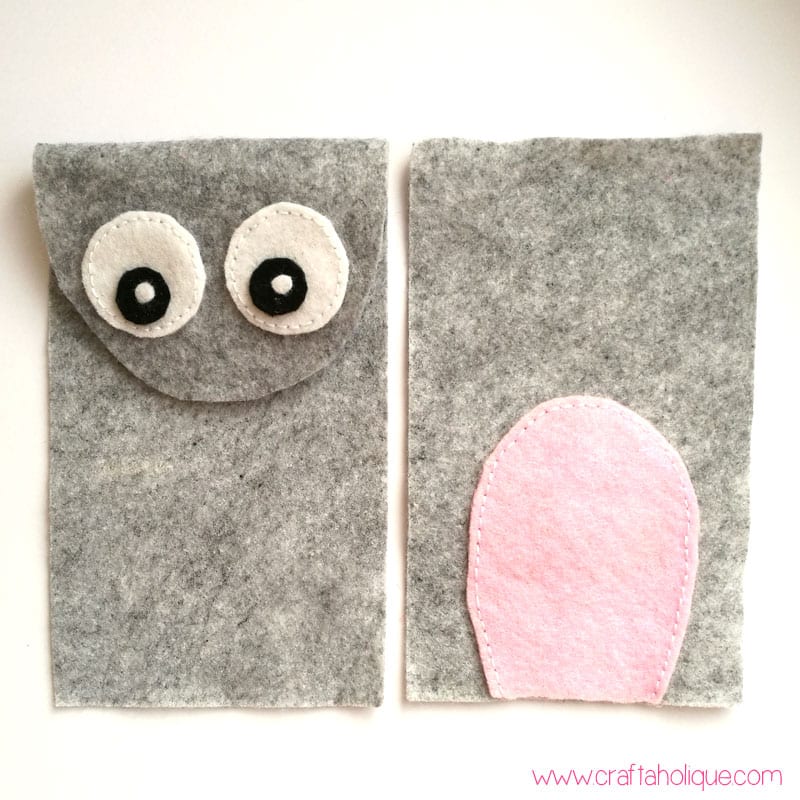
Handsew the whites of the eyes for a neater look. I used backstitch for this step. Take care to stitch the eyes to the longer panel, with the top part folded over!
Step 5
And then I did the same for the breast part of the owl on the front panel of the phone cover (and part of the eyebrow and beak).
Step 6
Use the embroidery thread to define some of the more interesting features of this felt phone case. I used blanket stitch to define the wings, part of the eyebrow and face, as well as to actually stitch the front panel to the back piece. Blanket stitch works really well as a decorative effect.
Step 7
For the inside of the flap, I cut out an extra semi-circle to cover the stitching from the eyes (use the top of the long panel template to make this part). I tacked this piece to the inside whilst doing the decorative edge on the front of the flap.
I then used velcro to create a fastening. You can stitch this on if you like but I found it much easier to glue it on!
I hope you enjoyed this tutorial and that the templates help you to make something similar! If you liked this post, please take a minute to share this online with your followers.
*Affiliate links to Etsy are included in this post. This means that if you make a purchase through one of my links, I will earn a small commission at no cost to you. I only ever recommend products that I think are great and any commissions help me to keep this site up and running. Thank you for using my links if you’re able to.


I need the pattern
Hi Mya, you can download the templates for the pattern in the blog post above.