*Affiliate links are including in this post.
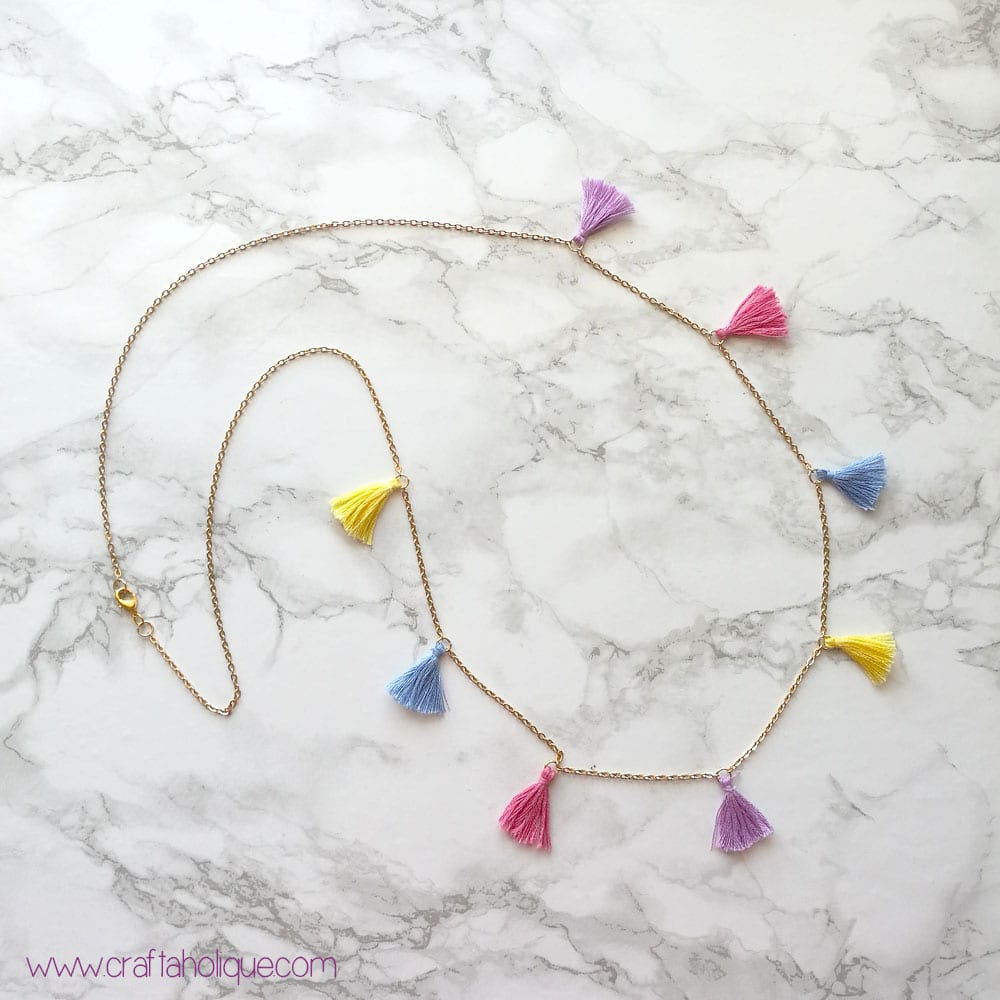
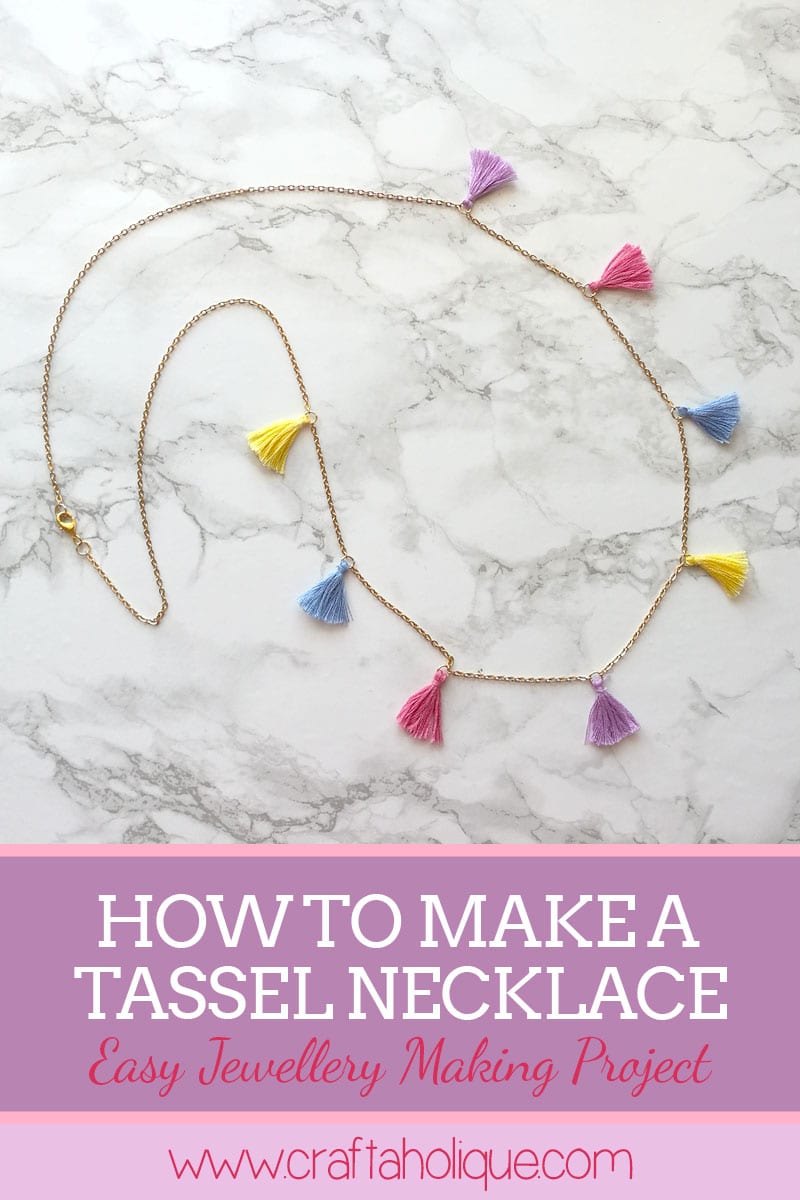
The weather has finally been getting warmer this week in the UK, inspiring my latest tutorial – this pretty mini tassel necklace in summery colours of yellow, pink, purple and blue! This is a long necklace that will dress up a casual summer outfit perfectly.
Ready to make one?
Gather your materials! You’ll need:
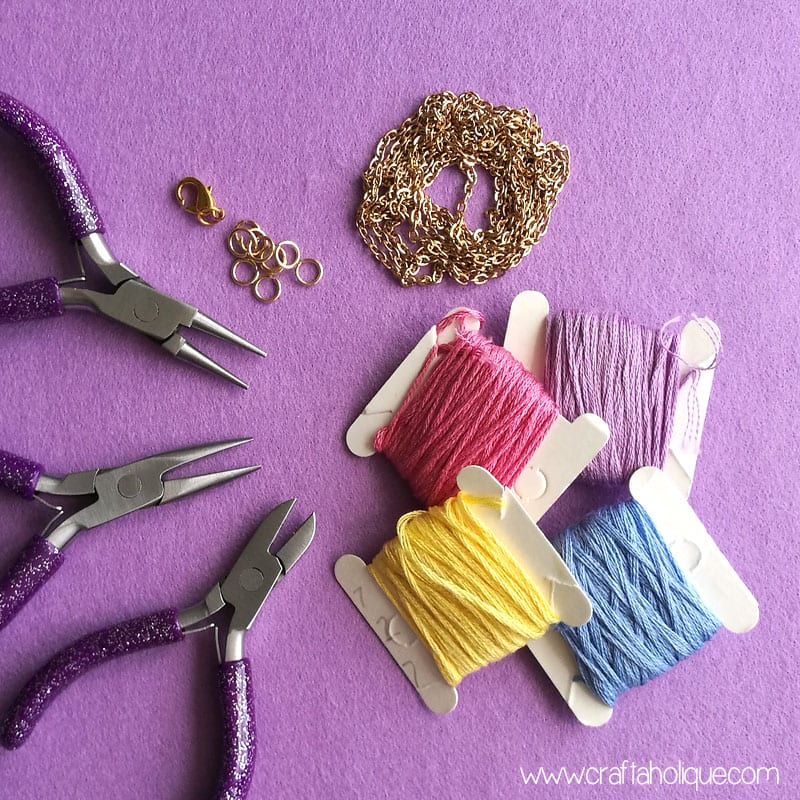
- Around 1 metre of gold tone trace/curb chain.
- Gold tone lobster clasp.
- Gold tone jump rings (6mm or larger).
- Embroidery thread in mixed colours.
- Jewellery making tools – round nose and chain nose pliers, plus wire cutters.
- Scissors
- Sharpie pen
- Tape measure (these ones are really cool!)
Step 1: Use embroidery thread to make tassels
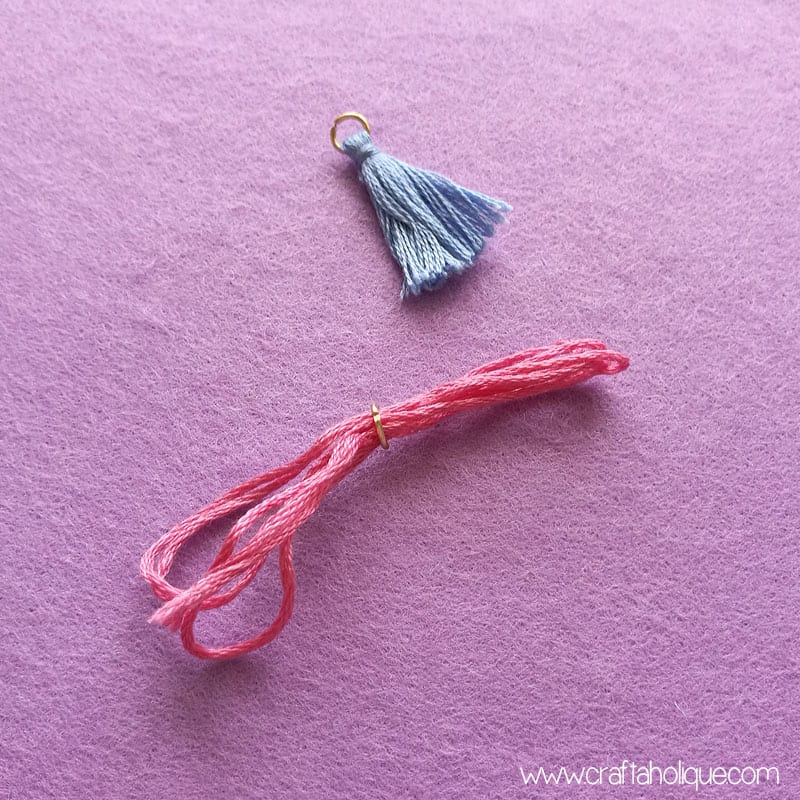
To begin, trim off a length of embroidery thread around 20 inches long. Fold it in half three times and then thread it through one of the jump rings as shown in the above photo.
Step 2: Wrapping the tassels
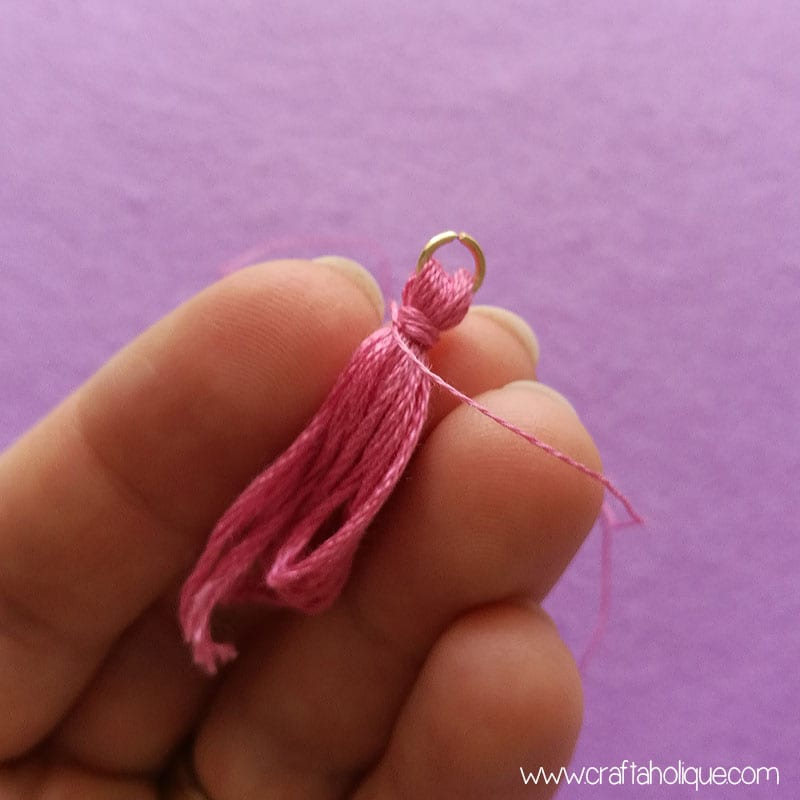
Cut another length of embroidery thread around 8 inches long and unravel it so that you can pull away a thin strand. Use this to wrap around the top of the tassel, just below the jump ring. Once you’ve secured it in place by wrapping several times and tying it in a double knot, trim off the excess thread.
Step 3: Trimming the tassels
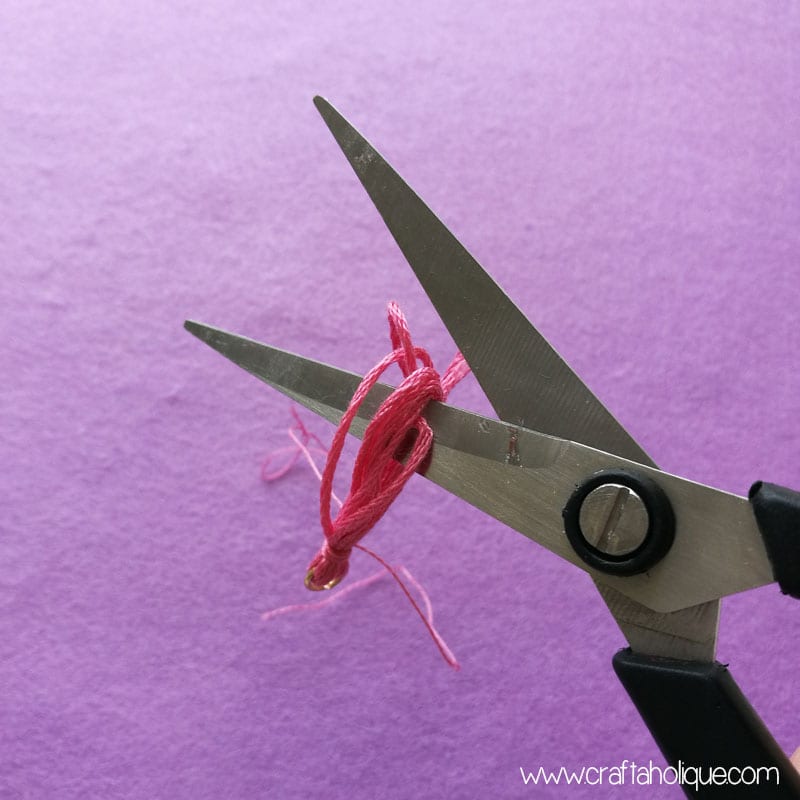
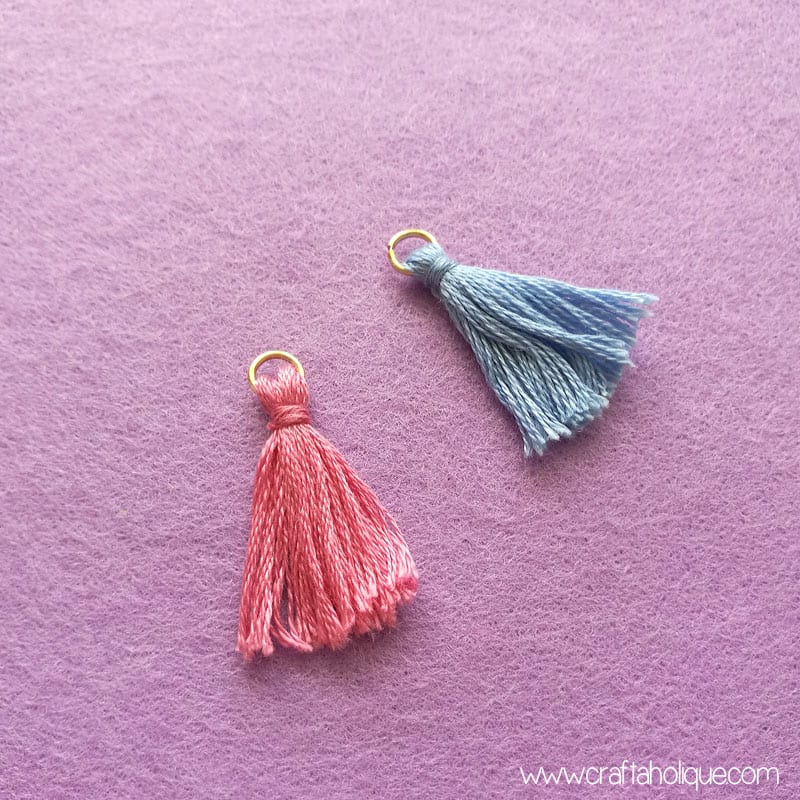
Turn the tassel upside down and use scissors to cut through the loops of the embroidery thread as shown in the above photo. Then trim the tassel to the desired length that you want, making sure to keep the edges neat and tidy! Repeat steps 1 to 3 to make another 7 tassels for the necklace.
Step 4: Marking out where to place your tassels
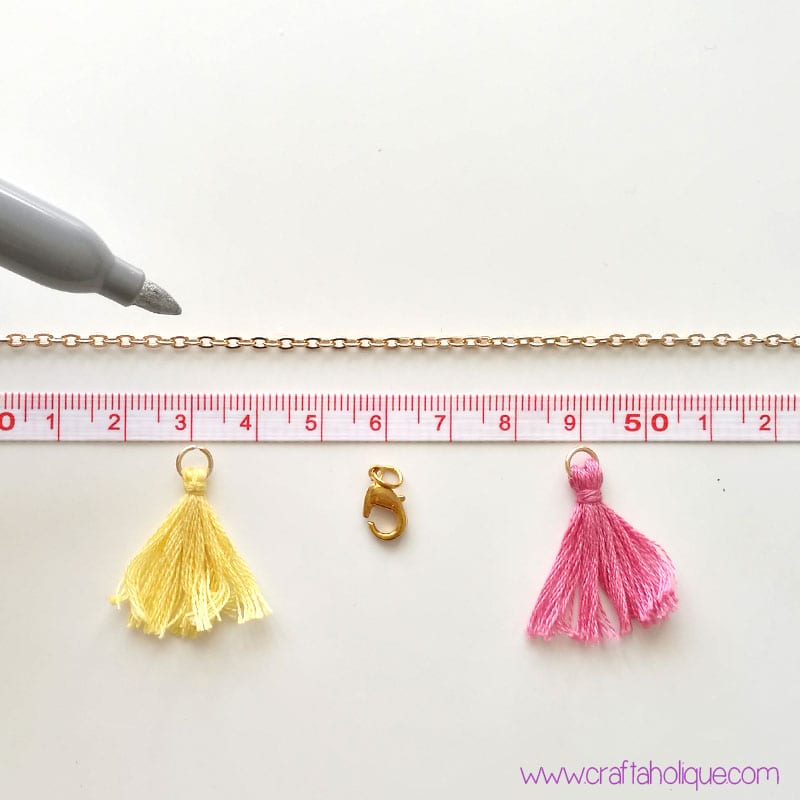
Measure the trace chain around your neck to size the necklace. This tutorial is for a long necklace so make sure that both ends of the chain reach your middle, just above your waist. Trim the chain with the wire cutters once you’re happy with the size.
Then find the halfway point and working outwards from the centre, mark out where you want to place your tassels, leaving around 6cm between each tassel. Use a sharpie pen to identify the links that you’ll be removing (this is a really good way of ensuring that you don’t make a mistake when trimming the chain)!
Step 5: Attaching the tassels
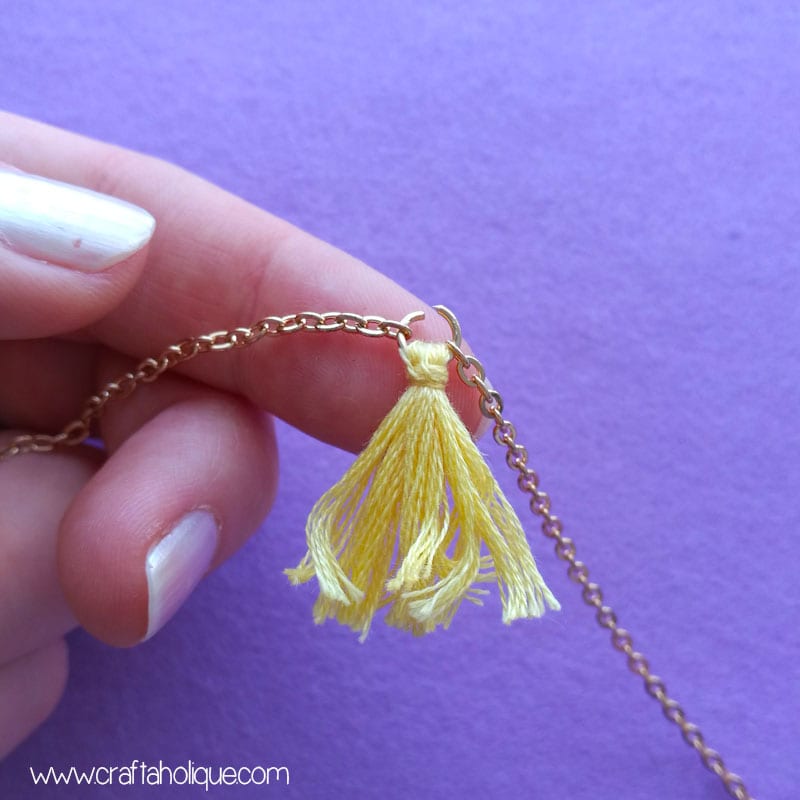
Use wire cutters to remove the chain links that you’ve marked and then join the chain back together again by slotting one of the tassels in between, see the above pic. Open the jump ring to attach the chain with your round nose and flat nose pliers and then close the jump ring back up again.
Step 6: Attach the clasp
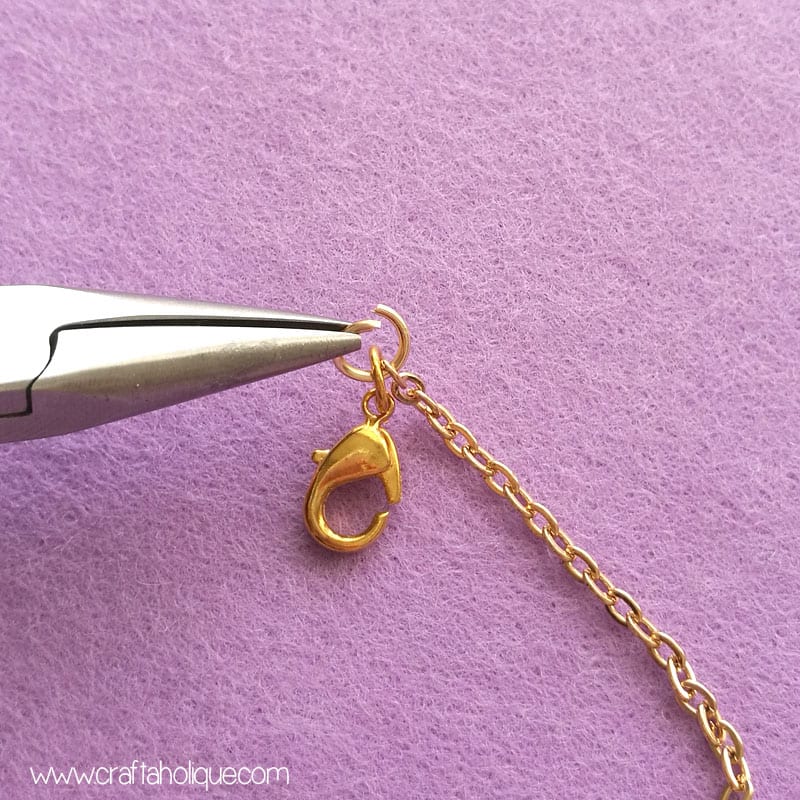
When all of your tassels are in place, the final step is to attach the lobster clasp to the chain with another jump ring. Use a separate jump ring for the other end of the chain so that the lobster clasp can attach to it.
The only thing left to do now is wear this pretty necklace when you’re ready! I hope you enjoyed this jewellery making tutorial – if you did, please take a moment to share this online. You might also want to subscribe to Craftaholique using the box at the top of the site to be kept updated about future posts like this.
Before you go, why not check out some of my other tutorials below?
- Crystal Heart Glam Earrings Tutorial
- Beautiful Waterfall Earrings
- Party Jewellery: Multi Strand Sparkly Rhinestone Bracelet
*Affiliate links are included in this post to Etsy. This means that if you make a purchase through one of my links, I will earn a small commission at no cost to you. I only ever recommend products that I think are great and any commissions help me to keep this site up and running. Thank you for using my links if you’re able to.


Leave a Reply