*Affiliate links are contained in this post.
Pumpkin carving? It’s a lot of fun if you don’t mind the mess. This year though, I thought I’d try something a little different. This still involves some mess but not the soggy kind that you’ll get from scooping out the inside of a pumpkin.
I decided to spray paint a few pumpkins after being inspired by this amazing DIY cinderella butterfly pumpkin over at A Pumpkin & a Princess. I saw this last year and thought it was just so pretty that I wanted to make a glamorous version of my own.
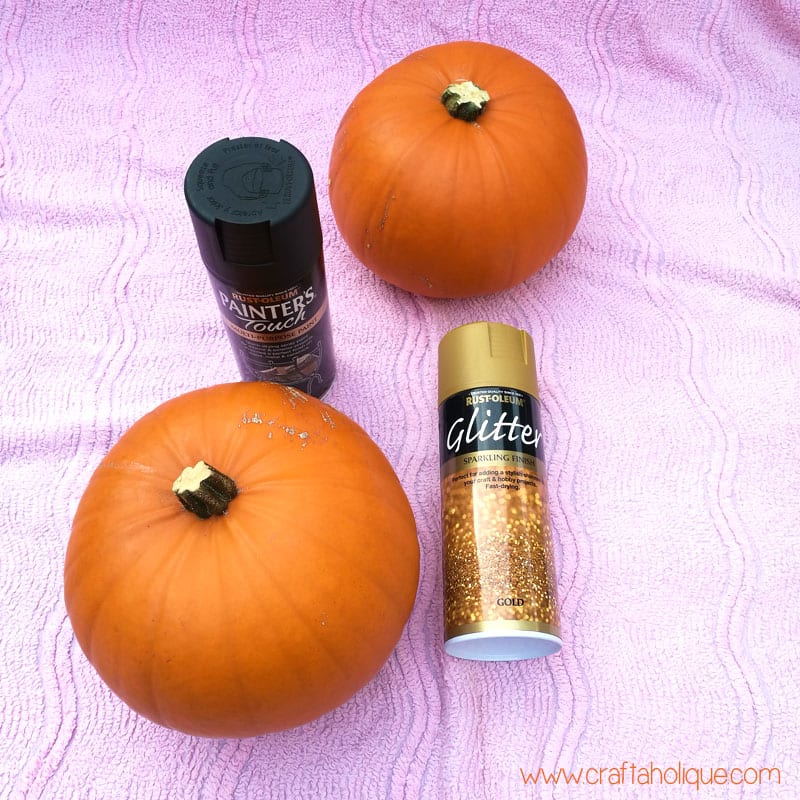
When creating my glitzy pumpkin scene, I used the following materials:
- Rust-Oleum Painter’s Touch Spray Paint in Black
(also available in the USA via Amazon.com – see here.
)
- Rust-Oleum Sparkling Gold Glitter Spray Paint
(also available in the USA via Amazon.com – see here.
)
- SupaDec Gold Spray Paint
- Black plastic spider which I then spray painted gold (see similar ones here).
- Gold sparkly ribbon.
To begin, I stretched out an old blanket on the ground outside and covered up some nearby garden furniture so that I wouldn’t get spray paint everywhere. It’s the first time I’d used spray paint before but I’d been told that it can travel if it’s a windy day! So I spent a bit of time making sure that I’d prepped the area where I’d be painting to avoid any accidents.
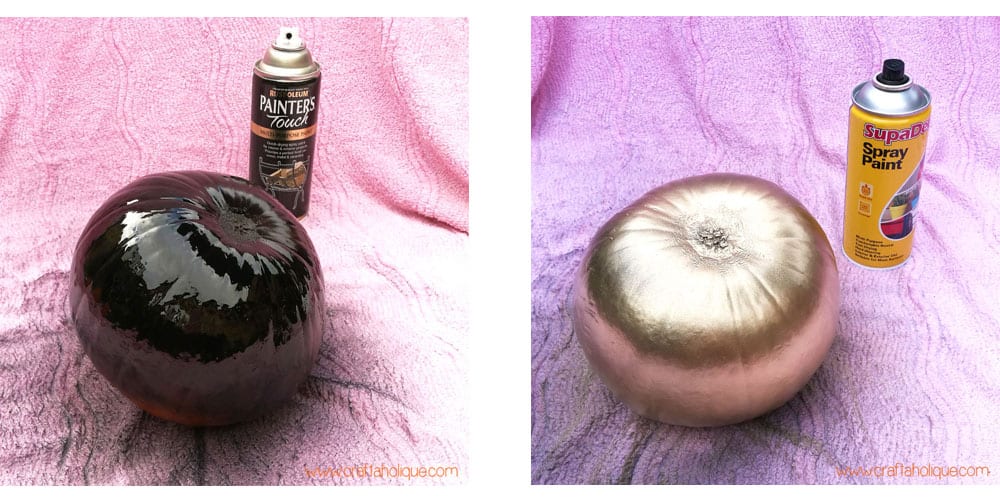
I spray painted the underneath of my pumpkins first, holding the can around 30cm away and spraying as evenly as possibly in light strokes all the way around.
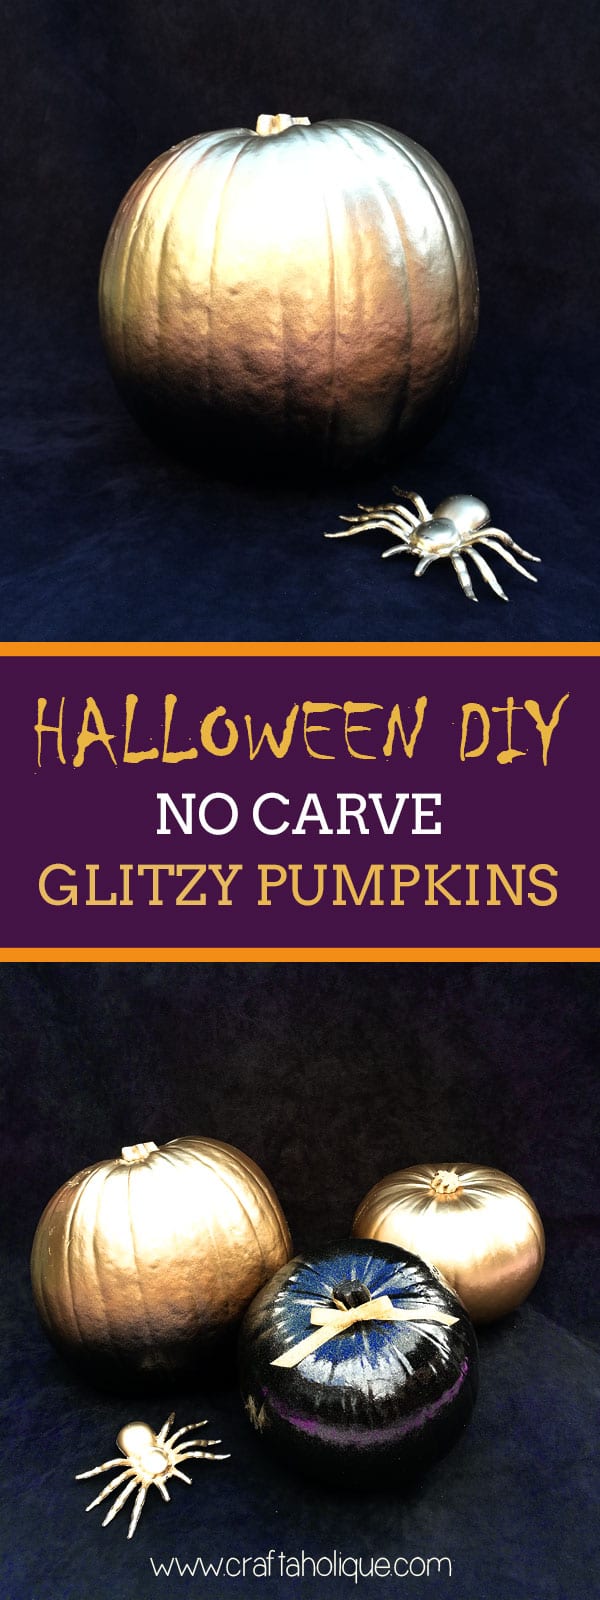
It was much easier than I thought it would be to get an even coverage all the way around. The hardest part was having to wait for the paint to dry between coats! I left the pumpkins for around 20 minutes before turning over, but I should really have waited a little longer as the spray paint was still a little tacky and I had to go over part of them again. Take a look below at the pumpkins I decorated.
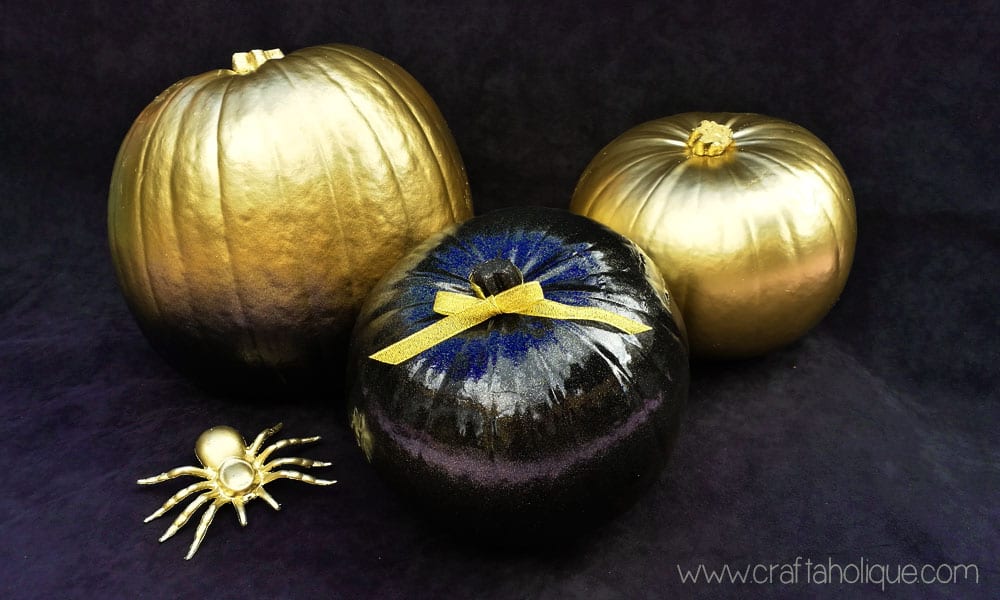
Halloween DIY – Glitzy No Carve Pumpkins
This pumpkin above has been decorated all over in gold spray paint (SupaDec). I had intended to only use the Rust-Oleum Glitter Spray Paint on this but when I tried it, it was translucent with gold glitter flecks. The Rust-Oleum Glitter Spray Paint didn’t show up all that well over the gold spray paint, so I didn’t bother with it for this one.
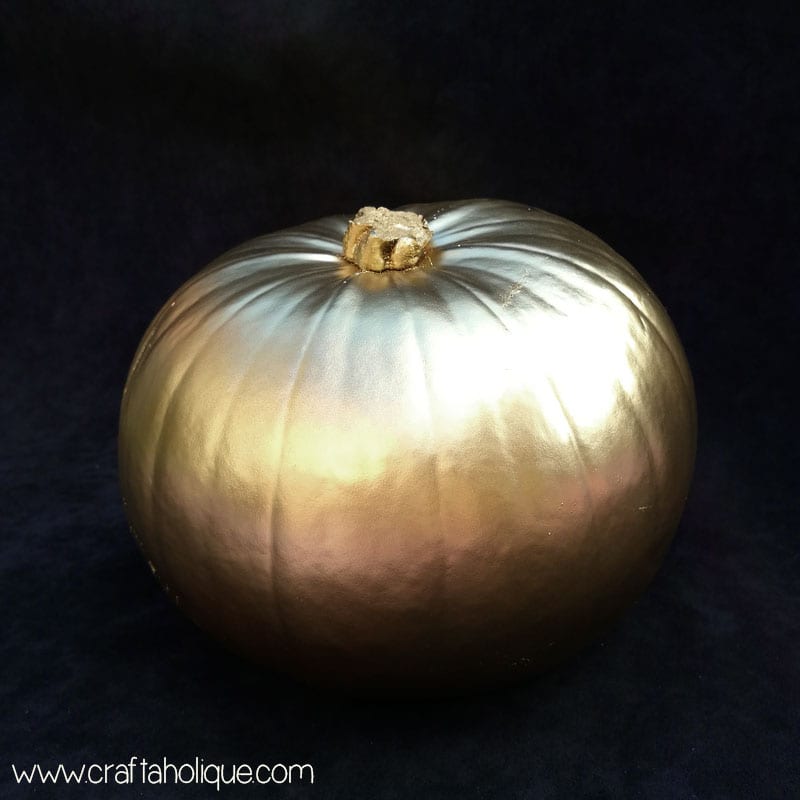
My absolute favourite pumpkin is the one I decorated with an ombre effect (below). I started by spray painting the entire pumpkin in the gold spray paint. When dry, I turned it upside down again and spray painted the bottom with the black spray paint. I then alternated layers of gold and black up to the middle part until I achieved the ombre effect that I wanted. I also added the Rust-Oleum Glitter Spray Paint over the middle and bottom of the pumpkin to give it a little sparkle. I love the way the light catches it!
I also decided to spray paint the black plastic spider at the same time. Spray paint is a tiny bit addictive once you get going with it!
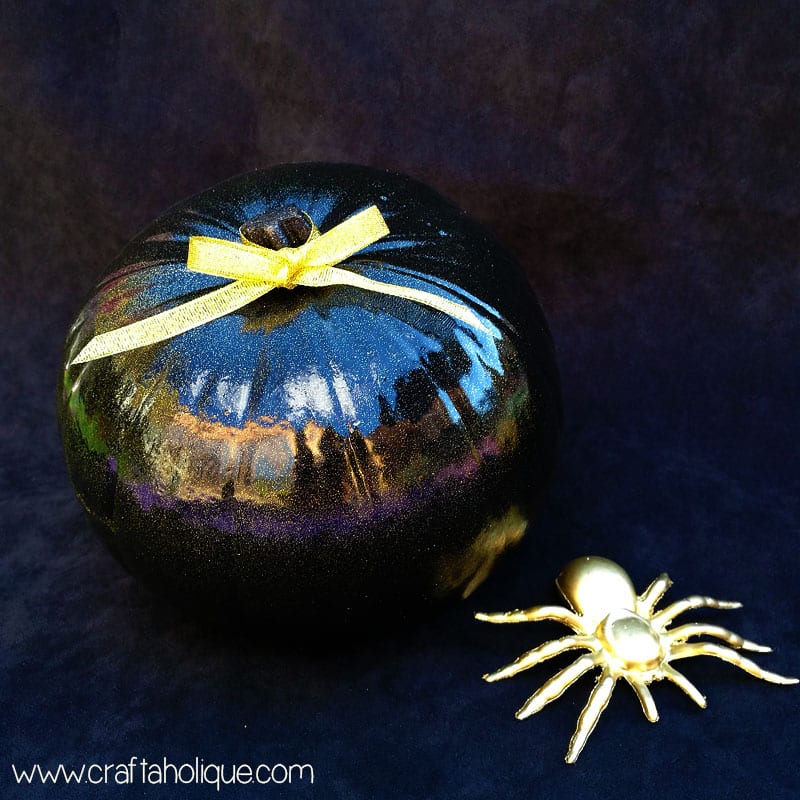
The Rust-Oleum Glitter Spray Paint really came into its own when I decorated this pumpkin below in the black spray paint. I sprayed a few layers of it over the top of the black spray paint to achieve this amazing sparkly pumpkin – totally glamorous all by itself. I found some sparkly gold ribbon and tied it around the stalk to finish it off.
I’m sure I’ll end up carving a pumpkin or two again this year, seeing as my daughter will no doubt want to do this! But I’m really happy with my no carve pumpkins too. I hope you enjoyed this post and that it’s given you some inspiration for your own Halloween decor!
If you liked this post, please take a minute to share this online! Thank you so much. Why not subscribe to my newsletter to be kept updated about more crafty posts in the future?
*Affiliate links are contained in this post to Etsy and Amazon. Craftaholique is a participant in the Amazon Services LLC Associates Program, an affiliate advertising program designed to provide a means for sites to earn advertising fees by advertising and linking to www.amazon.co.uk and www.amazon.com.
*All the above images are the copyright of Craftaholique. If you’d like to use one of my images, please contact me first.




Leave a Reply