• Skip to primary navigation
  • Skip to main content
  • Skip to primary sidebar
  • Skip to footer
  • Home
  • Tutorials
  • Crafts
    • Jewellery Making
      • Everything jewellery
      • Beadwork
      • Wire jewellery
      • Book reviews
    • Feltmaking
    • Crochet
    • Knitting
    • Kid’s crafts
    • Book reviews
    • Other
  • Inspiration
    • Everything inspirational
    • Handmade showcase
    • Colours
    • Materials
    • Crafty Links
    • Start a Blog
  • Lifestyle
    • Tips
    • Recipes
  • About
    • Advertise
  • Contact
  • Privacy Policy
    • Cookie Policy
  • Disclaimer / Disclosure

Craftaholique

Embracing The Handmade Life | UK Craft Blog

You are here: Home / Crafts / Easter Craft Project! How to Make Easter Egg Fairy Lights

March 30, 2017

Easter Craft Project! How to Make Easter Egg Fairy Lights

Easter Craft Project - How to make Easter Egg Fairy Lights

*Affiliate links are included in this post.

Ready for a little Easter inspired home decor project?

Today, I’m pleased to share this fun Easter craft tutorial and hopefully it’ll inspire you, especially if you’re wanting to create some pretty Easter decorations for your home.

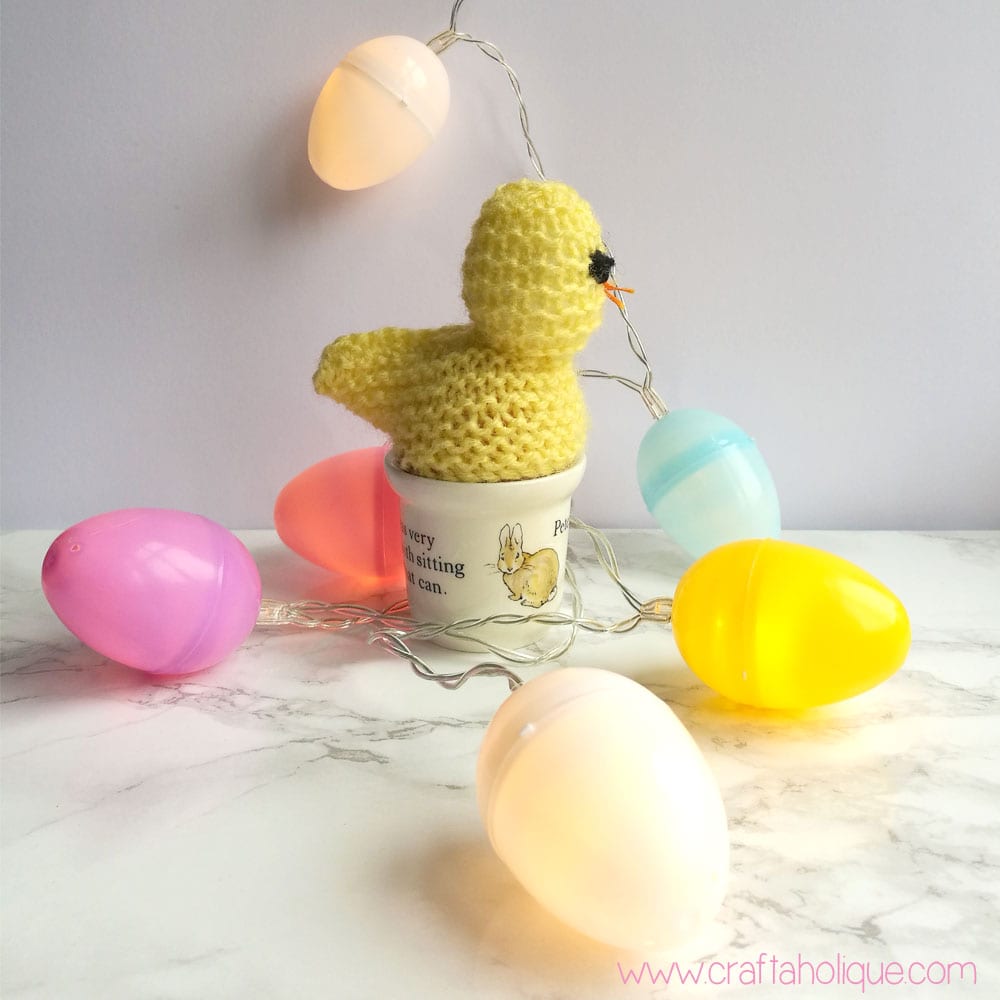
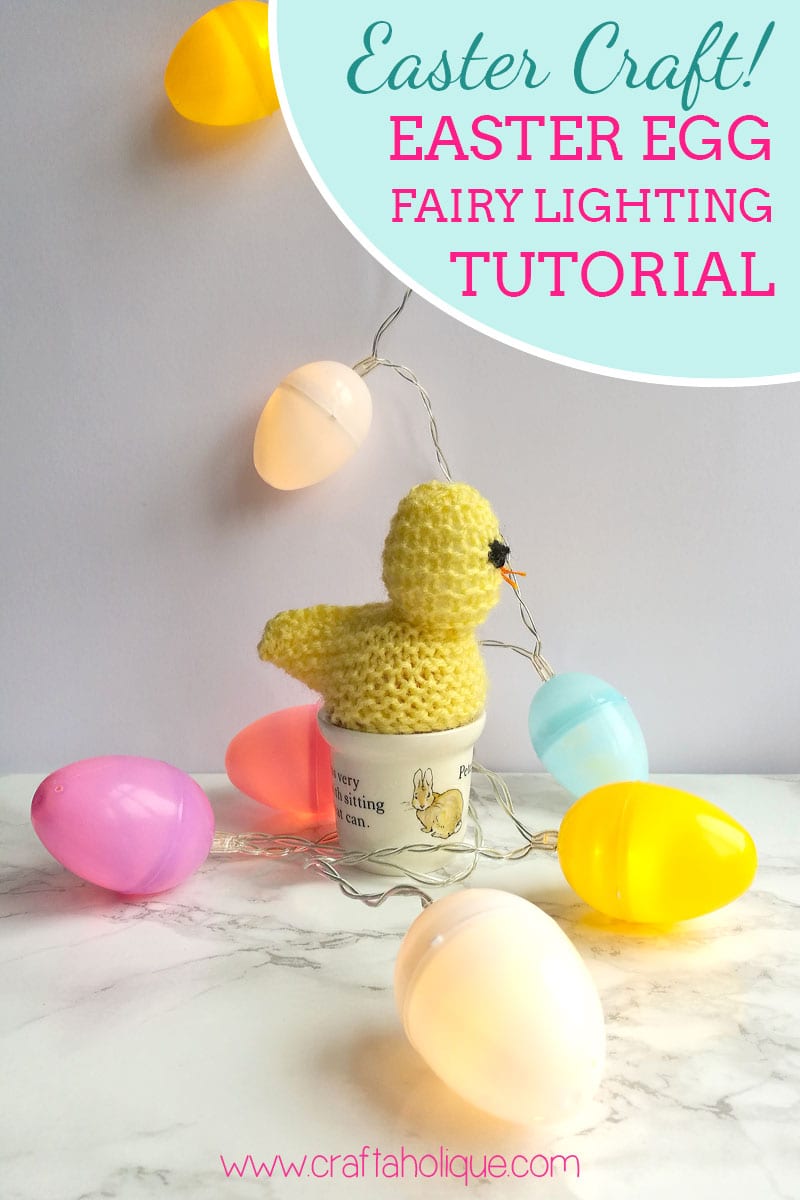
Find out how to make these fun fairy lights with an Easter egg theme in my tutorial below. This is a quick craft project that’ll take an hour at most! When you’ve made these Easter inspired fairy lights, drape them across your mantelpiece, or hang them like bunting across a wall – anywhere you like really!

My daughter is rather taken with the Easter lights I made and last night I found them draped over her doll’s house – she was using them as a night light!

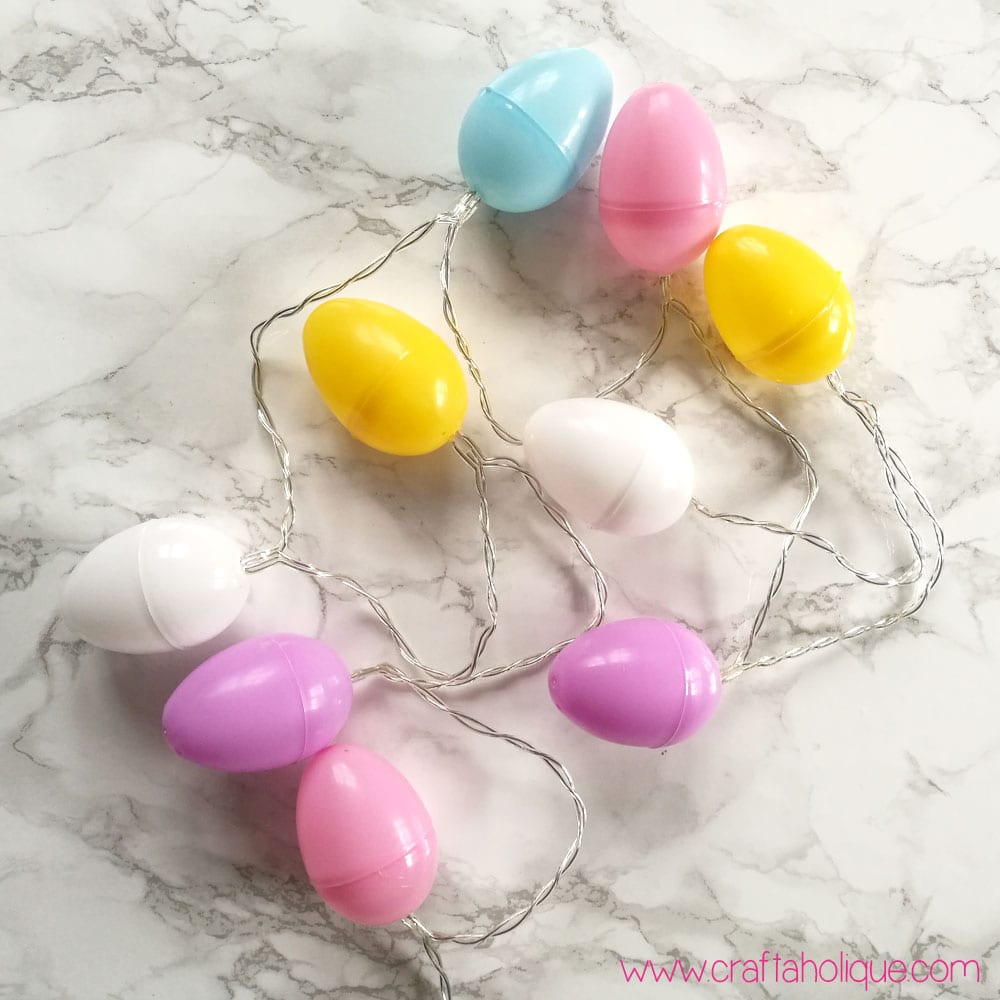
You’ll only need a few materials for this Easter craft project:

Easter Craft Project - How to make Easter Egg Fairy Lights

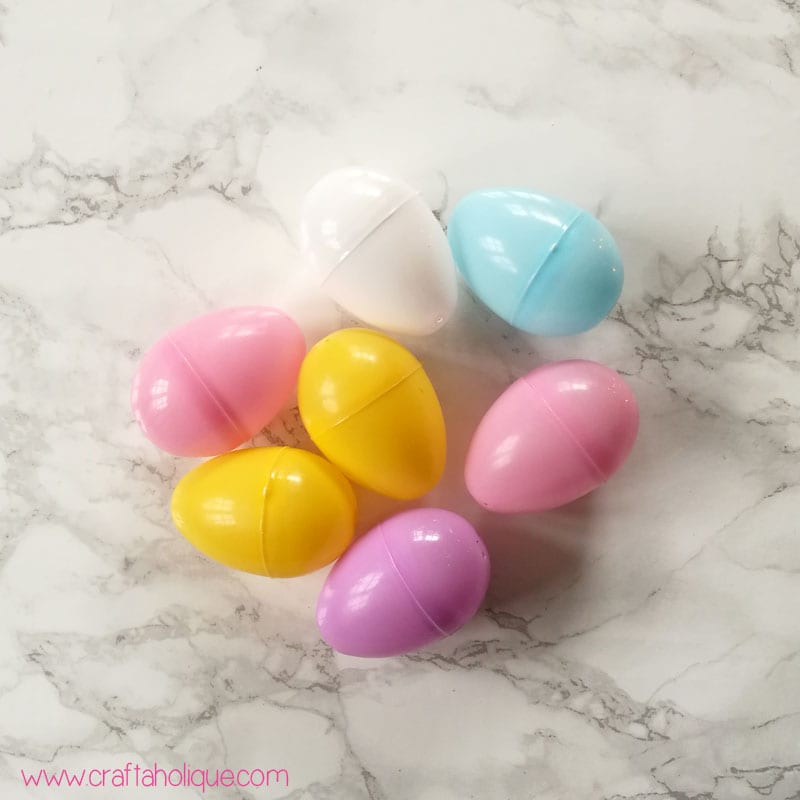
  • Plastic Easter eggs (the kind that you fill with treats!) – see them here.
  • Battery operated LED fairy lights
  • Hot glue gun (I have this cute pink one).
  • Drill or an old pair of scissors

Step 1: Make holes in the bottom of the plastic Easter eggs

Easter Craft Project - How to make Easter Egg Fairy Lights

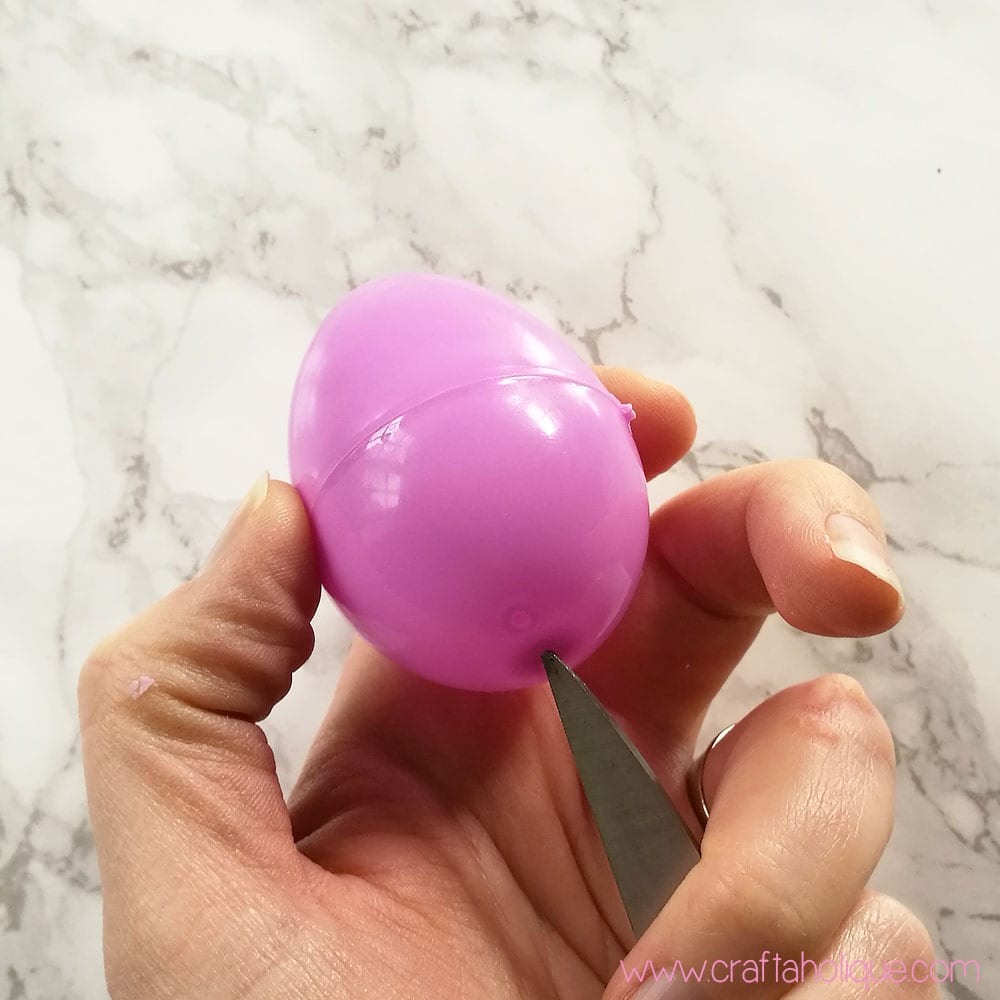
Carefully make a hole at the bottom of one of the plastic Easter eggs using a drill or a pair of scissors like I did in the photo above. I twisted the blade of the scissors around to make a perfect circle, just the right size for threading one of the lights through. Make holes in the bottom of all of the plastic eggs.

You might find it easier to split the plastic eggs in half to do this, as they should come in two pieces.

PLEASE TAKE CARE if you’re using scissors, just in case they slip whilst you’re making the holes!

Step 2: Insert the fairy lights into the plastic Easter eggs

Easter Craft Project - How to make Easter Egg Fairy Lights

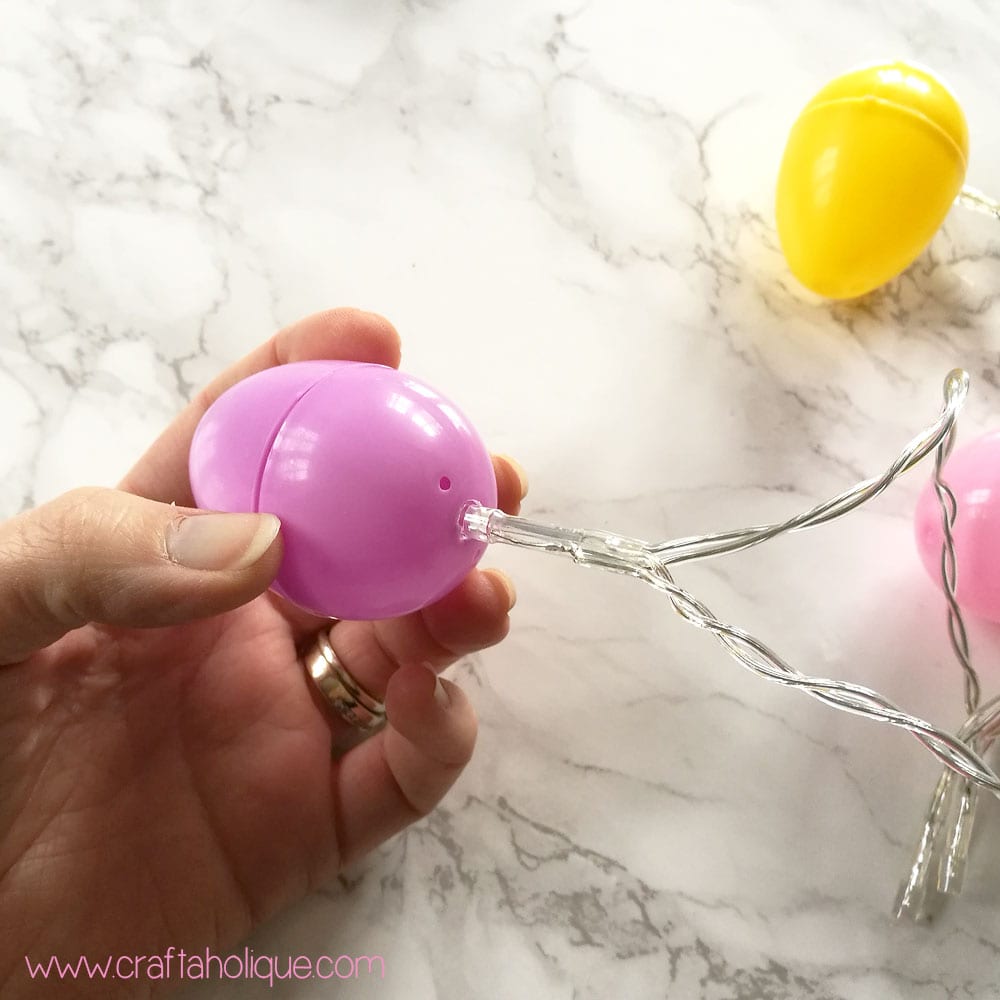
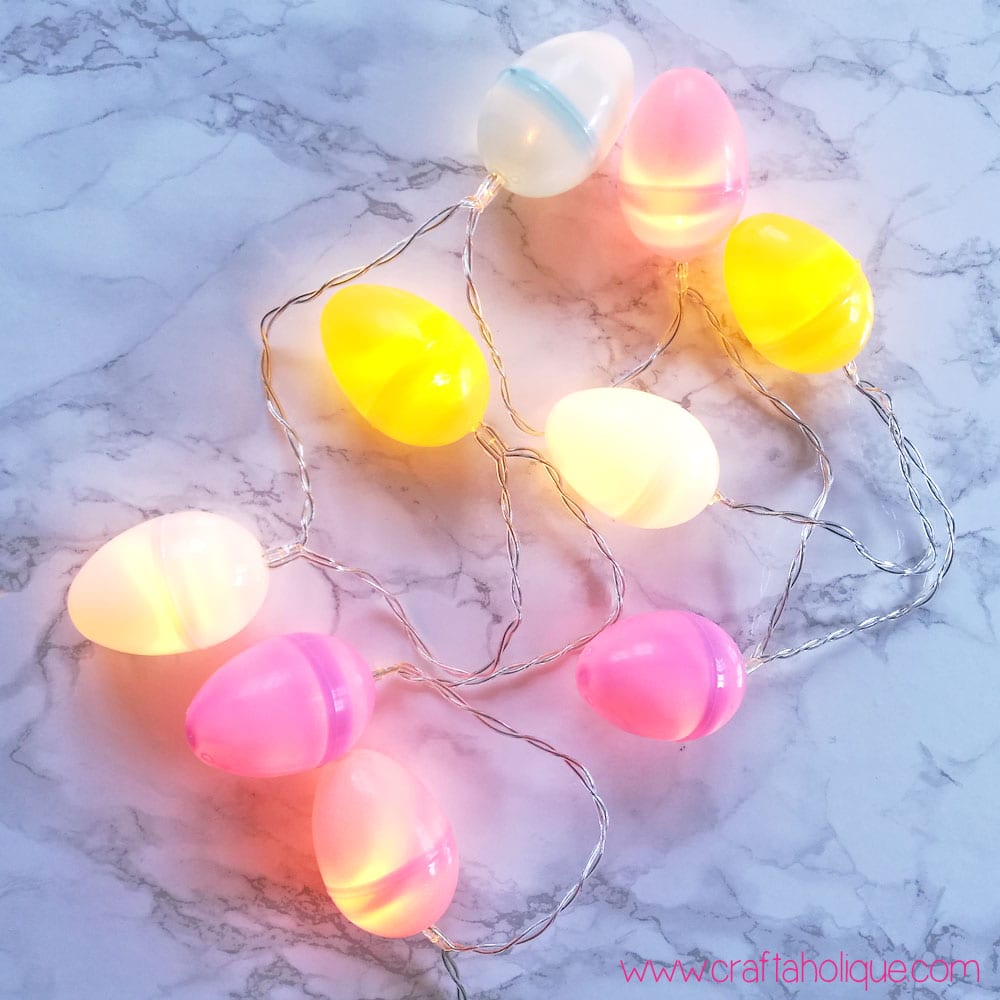
The holes you’ll have made should hopefully allow the LED lights to push through, yet fit snugly when they do. Dab a little glue from your glue gun around the fitting inside the plastic eggs to keep the lights in place.

Once you’ve done this for all the plastic Easter eggs, your lights will be finished! Hang them wherever you like in celebration of Easter!

Easter Craft Project - How to make Easter Egg Fairy Lights

Easter Craft Project - How to make Easter Egg Fairy Lights

Brighten up your home with Easter decorations!

Something else I’d really like to make this Easter (if I have time) is an Easter tree. I’ve seen these beautiful floral hanging Easter eggs that would look perfect on an ornamental tree.

What ideas do you have for Easter crafts? Feel free to share them by commenting below! Before you go, check out these other Easter related posts…

  • DIY Easter Bunny Pendant
  • Ladybird Easter Egg Decorating

*Affiliate links to Etsy and Hobbycraft are contained in this post. This means that I will receive a small commission should you decide to purchase anything through one of my links, at no cost to you. I only ever recommend products that I think are great and any commissions received help me to keep this site up and running! Thanks for using my links if you are able to!

Easter Craft Project - How to make Easter Egg Fairy Lights

*Images © Craftaholique.

Share this post!
  • save 
  • share 
  • tweet 
  • email 

Filed Under: Crafts, Tutorials Hayley 2 Comments

Reader Interactions

Mother’s Day Craft Project: Upcycled Jam Jar Vase!
Handmade Showcase: Easter Gift Ideas

Comments

  1. 1

    matt says

    April 25, 2017 at 3:18 pm

    Hi Hayley,

    What a great idea for re-purposing old Christmas decorations to give them a new look for other occasions. That’s really cool. On another plus not if you have a strand of 100 fairy light then it’s a 100 kinder eggs for you to “endure” to get the materials for the lights 🙂

    Great post, great idea!

    Reply
    • 2

      Hayley says

      April 26, 2017 at 7:20 pm

      Hi Matt, thanks for stopping by and commenting! I quite like the sound of enduring 100 kinder eggs in order to achieve a longer strand of fairy lights – I know my daughter would be more than happy to help!

      Reply

Leave a Reply Cancel reply

Your email address will not be published. Required fields are marked *

Primary Sidebar

Welcome!

Welcome!

Hi, I'm Hayley! Thanks for visiting Craftaholique, my little corner of the internet where I blog about crafts, beading, handmade products and lots of other stuff relating to creativity. Stay a while and have a browse!

Connect

  • E-mail
  • Facebook
  • Instagram
  • Pinterest
  • Twitter

Advert


Instagram

Work in progress! A new pattern I'm working on. Lo Work in progress! A new pattern I'm working on. Loving the metallic green colour. 😍 #beads #beadwork #peyote #bracelets #braceletpattern #peyotestitch #jewellerymaking #crafts #crafting
Hi all! It's been a very long time since I've post Hi all! It's been a very long time since I've posted here. I've been working on a new venture - surface pattern design. This is my first attempt at a seamless pattern. It's part of a collection I'm working on called 'Mum's Garden'. Mum loved hedgehogs, and they always frequented her garden to enjoy the food she put out for them. 😍 Honest opinions! What do you think? Could this work for wrapping paper, notebook covers, etc? Thanks for looking! #surfacepatterndesign #creativebusiness #creativeentrepreneur #graphicdesign #digitalart #hedgehogs #patterns #seamlesspattern
I finally finished this bead loom bracelet! Starte I finally finished this bead loom bracelet! Started it before the first lockdown... I think I lost my mojo for a while! So this is a flat piece of beadwork, which I then glued onto a cuff bracelet blank.
Started this loom beading project last May... Prou Started this loom beading project last May... Proud to say I finally finished it more than one year later! More photos coming soon! What's your longest ever project? #beads #beadwork #loombeading #crafts #crafting #craftblogger #crafty #longestprojectever
My latest beaded creation! Peyote with a twist. Lo My latest beaded creation! Peyote with a twist. Love the chunkiness of it and how it shimmers with the galvanised silver Miyuki Delica beads. #beads #beadwork #beadweavingpeyote #peyote #flatpeyotestitch #silver #beaded #beadedjewelryofinstagram #beadedring #beadedjewelry #miyukidelica #miyukipeyote #miyuki #miyukibeads #beading #crafts #crafting #craftblogger
My latest tubular peyote bracelet! It's made up of My latest tubular peyote bracelet! It's made up of hundreds of tiny Miyuki Delica beads in vibrant colours of metallic blue, silver, white and pink. The pattern is available in my Etsy shop, Craftaholique Designs. #beads #beadwork #beadweavingpeyote #tubularpeyotestitch #miyukipeyote #beading #beadingpattern #etsyshop #etsysellersofinstagram #etsyseller #etsyshopowner #bracelets #vibrant #tubularpeyote #beadaddict #beadaddiction #miyuki #miyukibeads
My finished bead embroidery - I've used it as an e My finished bead embroidery - I've used it as an embellishment for a beadwork storage case I've just made. I upcycled the case from an old padfolio / conference folder. Inside there's an integrated beading mat where I can do my beadwork - no more beads rolling away! I've posted a tutorial on my blog (link in bio).
My latest project... Bead embroidered flowers! I'm My latest project... Bead embroidered flowers! I'm making this as an embellishment for something. Will post the final project pic soon! #beadwork #beadembroidery #embroidery #embroiderydesign #embroideryart #embroidelicious #flowers #beads #beadedembroidery #beadedembellishment #crafts #crafting #keepcraftingcarryon #keepcraftalive #keepcraftingandcarryon #beaded #beadaddict #beadaddiction #embroideryhoop #craftblogger #crafty
Just finished this set of Miyuki Delica bracelets Just finished this set of Miyuki Delica bracelets in pretty colours of peach, white, pink and gold! I made the two diamond pattern bracelets using a bead loom. The single strand bracelet I just strung together. What do you think to my creation? #beads #beadwork #beadloom #beadloompattern #beadloomingbracelet #beadlooming #beadloombracelets #beadweaving #loombeading #loombead #beadingpattern #beadedjewelryofinstagram #beadaddict #beadaddiction #miyuki #miyukibeads #miyukidelica #crafts #crafting #craftblogger #crafty #bead #craftblogger #beadedbracelets #cuffbracelet #stackingbracelets
Though I've been beading for many years, this is t Though I've been beading for many years, this is the first time I've used a bead loom! It's pretty straightforward and quicker than peyote. #beading #beadloom #beadlooming #beadloomingbracelet #beadloomingnewbie #beadloombracelets #beadloompattern #beadwork #beadingpattern #miyuki #miyukibeads
I had tons of fun over the Easter weekend making t I had tons of fun over the Easter weekend making this rag rug sample with a kit from @raggedlife. This was part of an online workshop on rag rugging, with four other craft bloggers (hosted on Zoom by Elspeth at Ragged Life). It was brilliant! I'd highly recommend it. I've just posted about my experience on the blog - see link in bio.
Tomorrow, I'm taking part in an online rag rug wor Tomorrow, I'm taking part in an online rag rug workshop with @raggedlife! Can't wait, I've been wanting to try out rag rugging for ages. The class is being hosted on Zoom and will be fully interactive. Will post my project when I've done it!
Load More… Follow me on Instagram

Popular Posts

Popular Posts

Recent Posts

  • Craftaholique is being revived!
  • I’m back (with a new bead loom bracelet pattern)
  • Leaf Art Craft Project with Sharpie Pens
  • Chevron Tubular Peyote Bracelet Pattern
  • DIY Beadwork Storage Case (with Beading Mat)

Advert


Recent Comments

  • Hayley on BeadTool 4 Review – Make Your Own Beading Patterns
  • Susan Nicholas on BeadTool 4 Review – Make Your Own Beading Patterns
  • Heather on How I Salvaged My Tarnished Silver Pandora Bracelet
  • Hayley on DIY Beadwork Storage Case (with Beading Mat)
  • Hayley on How to Use Pinterest to Significantly Boost Your Etsy Sales

Looking for Something?

Footer

My favourite place to shop handmade!

Featured on Feedspot

Disclaimer

Craftaholique is a personal blog. The content you'll find here is for your entertainment purposes only. Craftaholique is a participant in the Amazon Services LLC Associates Program, an affiliate advertising program designed to provide a means for sites to earn advertising fees by advertising and linking to www.amazon.co.uk and www.amazon.com. Read the full site disclaimer here.

Blogroll

  • Free Pretty Things For You
  • Golden Age Beads
  • Off The Beaded Path
  • The Graphics Fairy

© 2020 Craftaholique