
*Image credit
Hi there! Sorry it’s been a while since my last post. I have been doing a little crafting but not as much as I’d like!
I’m still making a crochet blanket for my cousin’s baby and I really need to get a move on because it’s only a matter of weeks before the little fella arrives!
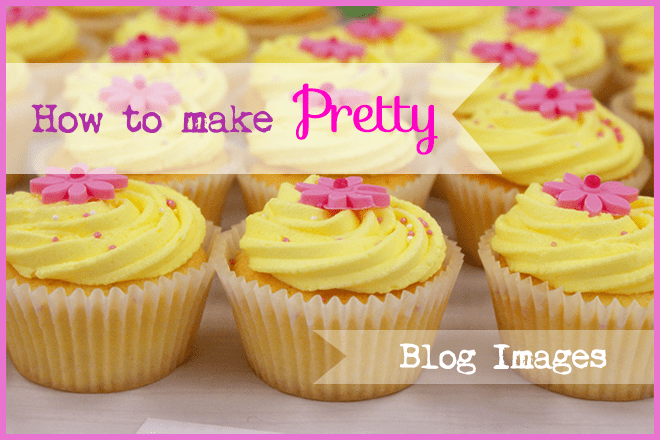
Anyway, today’s post is a little tutorial I’ve created on making images look really pretty for use on blogs or websites using PhotoShop. One thing to note about using images that aren’t your own is to always credit them properly with a link to the image license if there is one.
For example, the image in this picture has been sourced from Flickr (link at the bottom of this page) and I’ve amended it by adding some graphic design elements (border, banners and text overlays). It’s only possible to do this if the image license says that you can. I always use images with a creative commons license that allows me to make modifications. Can’t be too careful these days!
How to make great looking blog images in PhotoShop
A blog without images is… pretty dull in my opinion. A craft blog like this one thrives on having images – it’s a portfolio of sheer crafty delights! But even the nicest of images can be jazzed up with a few clicks of the mouse if you have software like Photoshop, Illustrator or even Gimp.
This is my first video tutorial and hopefully there will be plenty more to follow once I get hooked up with the right equipment for the craft tutorials I want to do. I hope you enjoy this and if you do, please consider subscribing to this blog and my YouTube Channel!
*Image credit – Flickr and amended by Craftaholique
Leave a Reply