
*Affiliate links are included in this post.
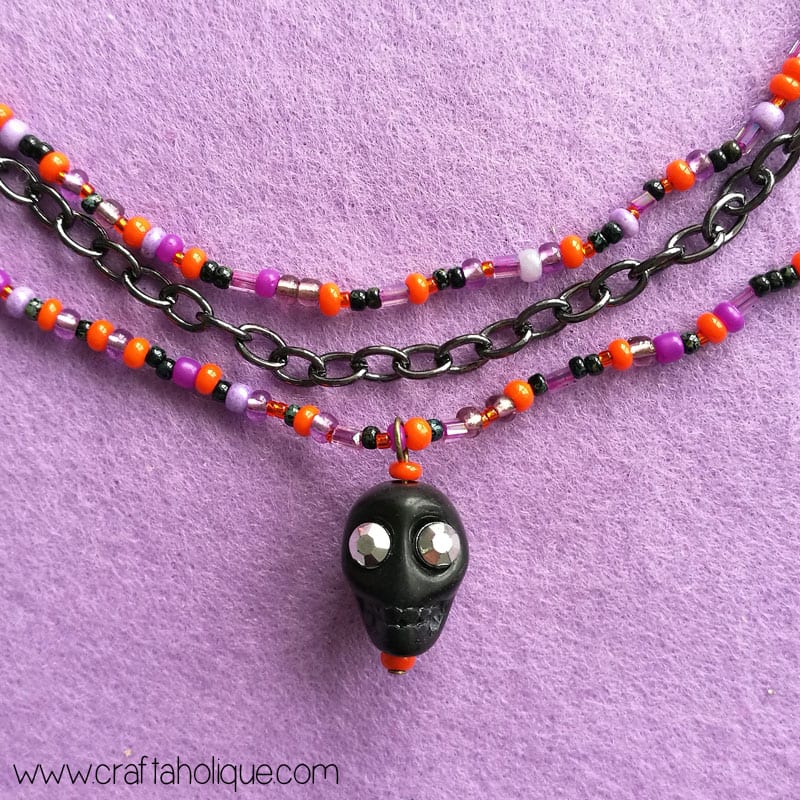
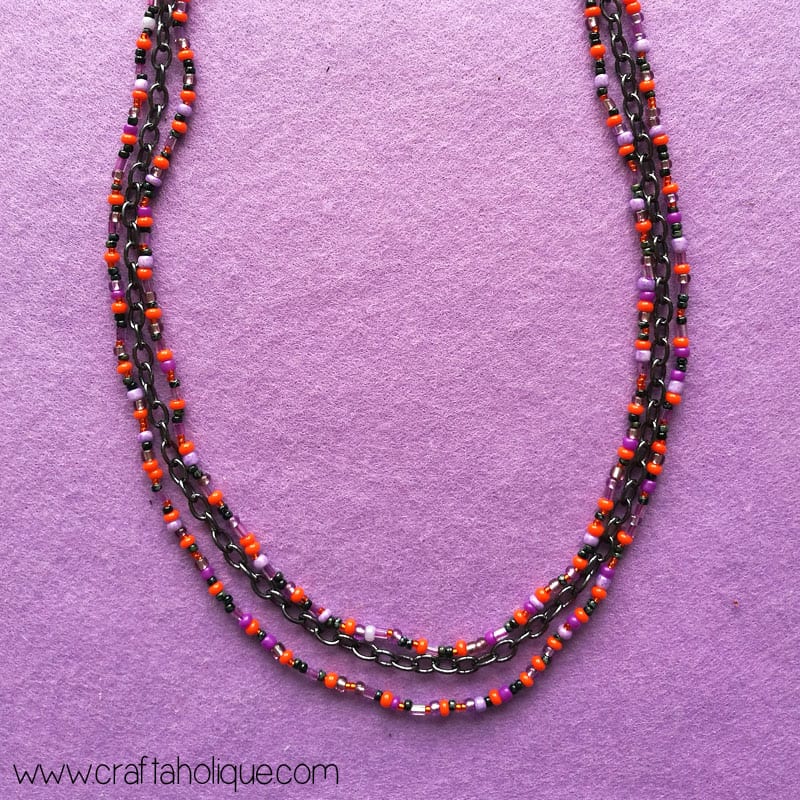
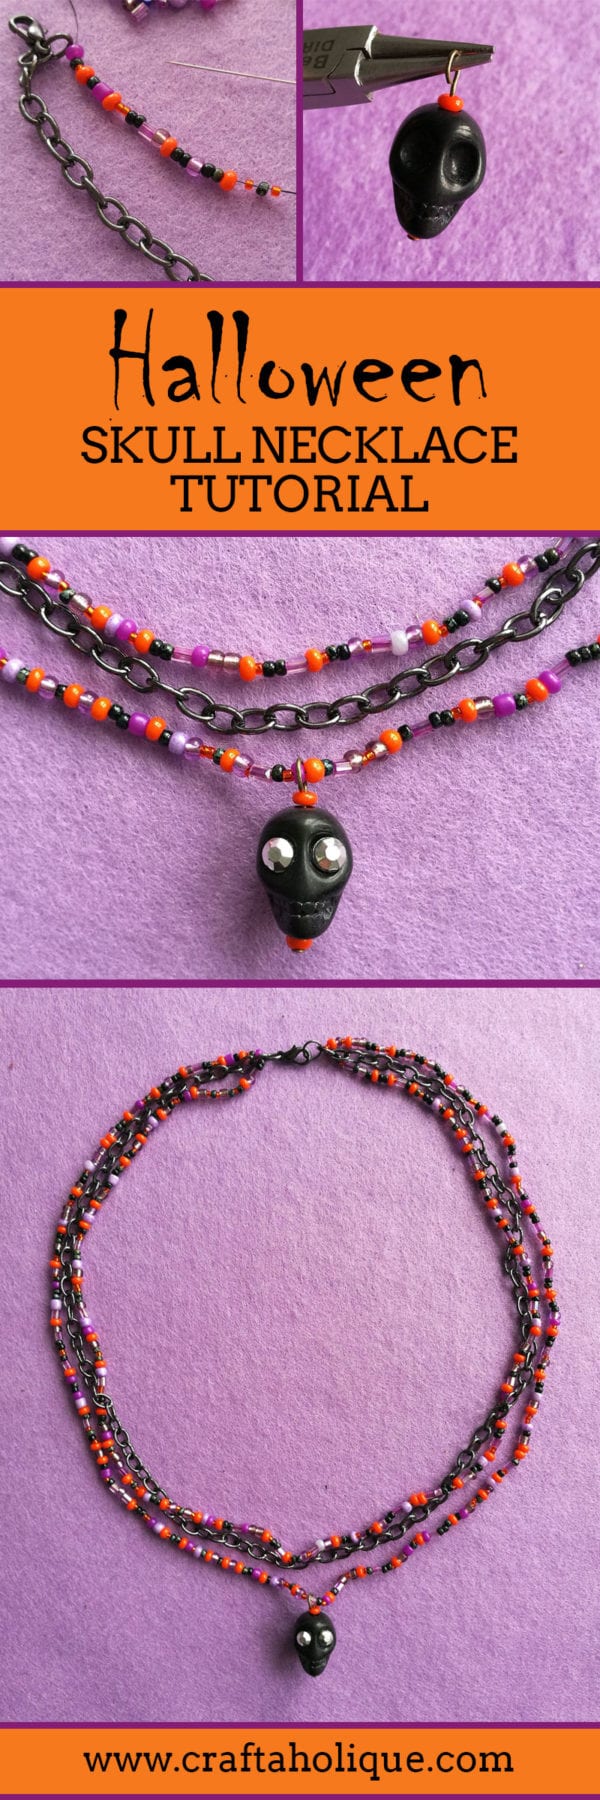
Today, I’m sharing a Halloween jewellery-making tutorial! This vibrant multi-strand necklace complete with skull pendant could be the perfect accompaniment to your Halloween outfit! This is really fun and easy to make – to get started you’ll need to gather your materials.
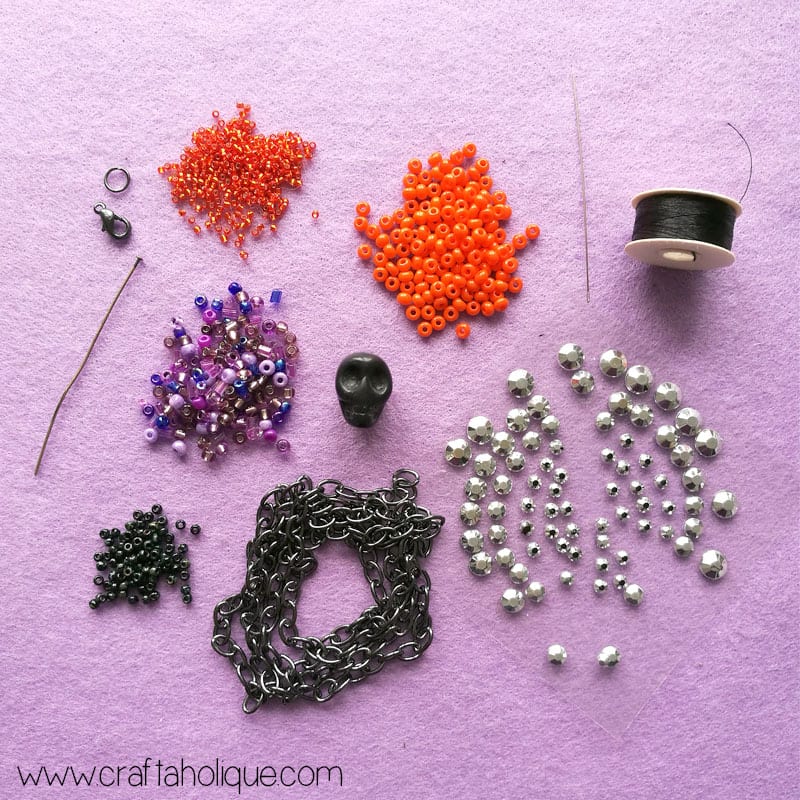
I’ve included my affiliate links below to help you source what you need…
- A mixture of purple, orange and black seed beads in various shapes and sizes. They don’t have to be expensive (perfectly shaped) ones – any round seed bead will work fine, the more irregular shaped, the better.
- 1 x black skull bead with a hole drilled from top to bottom.
- Black beading thread e.g. Nymo.
- Beading needle.
- 1 x gunmetal headpin.
- 1 x gunmetal lobster clasp and jump ring.
- Around 24 inches of gunmetal curb chain.
- Silver tone stick on diamantes or Swarovski flat back crystals.
- Jewellery glue such as e6000.
- Jewellery making tools – round nose and chain nose pliers along with wire cutters.
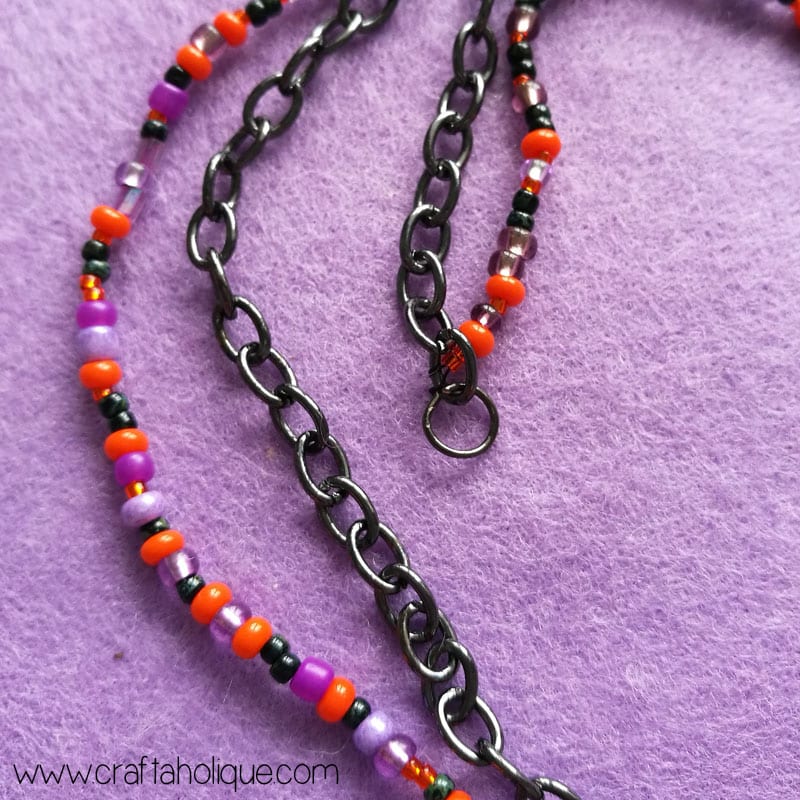
Step 1: Making the first strand of the necklace
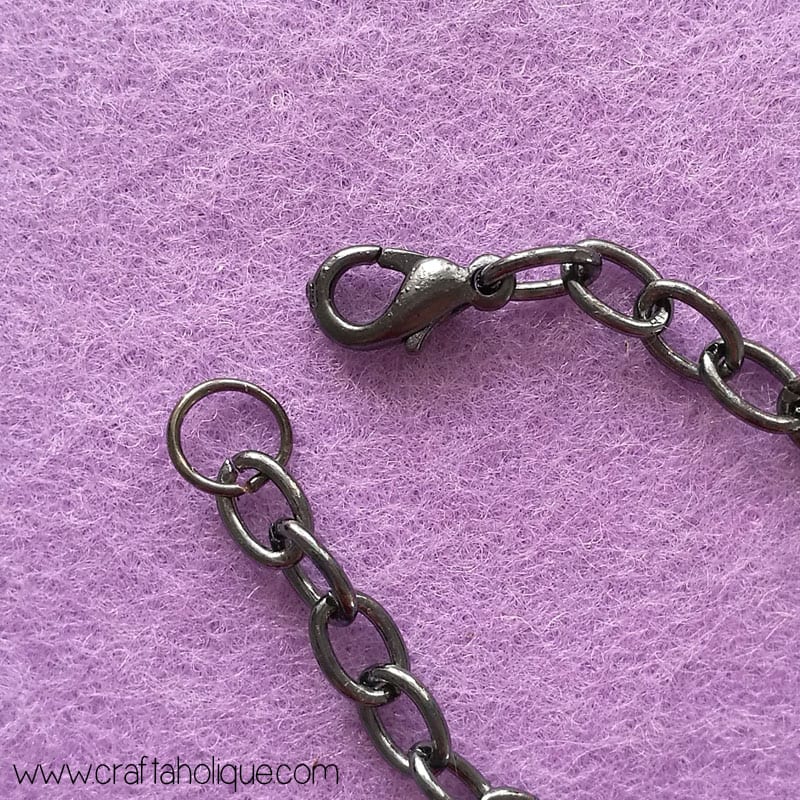
Trim the chain to the length that you need for your necklace. I used around 18 inches but you might want to make your necklace longer or shorter. Add the lobster clasp and jump ring to opposite ends of the chain as shown in the above photo.
This is all that’s required for the first strand of your necklace! (This will actually be the middle strand when you’ve finished).
Step 2: Making the second necklace strand
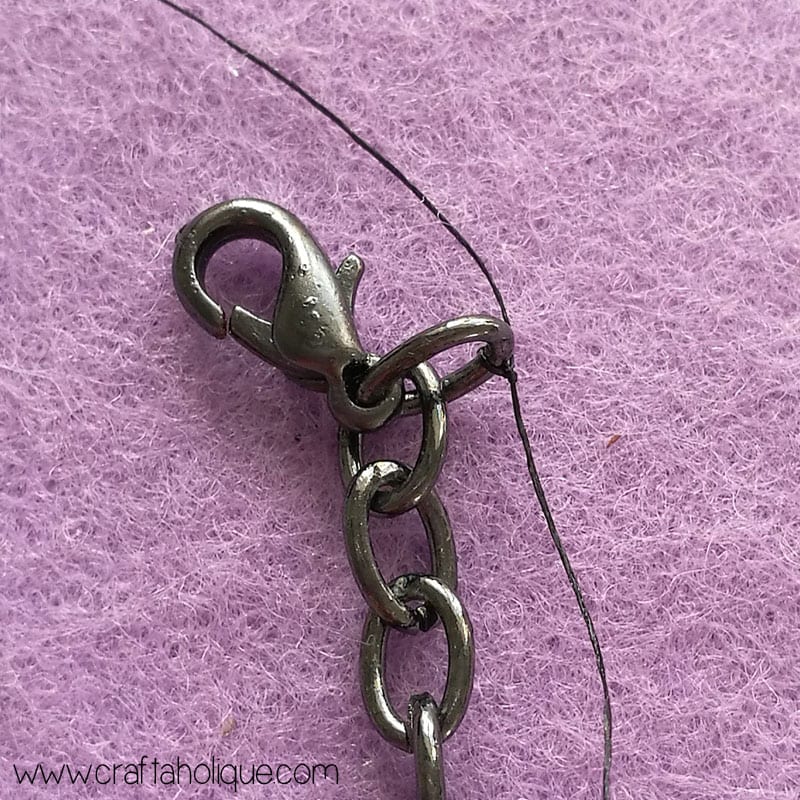
Next, trim off a length of beading thread and thread your needle. Tie the tail end of the thread to the first link in the chain, the one that sits underneath the lobster clasp. Use a double knot to make it secure.
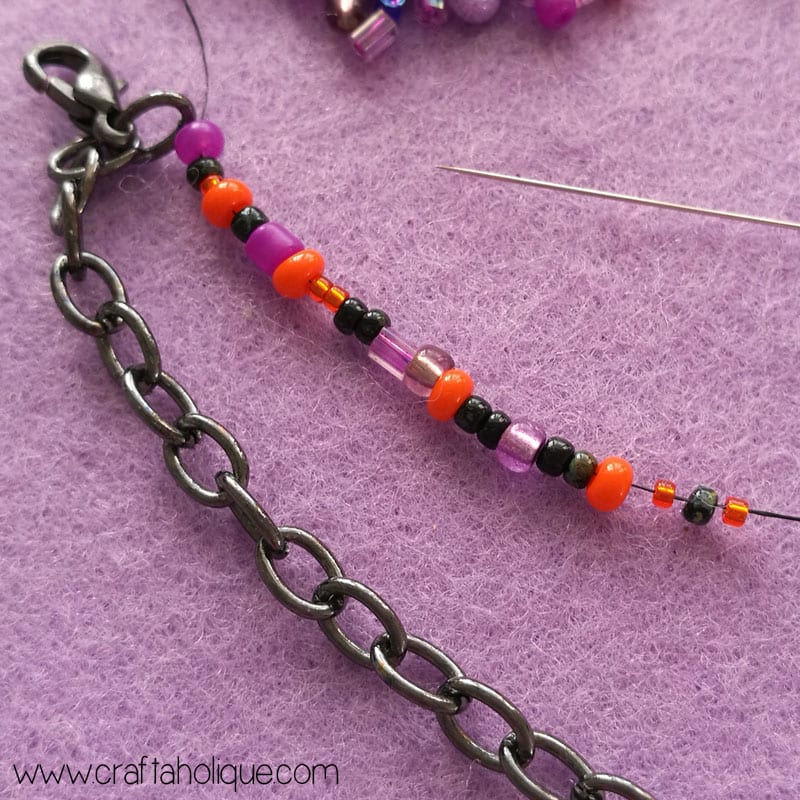
Use your needle to pick up the seed beads in a random order and slide them down the needle towards end of the thread.
Make this strand around two inches longer than the chain strand. When you get to the desired length, tie this beaded strand to the chain link directly under the jump ring at the other end of the chain.
Go back down through a few beads and then trim your thread. Thread your needle onto the excess tail piece of thread at the other side of the chain and sew through a few beads to tidy that end up before trimming too.
Step 3: Making the third necklace strand
Repeat step 2 to make another beaded strand for your necklace. This time, make the strand around two inches shorter than the chain strand, so that you have a tiered effect with the three necklace strands.
Step 4: Making the skull pendant
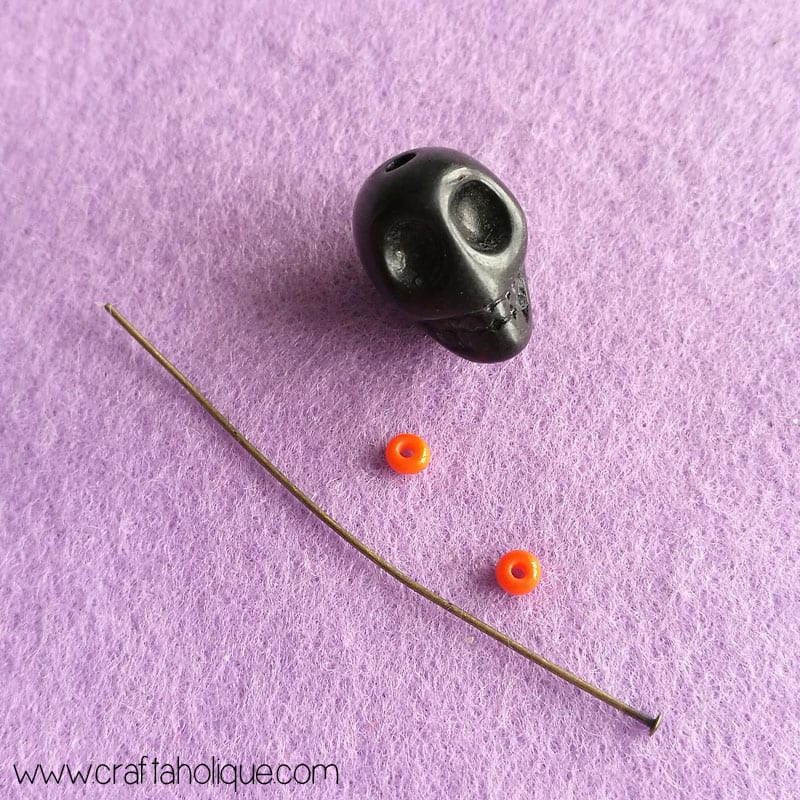
Take your headpin, a couple of seed beads and your skull bead in order to make the pendant part of this necklace.
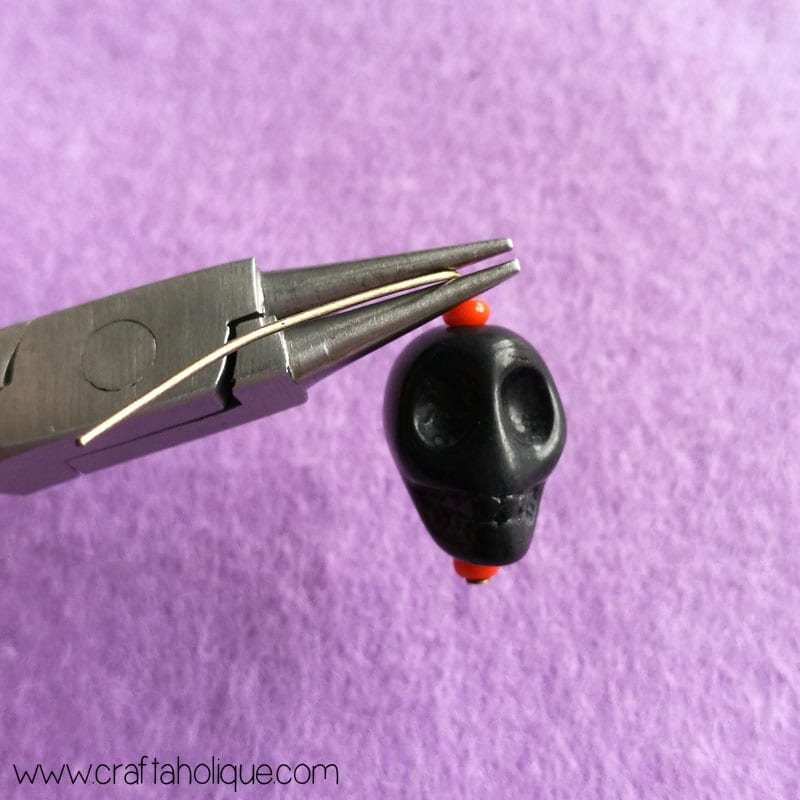
Thread one seed bead, the skull bead and another seed bead onto the headpin. Use your round nose pliers to make a right angle in the headpin wire, directly above the last seed bead.
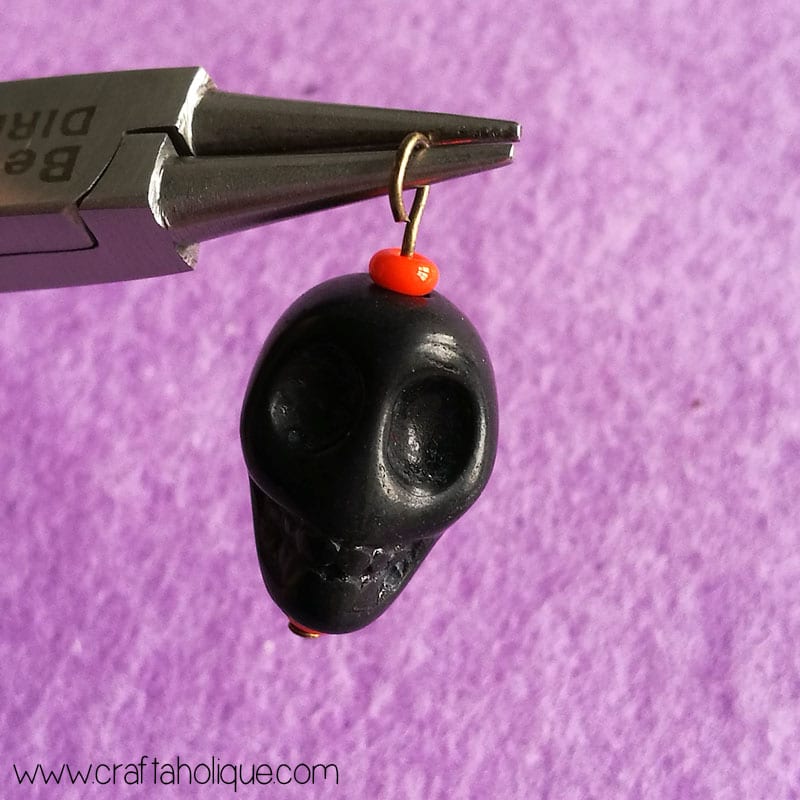
Trim the headpin wire so that you have around 1cm left next to the last seed bead. Then curl the wire inwards, back towards the skull bead with your round nose pliers, making a small loop in the process.
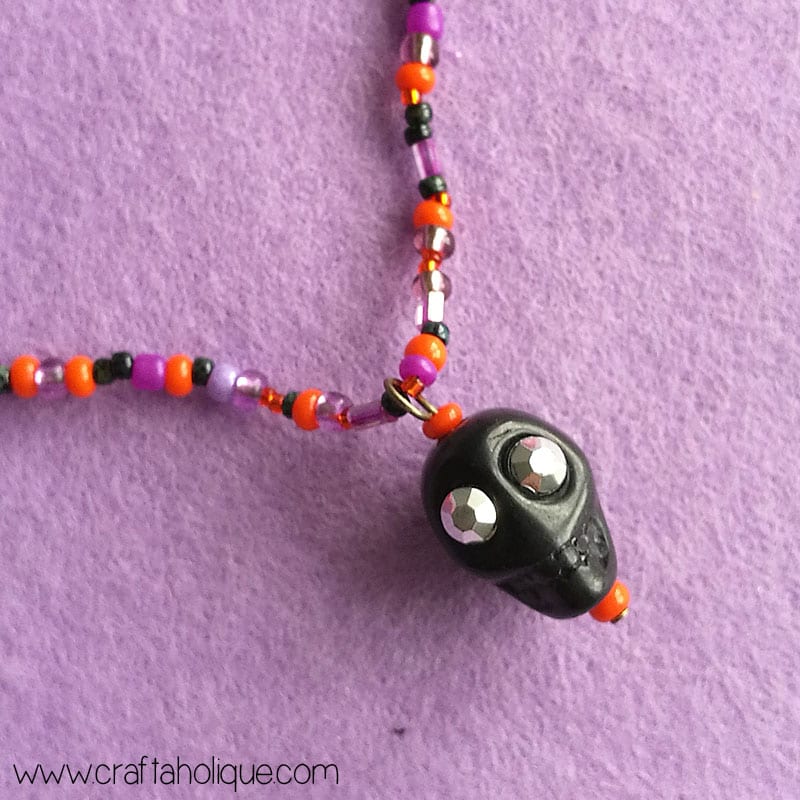
Stick on a couple of the diamantes for eyes. Use jewellery glue to make sure they stay stuck on! Then attach the skull pendant to the longest necklace strand, as shown in the above photo.
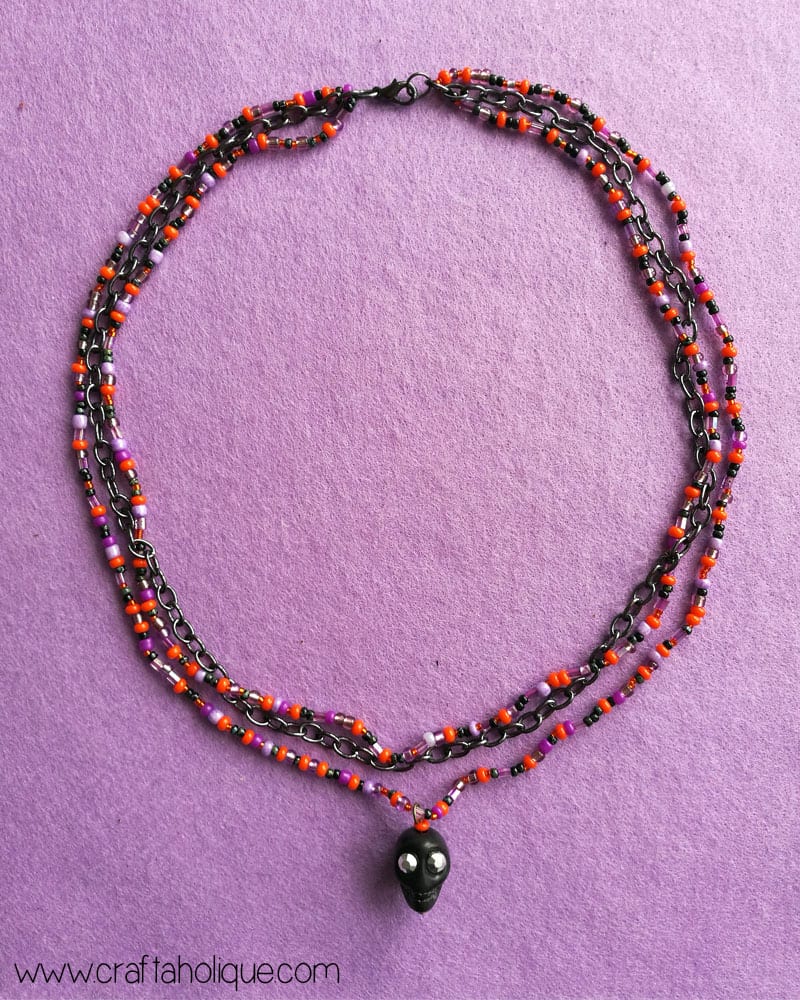
When you’ve finished, you should have yourself a pretty cool-looking multi-strand necklace with skull pendant! I hope you enjoyed this Halloween jewellery-making tutorial! If you did, please take a moment to share this post online.
Before you go, check out some of my other Halloween-inspired crafty posts below!
- Halloween Peyote Stitch Pattern – Spooky Cats Eyes
- Halloween DIY – No Carve Glitzy Pumpkins
- Eyeballs and Mummies Popsicle Cakes
*Affiliate links are included in this post to Etsy. This means that if you make a purchase through one of my links, I will earn a small commission at no cost to you. I only ever recommend products that I think are great and any commissions help me to keep this site up and running. Thank you for using my links if you’re able to.
*Images © Craftaholique.
Leave a Reply