
*Affiliate links to Etsy are included in this post.
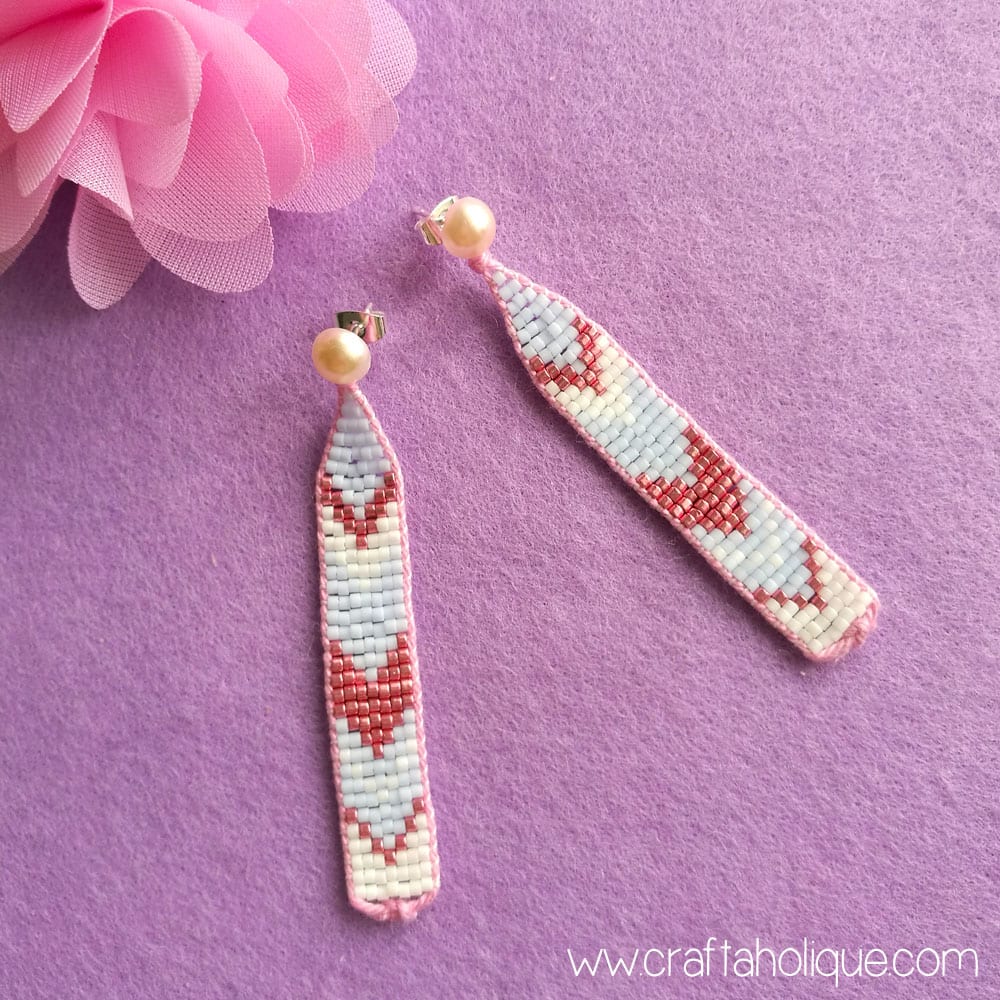
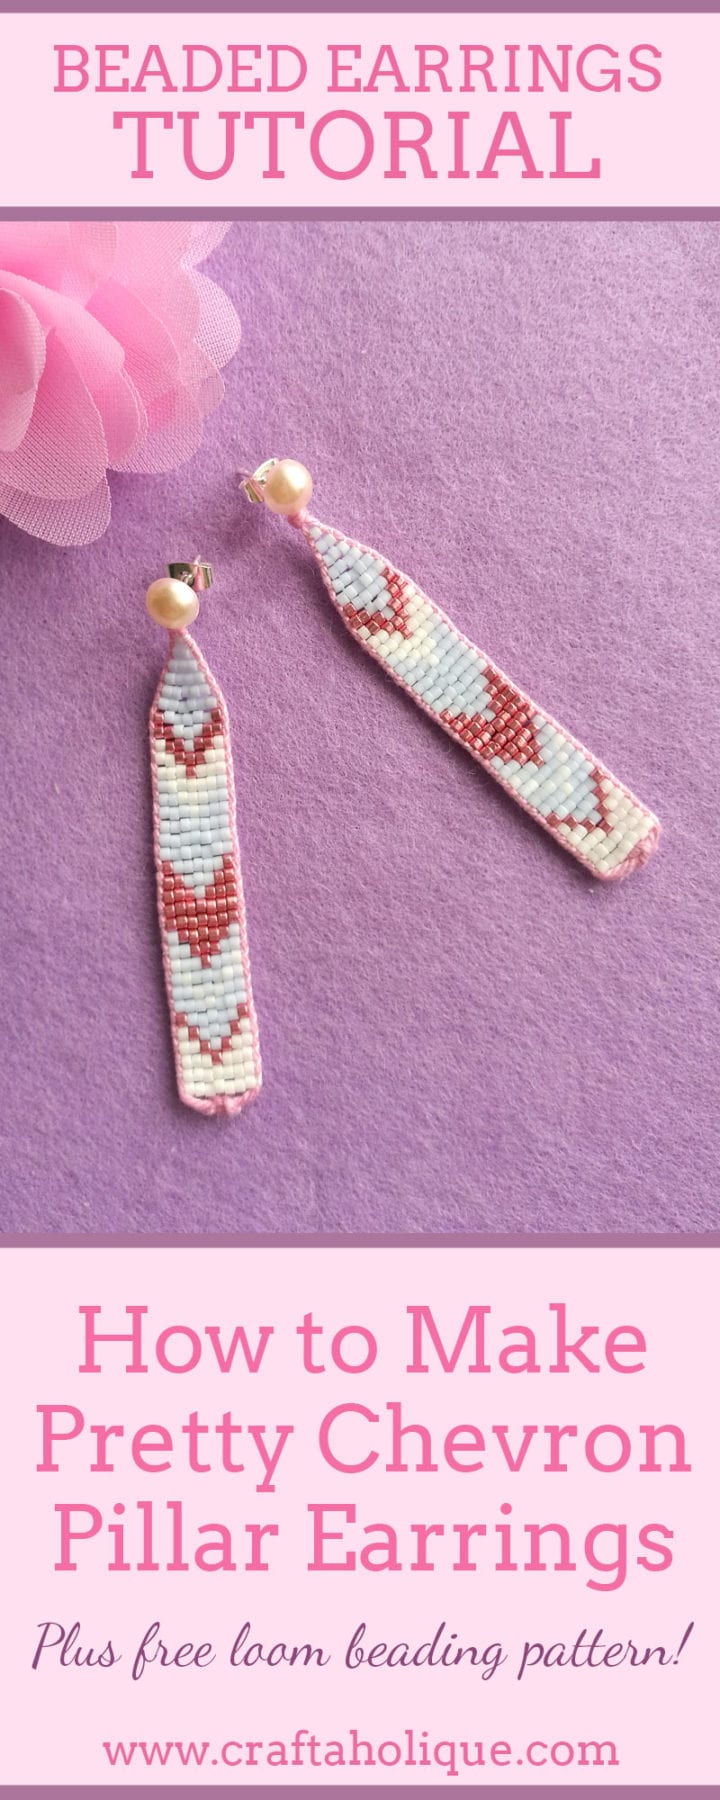
I have a fun jewellery making tutorial to share with you today on how to make a pair of beautiful beaded pillar earrings with a chevron design! Also in this article is a free loom pattern for you to use to help you make them!
Before you start, you’ll need to gather your materials – take a look at my affiliate links below for inspiration on where to find your supplies!
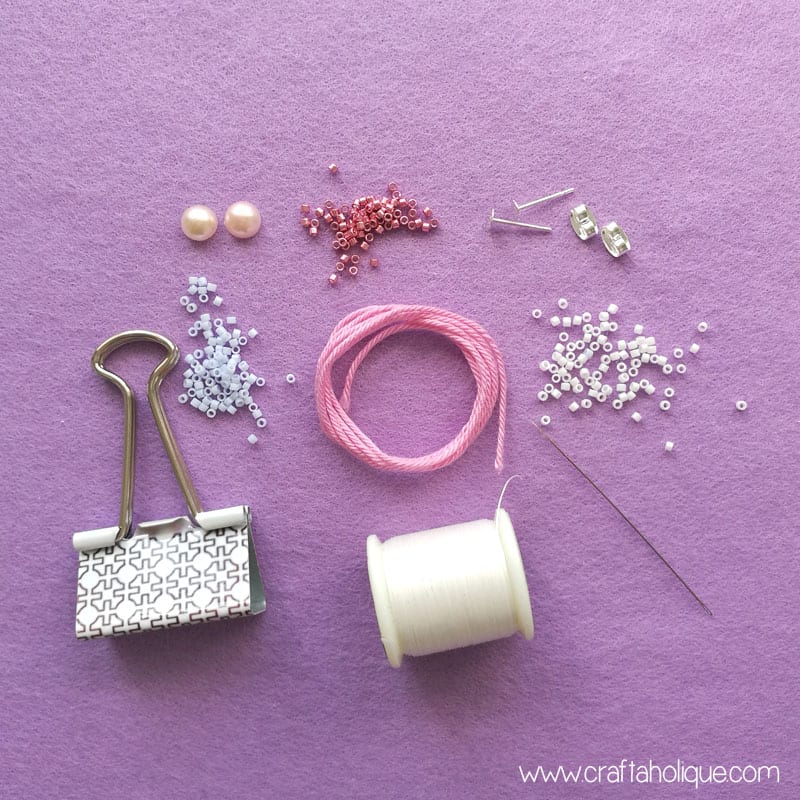
- Miyuki Delicas size 11/0 in three colours – matte white (DB-351), galvanized rose (DB-420) and opaque light sky blue (DB-1497).
- Beading thread – I’ve used a Miyuki beading thread in “Eggshell” colour.
- Beading needle size 10 or 12.
- Approx half a metre of pink cotton yarn.
- 2 x silver tone flat pad earring findings and butterfly backs.
- 2 x faux pearl flat back cabochons.
- Strong jewellery glue such as e6000.
- A couple of bulldog clips (or you can use sellotape if need be).
- Scissors.
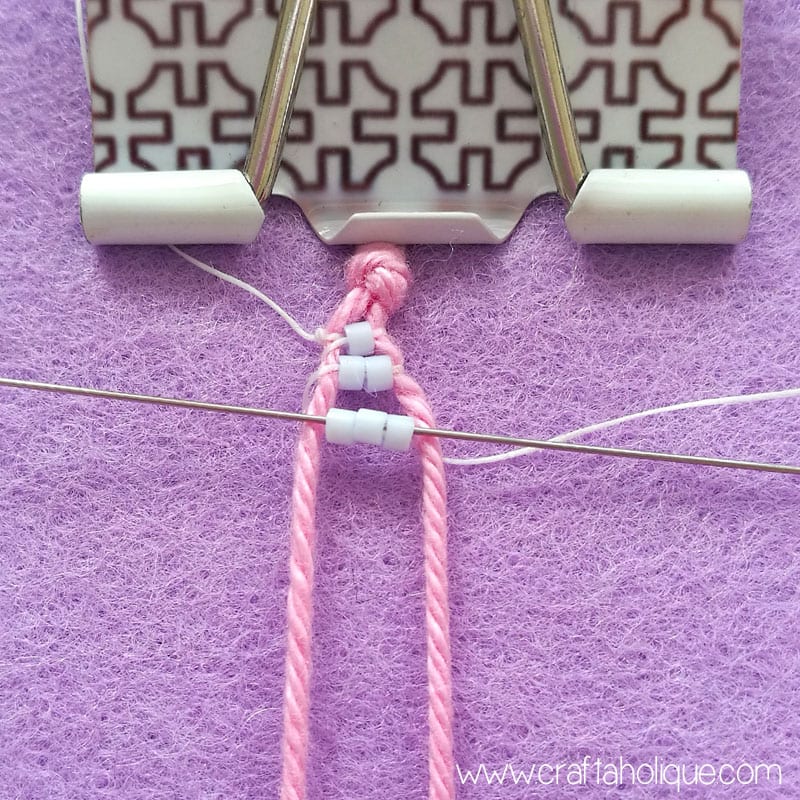
Step 1: Prepare your cotton cord
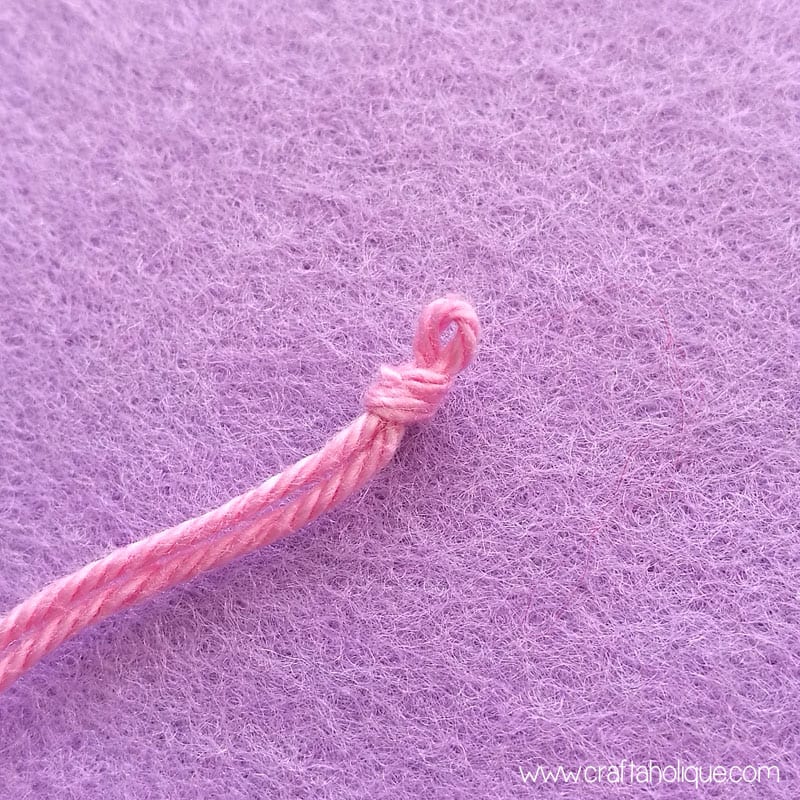
Cut off around 12 inches of the cotton cord (this is plenty, but I like to have a little more to play with rather than less!). Make a slip knot in the centre of the cord, keeping the loop as small as you can as shown in the picture above.
Step 2: Thread on your beads
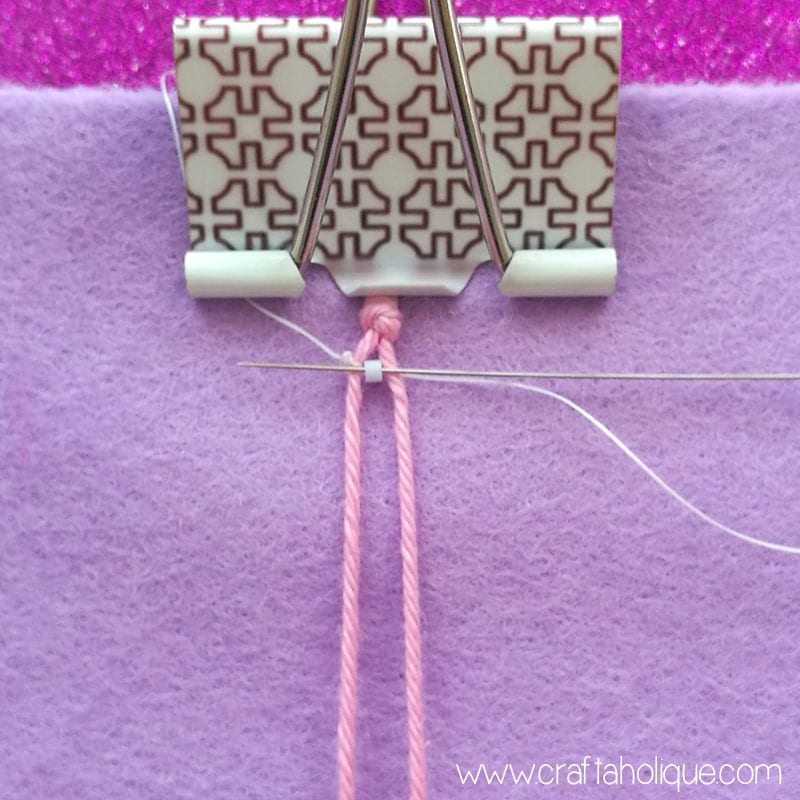
Secure the little loop you’ve just made underneath a bulldog clip (I’ve used a piece of card under this felt fabric for support). Thread your beading needle and tie one end of your thread to the cord on the left hand side right under the loop. See the photo above. Make sure it’s a double knot to stop the thread from moving around.
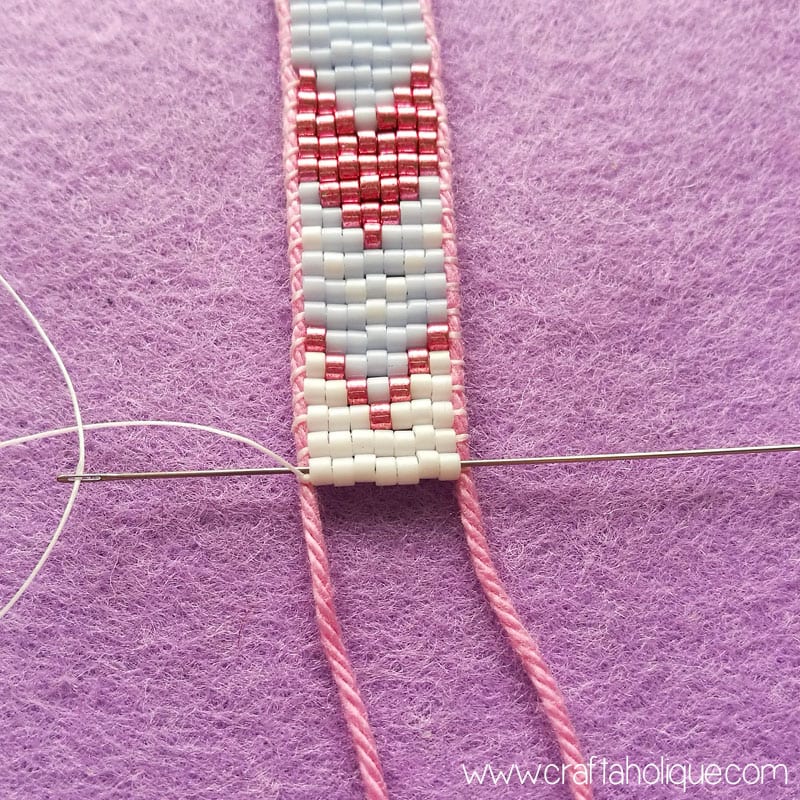
Pass your needle and thread under the left cord, pick up 1 x blue delica and then pass your needle under the cord on the right hand side. Hold the delica in place in the middle of the two cords with your finger. Then pass your needle and thread back through this first delica – over the cord on the right this time.
Once you’ve gone back through the bead, you’ll need to pass your needle and thread under the cord on the left again, before you pick up beads for the next row. Remember this mantra: under, under and over!
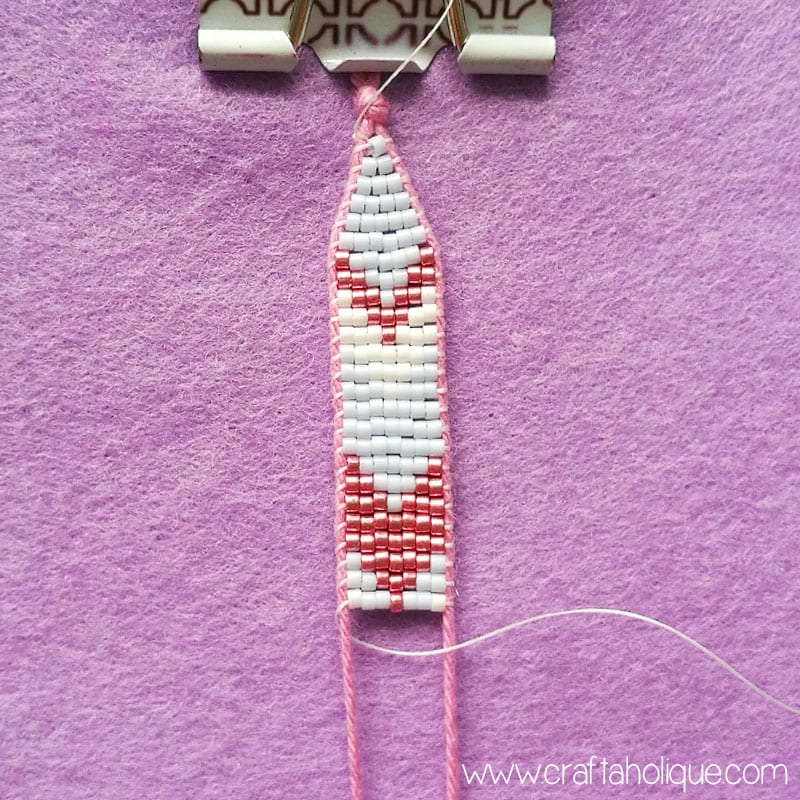
I’ve put together a little pattern that you can work to for these earrings – it’s a loom pattern (so if you have a beading loom, feel free to use it on there too!).
I made a slight alteration to the design as I was working on it – see the first few rows of blue beads below in the pattern? I did three extra rows of blue beads in between to make the top part of the earrings a longer triangle shape (so two beads, four beads and six beads – see the photo below under the pattern to see what I mean). I really hope that makes sense!
I worked to the pattern completely from the start of the pink beads (so the row that reads A, C, C, C, C, C, A).
![]()
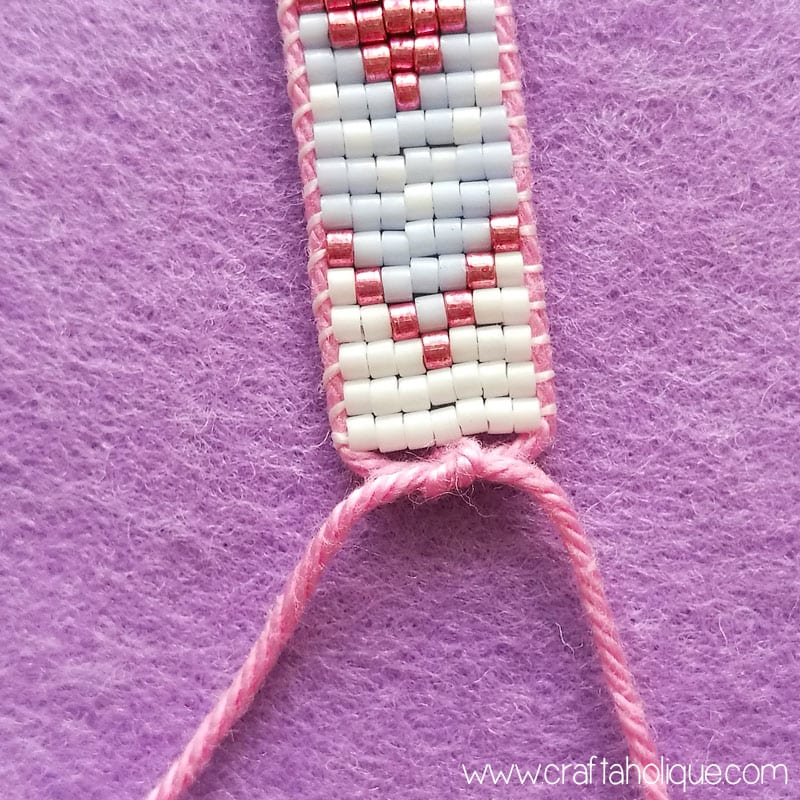
Step 3: Finishing the beadwork
When you get to the last row of white delicas, tie a double knot around the cord on the left side as close to the beads as possible. Then go back through that line of beads before trimming off your thread.
You can also thread the tail end (at the top) through the first bead before trimming, to keep this looking nice and tidy.
Step 4: Turning the beadwork into earrings!
Tie the two ends of cord together under the last row of beads. Do this in a double knot, then dab a little jewellery glue onto the knot to ensure it won’t come undone. When the glue is dry, trim the cords ends as close to the knot as possible.
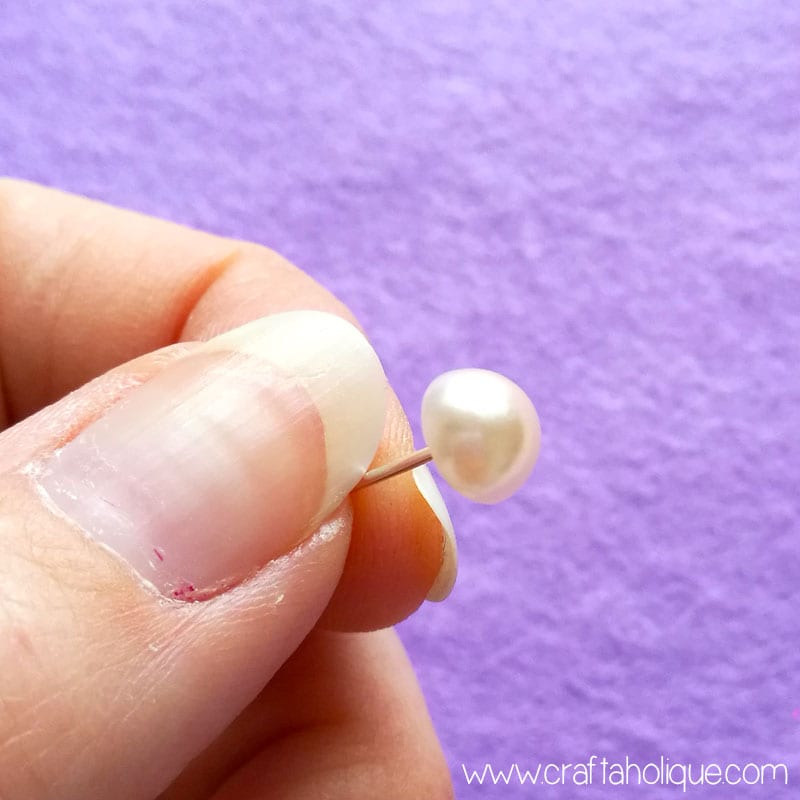
Dab a little jewellery glue onto one of your silver tone flat pad earring findings and then stick on a pearl cabochon.
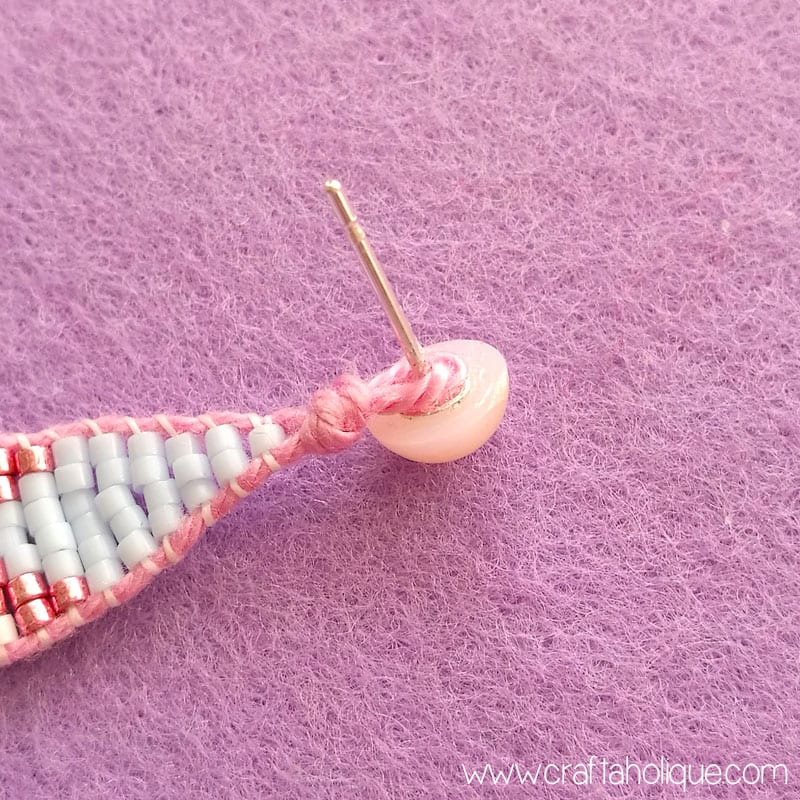
Add a bit more glue to the other side of the flat pad – then poke the spike through the little loop at the top of your earring. The loop will then be glued to the earring finding to make it nice and secure. Add your earring stud and this completes the first earring! Repeat steps 1 to 4 to make your second earring.
I hope you enjoyed this jewellery making tutorial! If you have any questions about it, please feel free to ask in the comments below. If you did enjoy this post, please take a moment to share this post online with your followers.
Before you go, why not check out some of my other jewellery making tutorials below?
- Candy Bead & Memory Wire Cuff Bracelet Tutorial
- DIY Boho / Festival Earrings Tutorial
- Beautiful Waterfall Earrings Tutorial
*Affiliate links to Etsy are contained in this post. This means that I will receive a small commission should you decide to purchase anything through one of my links, at no cost to you. I only ever recommend products that I think are great and any commissions received help me to keep this site up and running! Thanks for using my links if you are able to!
[…] When you’ve beads round you are able to do so much with them and making these rally cute and completely distinctive form of ear rings is the very best thought to get girly with the beads. The beads have been weaved with the lovable chevron sample with the pearl studs on the highest and thus they change into actually cool and enjoyable.Tutorial right here craftaholique […]