*Collaborative post.
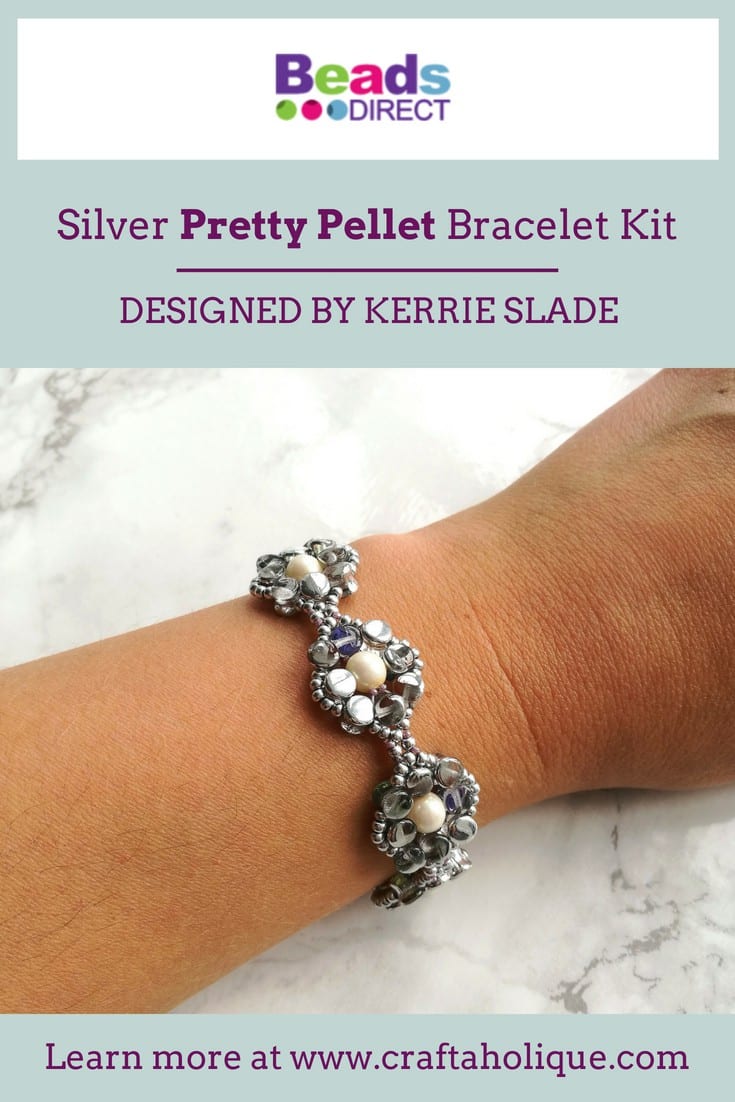
Today, I’m reviewing this Silver Pretty Pellet Bracelet Kit from Beads Direct! It’s been designed by Kerrie Slade who is one of my favourite bead artists.
The kit retails at £14.99 but Beads Direct kindly sent it to me for free so that I could try it out and they are also providing an editorial fee for my review. I only do reviews if I can give my honest opinion, so rest assured that what I’ve written here is true to what I think of the product!
The Silver Pretty Pellet Bracelet Kit
So, as you can imagine, I was really excited to be getting a parcel of beads through the post (I’m sure my fellow bead addicts will know the feeling)! The kit arrived well packaged in a neat rectangular cardboard box encased in a padded jiffy bag. When I opened the box, I was thrilled to see Preciosa beads within, amongst lots of other goodies. I’d never tried these beads before but lots of beaders rave about them!


Also included in the kit was two beading needles, thread and enough beads to make both a single or double row bracelet, which I think is really good value. I followed the instructions to make a single row bracelet and I’ve covered some of the steps below. The first step was to create a circle of beads using these beautiful silver/transparent Preciosa pellet beads which have a purple tinge to some of them. They swivelled around a little as I was working with them and I had to keep my tension tight.

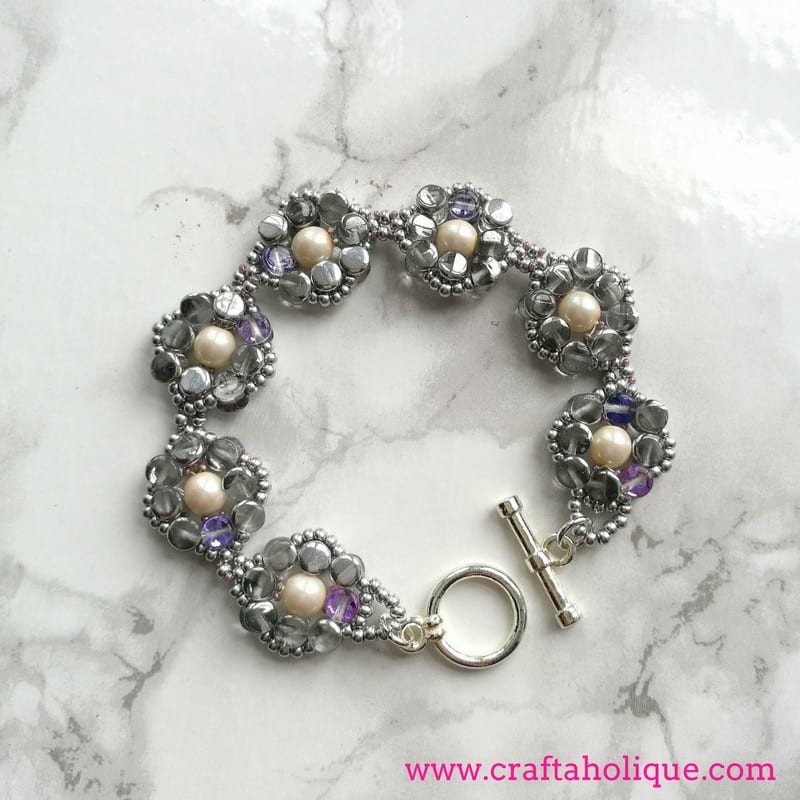
That circle of beads provided the base for very a pretty beaded component, as shown below. I added an imitation pearl and some very tiny size 15/0 Precosia charlotte seed beads to sit in the centre and size 10/0 Precosia rocailles around the outside. The instructions contain clear details and thread diagrams to show how to do this. The size 15/0 seed beads were so tiny that the eye of my needle didn’t fit through a few of them! However, there was a full pack of these beads included, so this wasn’t an issue.

I made seven beaded components in total. My wrist size is quite small, but if you have a larger wrist size, you may want to make up to 10 beaded components. Once I’d made these, I had to connect them together using more seed beads. The components had to be lined up in a certain way so that the tiny seed beads either side of the pearl were horizontally aligned.


At each end of the bracelet, I made a loop to attach the toggle clasp.


Note that jewellery pliers aren’t included in the kit. These are my own, but coincidentally, they are from Beads Direct! Other tools that aren’t included in the kit are scissors (for trimming thread) and a bead board, should you need one. I just worked on a regular flat surface. Everything else is provided to make the bracelet.
Here’s a pic of the bracelet when it’s made up. Gorgeous isn’t it?

I absolutely loved making this bracelet and overall I think the kit is great value for money, considering the amount of beads that are included. The instructions are clear and the beads are top quality too. The imitation pearls have this fantastic shimmer to them, making them look really authentic. This kit would make a lovely gift for the beader in your life, or a nice treat for yourself!
If you’d like to purchase the kit, you can do so via Beads Direct using the link at the top of this post. They are a bead supplier based in Leicestershire here in the UK, but they also ship internationally to most countries worldwide.
I’m so happy that I’ve made something that Kerrie Slade has designed. Her beadwork is amazing – check out the interview I did with her here to see samples of her work.
Before you go, why not check out some beading tutorials that I’ve created? See some of them below:
- How to make brick stitch star earrings
- How to do flat odd and even count peyote stitch
- How to make a beaded flower ring
*Thanks to Beads Direct for collaborating with me on this article!

**All images © Craftaholique


Leave a Reply