
*Collaborative post
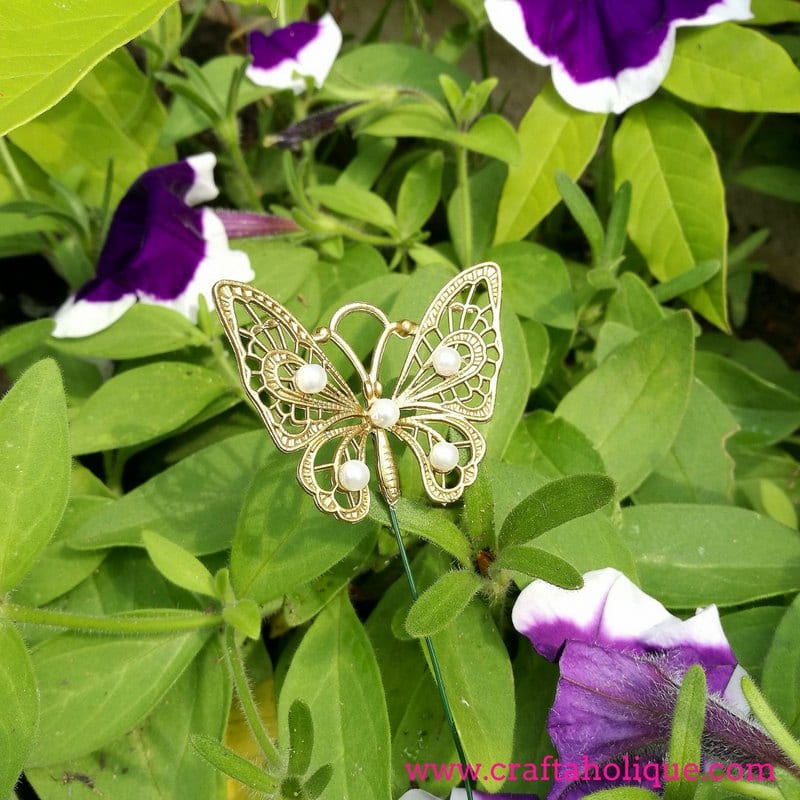
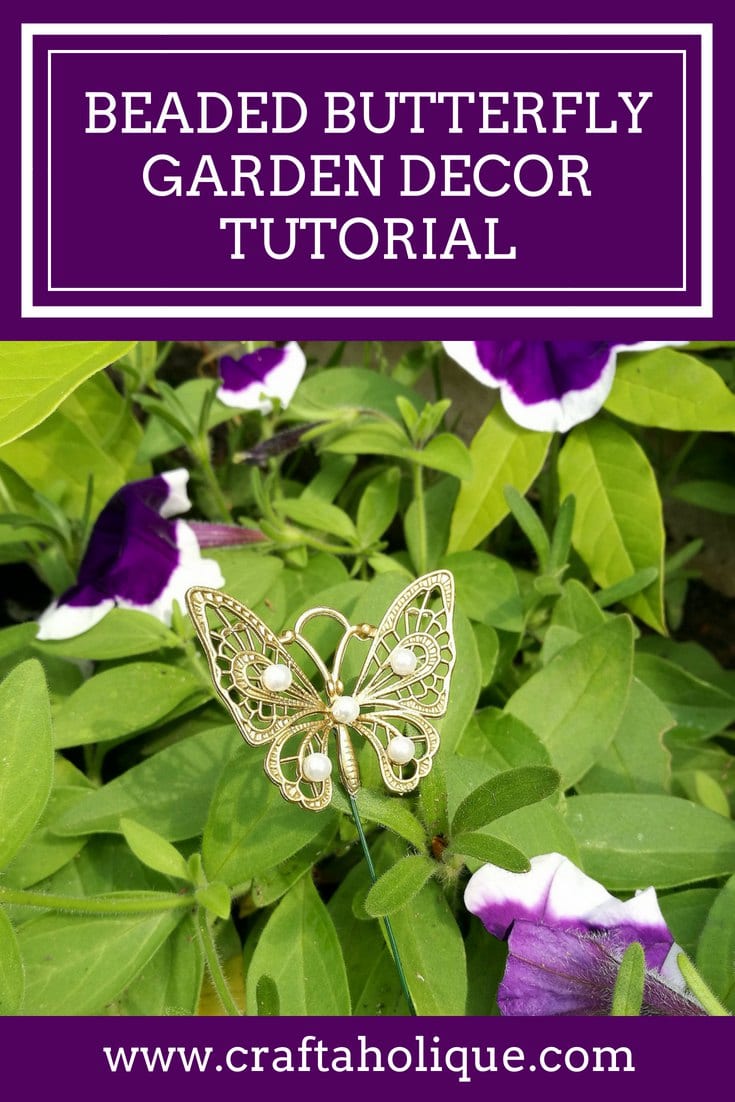
In this tutorial, I’ll show you how to make a selection of beautiful ornamental butterflies that you can add to your garden trellis, plant pots, hanging baskets or just among your flowerbeds! These are really pretty, especially when the sunlight catches them.
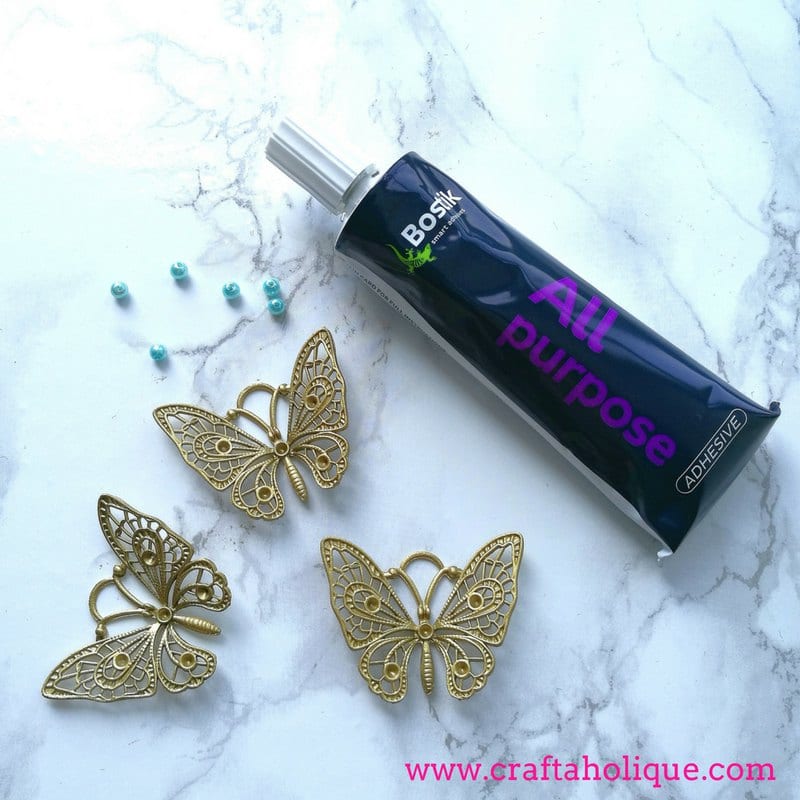
To make these you’ll need the following materials:
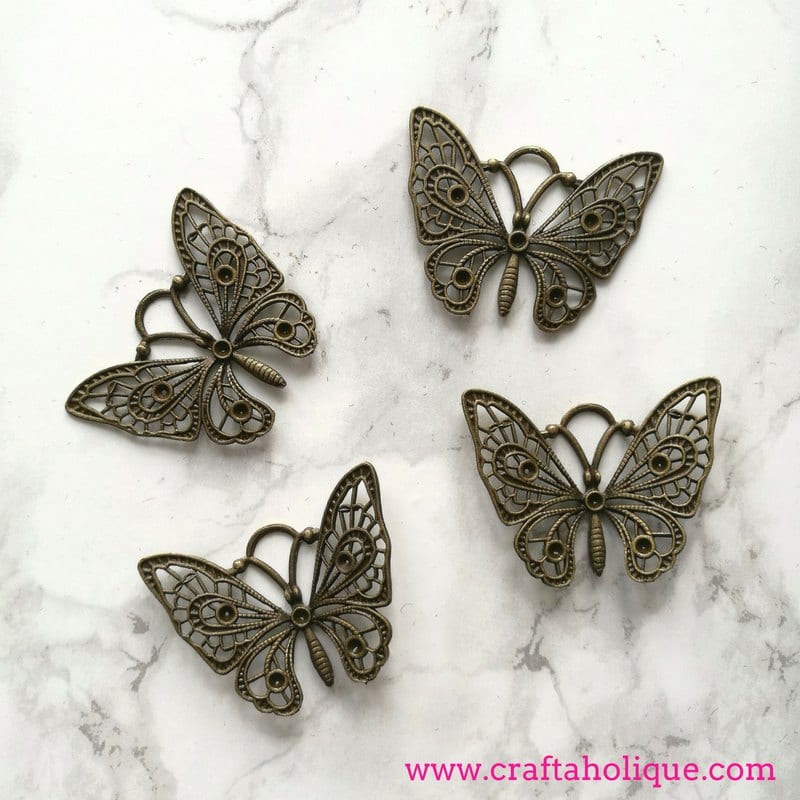
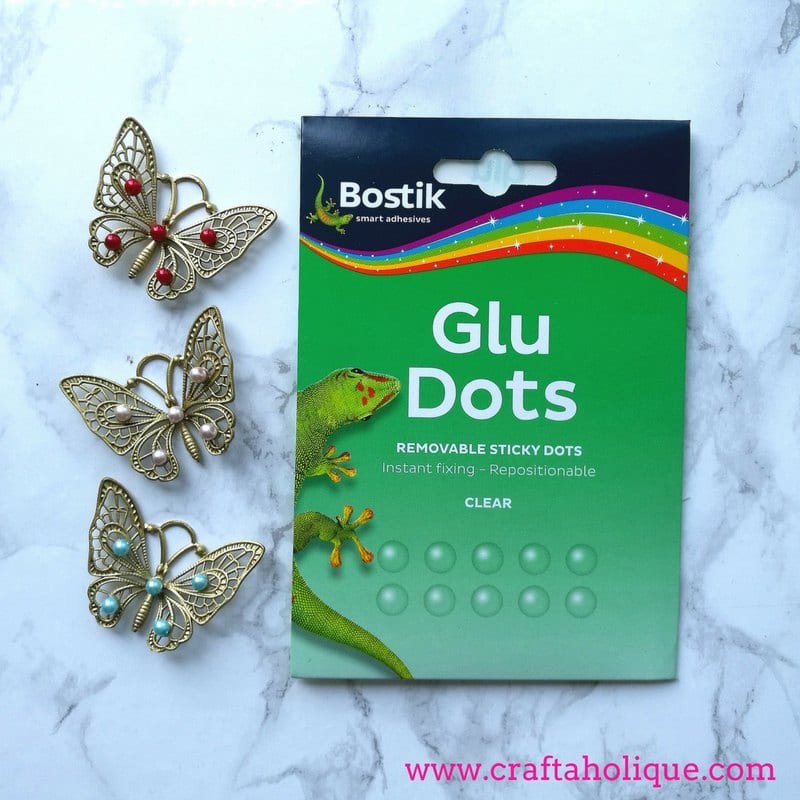
- Large metal butterfly charms with 5 holes – I got mine from The Works, but you can also get them on Etsy (affiliate link) too.
- 3mm or 4mm round glass pearl beads in various colours.
- Glue – I’ve used Bostik All Purpose and removable Bostik Glu Dots – I was sent these products free of charge for this post.
- Gold spray paint (optional)
- Garden wire (optional)
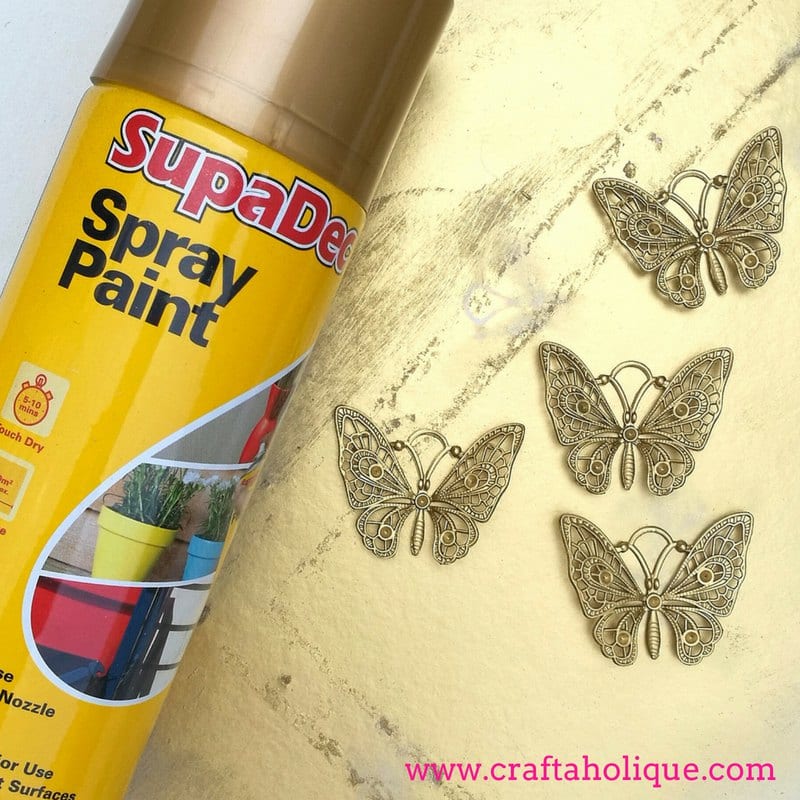
Step 1 (optional)
The metal butterflies that I had were very rustic looking, so I decided to give them a makeover with gold spray paint to brighten them up a little. If you’re happy with your metal butterflies, then you may want to skip this step.
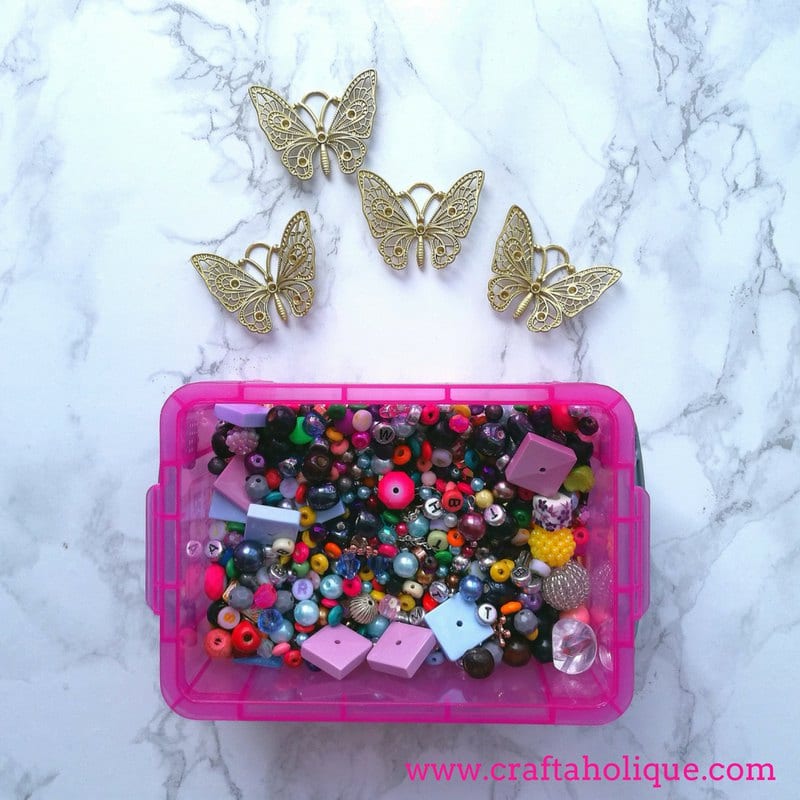
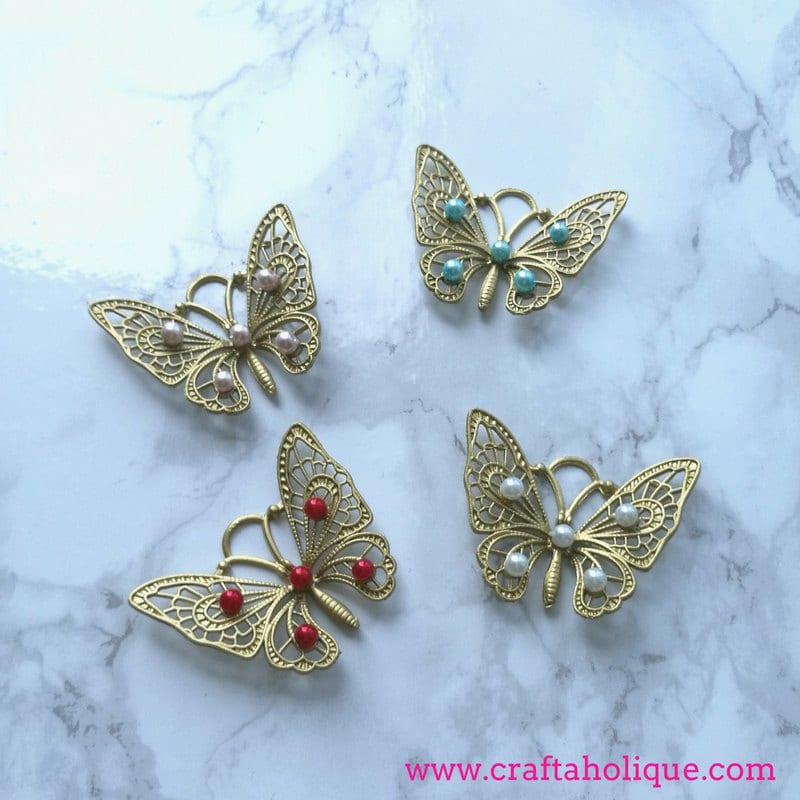
Step 2
Choose a selection of beads that will fit into the holes on the butterfly charms. 3mm or 4mm round beads work best – I used glass pearls.
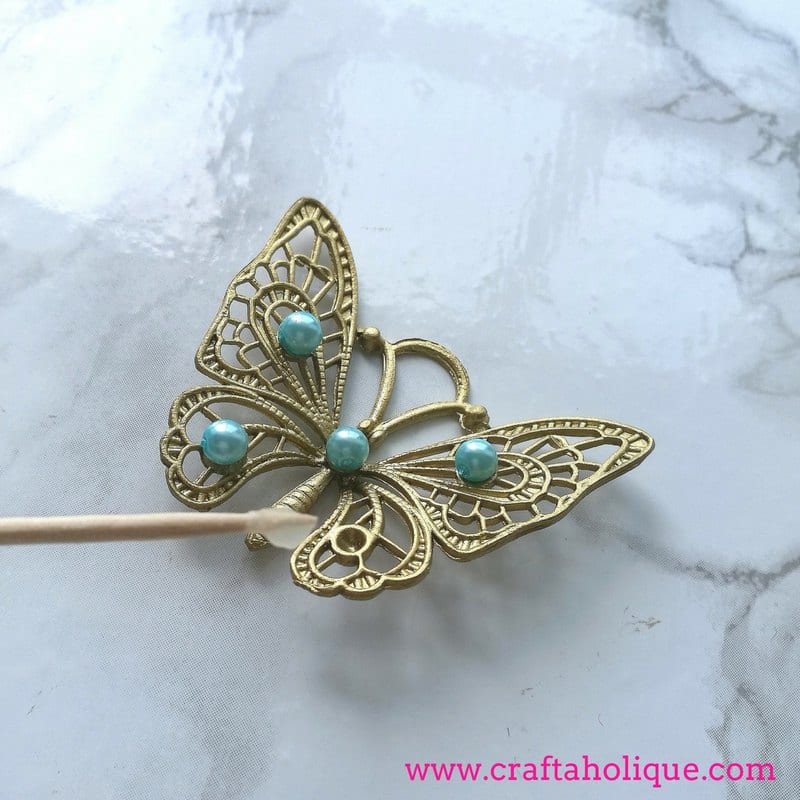
Step 3
Next, glue the beads into place using a glue that’s suitable for glass and metal. I used Bostik All Purpose glue for this. Dab the glue into the holes using a cocktail stick, then leave to dry for at least 10 minutes.
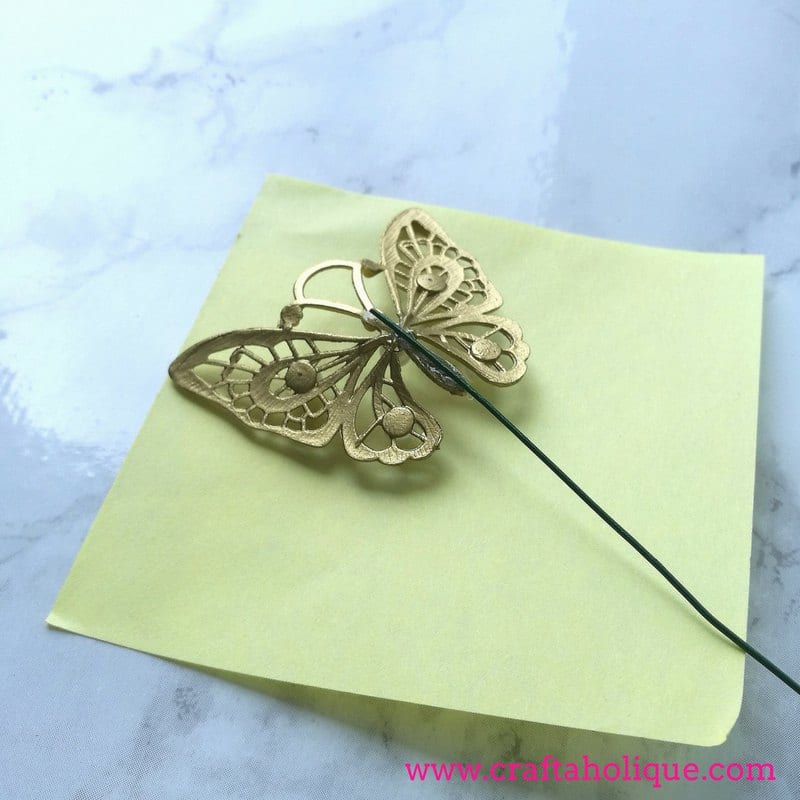
Step 4
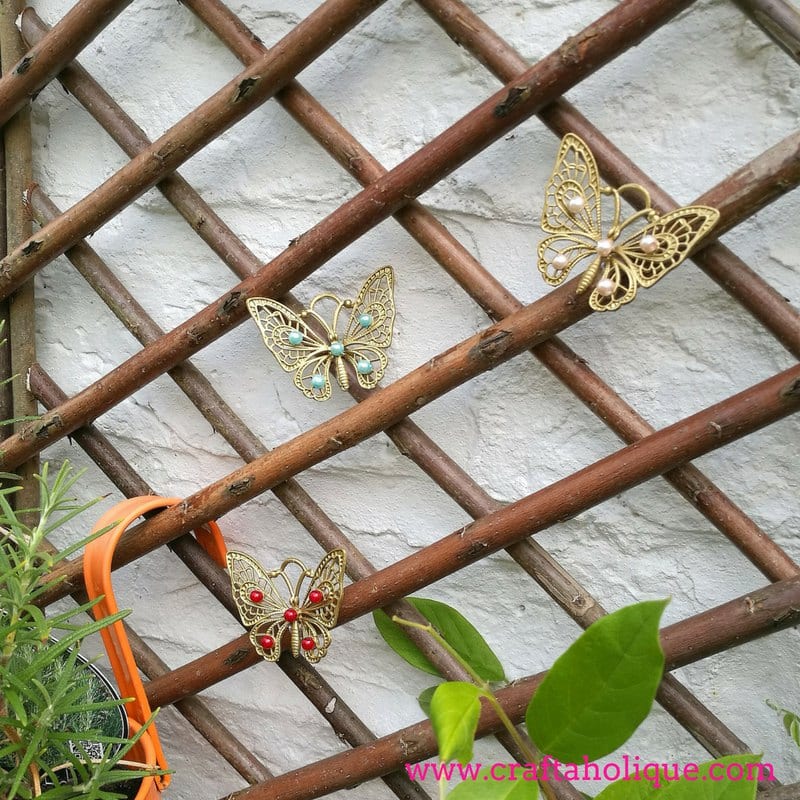
Once the glue has dried and the beads are securely in place, you can either use garden wire to make a rod for the butterflies, so that you can stick them into your soil next to your flowers, or use glue dots to stick them to various places around your garden. I did both!
I used Bostik All Purpose glue to stick the wire to the back of one of my butterflies and Bostik Glu Dots for the others. The Glu Dots are really easy to use and because they are removable, you can alter the location of your butterflies in your garden from time to time!
Step 5
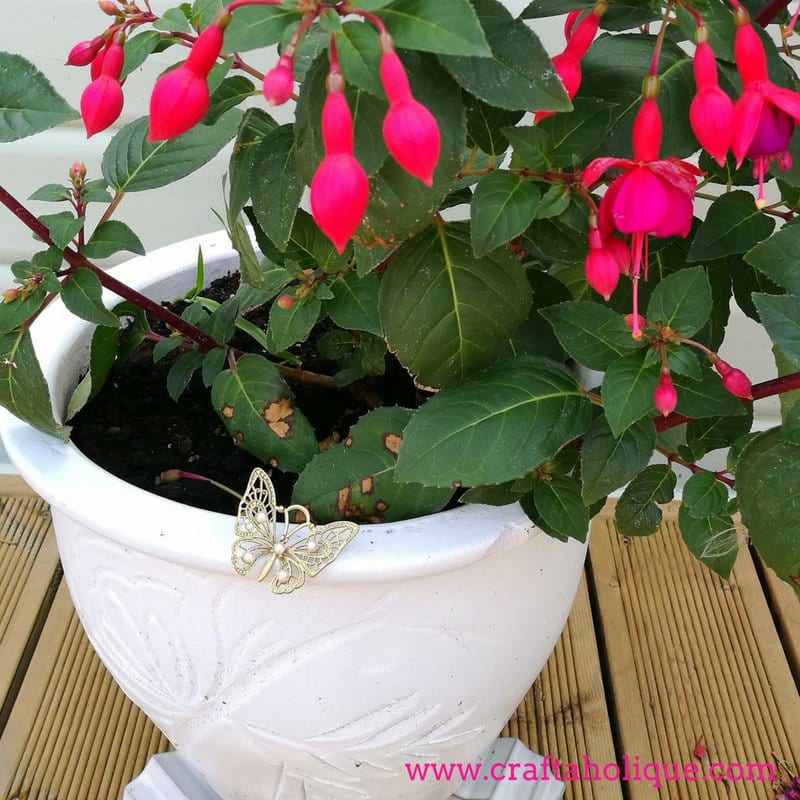
The final step is to place your butterflies in your garden. See mine in various locations below! I’m a tiny bit in love with them and want to make some more!
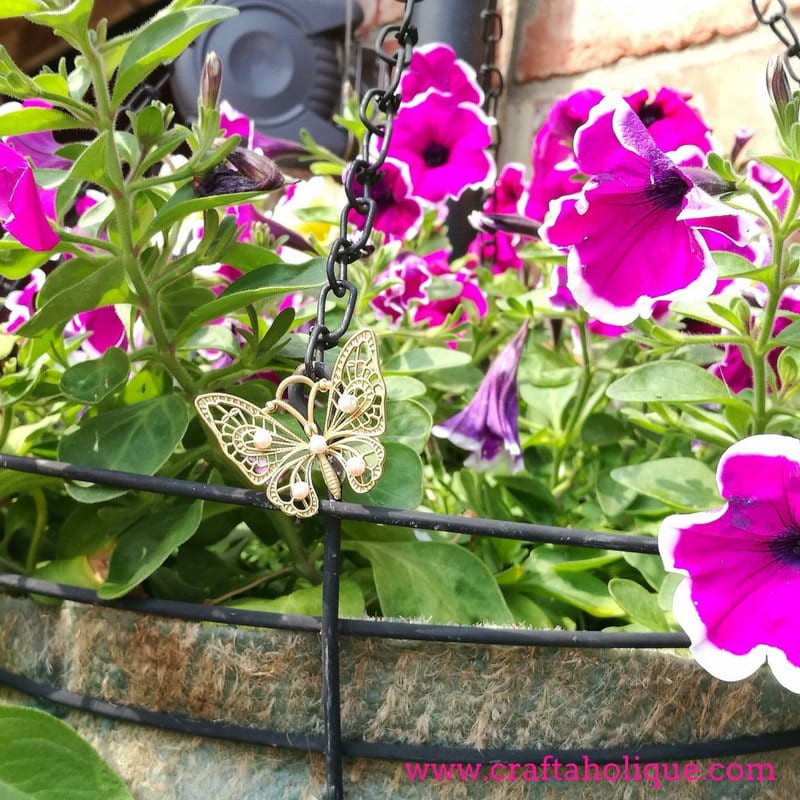
I’m not sure how well these will fare when it rains – we shall see! You may want to use Bostik’s permanent Glu Dots if you intend to keep them outside in all weathers, but bear in mind you won’t be able to move them around so easily.
I hope you like this tutorial. If you decide to make some, please let me know in the comments below!
Before you go, why not check out these other tutorials I’ve published?
- Flower arrangement tutorial with wild flowers
- How to make a beaded flower ring
- DIY boho/festival earrings tutorial
*Disclosure: Huge thanks to Bostik for sending me their products for free and for providing me with an editorial fee so that I could put this tutorial together for you. An affiliate link to Etsy is also included in this post.
**All images © Craftaholique.
So cool and awesome! I’m impressed by the creativity. The butterfly in the end result looks so gorgeous. I’m going to make this design and would suggest my friends also to make them. Great post and good content with detailed pictures. Thanks for posting this article. Keep posting .
Thanks for the kind words! Much appreciated.