
*Collaborative post
It’s that time of year again – a couple of weeks before Halloween, and the ideal time to start planning your spooky attire if you’re going out trick or treating with the kids! In this post, I’ll show you how to make some Fimo clay jewellery pieces to compliment your outfit. Check out my tutorial below.
For this project, you’ll need:
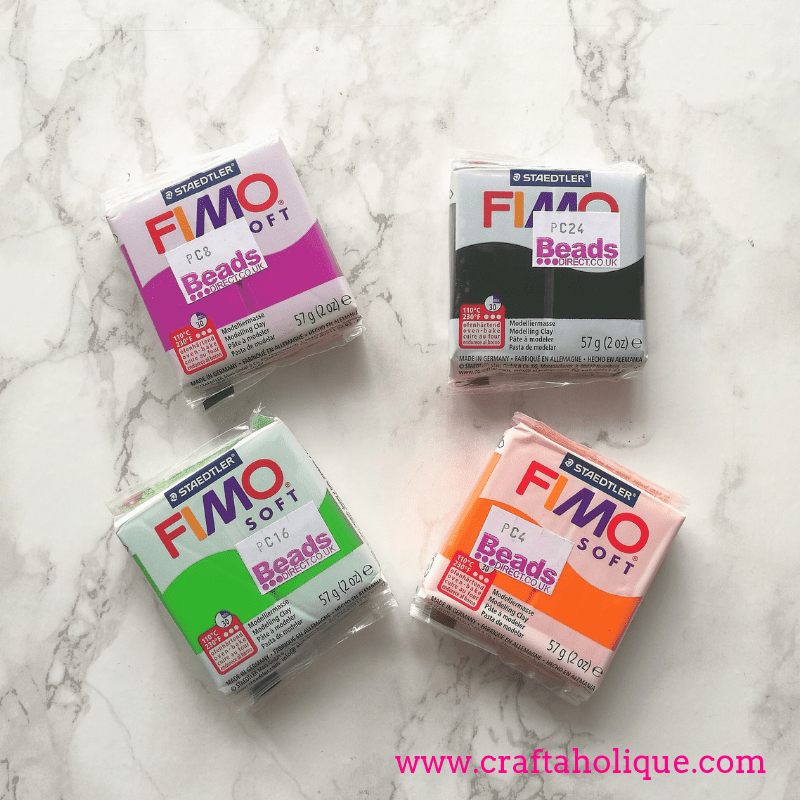
- Fimo clay in black, orange and green
- 2 x Fishhook earring findings
- 2 x Headpins
- 1 x Flat pad ring finding
- Tools for cutting clay (I used my daughter’s play dough tools!)
- Jewellery making tools – round nose pliers and wire cutters
- Superglue
*Beads Direct kindly sent me the Fimo clay for this project and they also compensated me for this post – huge thanks to them for supporting my blog! What’s more, they’ve given me a special discount code for my readers where you can get 20% off for a limited time! Just quote BEAD20 when you make your purchase. The offer is valid until 30/11/18, so be sure to check out their website now, before it’s too late! (T&Cs – no minimum order – cannot be used in conjunction with any other offer.)
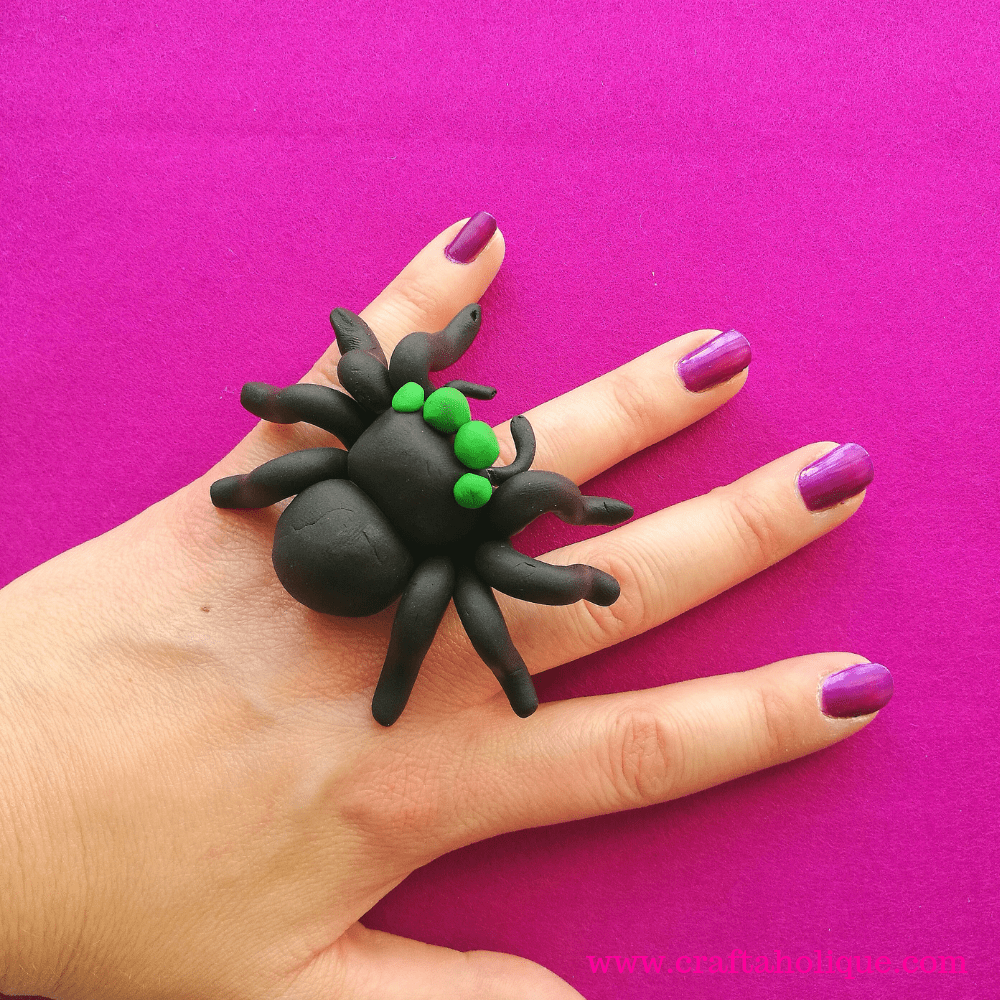
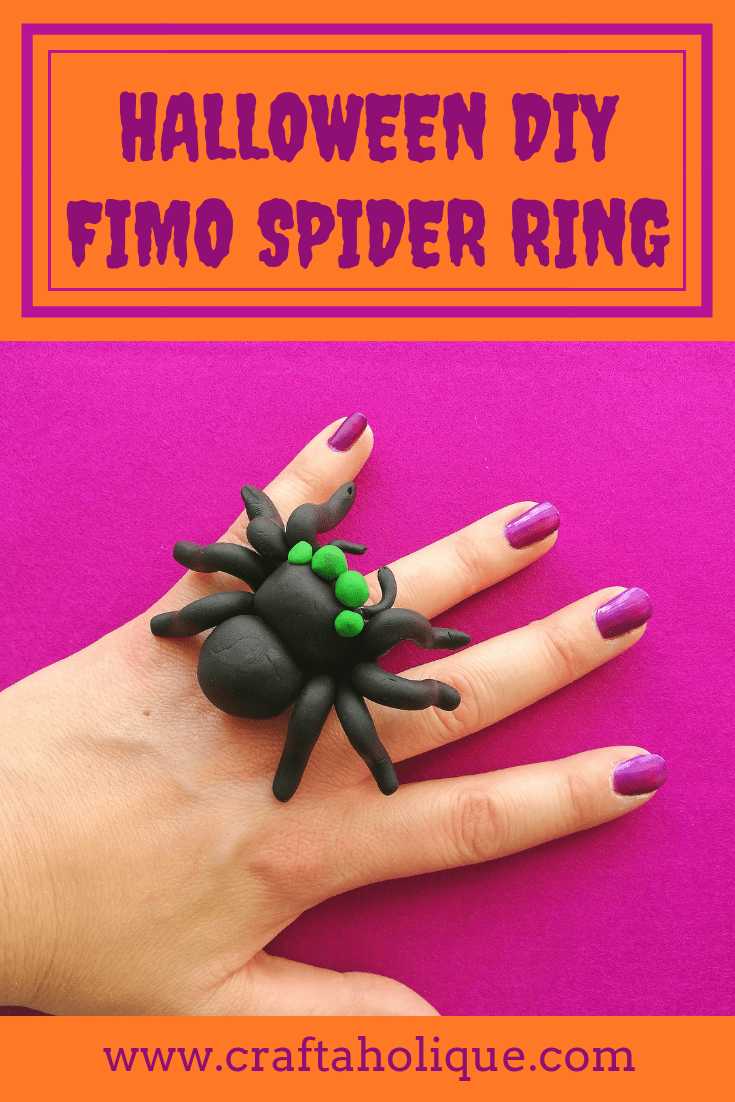
How to make a spooky spider ring
Step 1
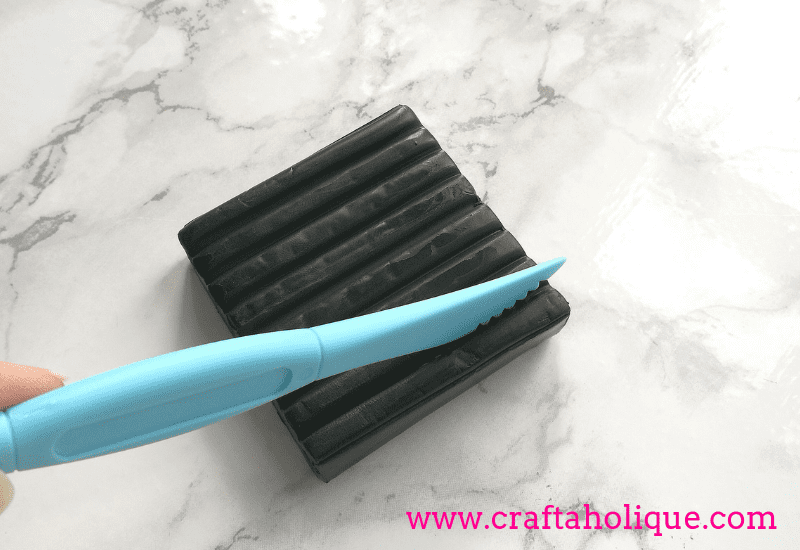
Starting with the spider, first of all, get out the clay you want to use and slice off enough to make the spider’s body. You’ll need approximately one “strip” per main body piece. I was going to make a cutesy spider with just one round body piece in the beginning, but I decided in the end to try to make one that’s slightly more realistic – so I made two.
Step 2
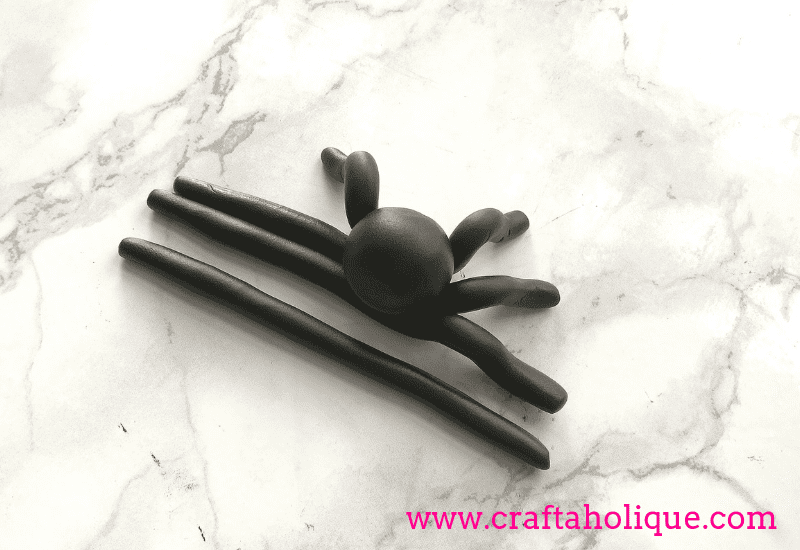
For the legs, around half a strip should make two legs. I rolled out the shapes for the legs (four pieces in total which double up as two legs for either side of the spider) and stuck them on the underbelly of the spider’s body. Working with fimo clay is a little like working with plasticine. It’s very firm, but is malleable when it gets warm. You can stick the parts together just like you do with plasticine or play dough.
Step 3
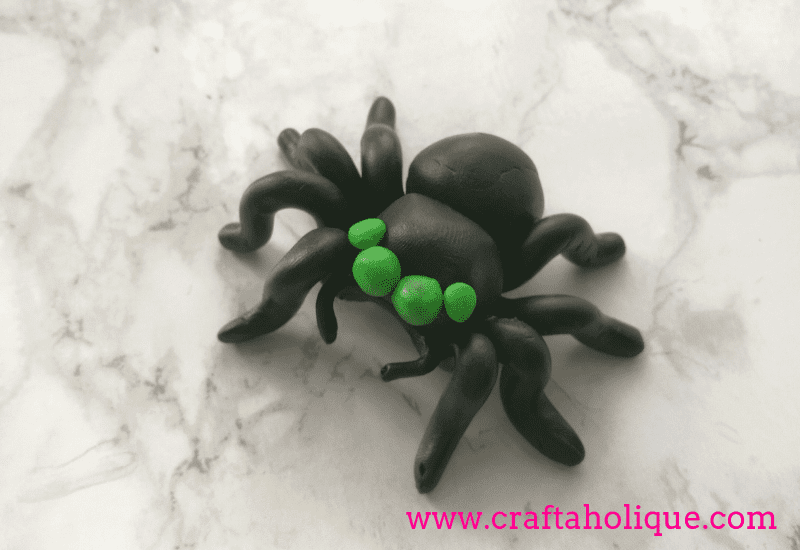
After the legs, I then stuck the other part of the spider’s body on, followed by the eyeballs which I made out of green fimo clay – only a tiny bit of clay is needed for these. Most spiders actually have eight eyes, so if you want to make it especially lifelike, you may want to make this number! Finally, I made two little arms for the front of the spider (the scientific name for these is the pedipalps)!
Step 4

Fimo clay needs to be baked in the oven at 110°C for 30 minutes for it to harden. So when you’re happy with your creation, do this! Once your spider has cooled, it should be hard enough to use as a jewellery component. Turn it carefully upside down and stick on the flat pad ring finding with superglue. You’re finished!
How to make pumpkin earrings
Step 1

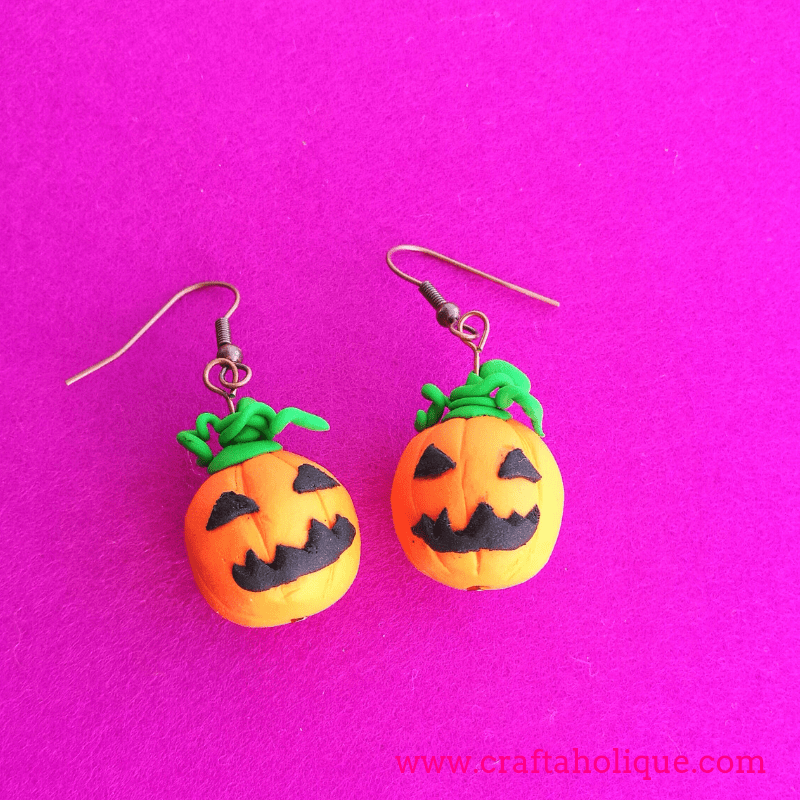
For the earrings, make two round balls out of orange fimo clay. Working around the ball, make slight indents with your clay cutting tool to make the rims of the pumpkin. While the clay is soft, poke a headpin through each ball from one side to another.
Then add the detail – cut out black clay shapes for the eyes and mouth and stick these on your pumpkins to make the faces. Using small lengths of green clay, roll out two tiny balls. Press them flat with your fingers, then wrap them around the top of each pumpkin and headpin to make a stalk. Roll out two more lengths of clay, making them into strips that you can wrap and curl around the stalks.
Step 2
Bake, as before, for 30 minutes in the oven at 110°C when you’re finished. When your pumpkins have cooled down, use your round nose pliers to make a loop in each headpin, trimming off the excess with your wire cutters. Attach your earring findings to the loop to complete this project.
This is my first time working with Fimo clay and there are a couple of things that I’ve learned so far. Firstly, trim your nails! I have long nails at the moment and found that I kept scratching the clay surface where I didn’t mean to. Secondly, to cut out shapes, you may be better off using proper clay cutting tools, or a hobby knife to get a more precise shape.
I hope you enjoyed this tutorial! If you did, please take a moment to share it online and don’t forget to check out the Beads Direct website to see their range of fantastic jewellery making products. Before you go, you might like to read some of my other Halloween related posts:
- Halloween Peyote Stitch Pattern – Spooky Cats Eyes
- Glitzy No Carve Glitzy Halloween Pumpkins
- Halloween Multi Strand Skull Pendant Necklace
**All images © Craftaholique.
Leave a Reply