*Collaborative post.
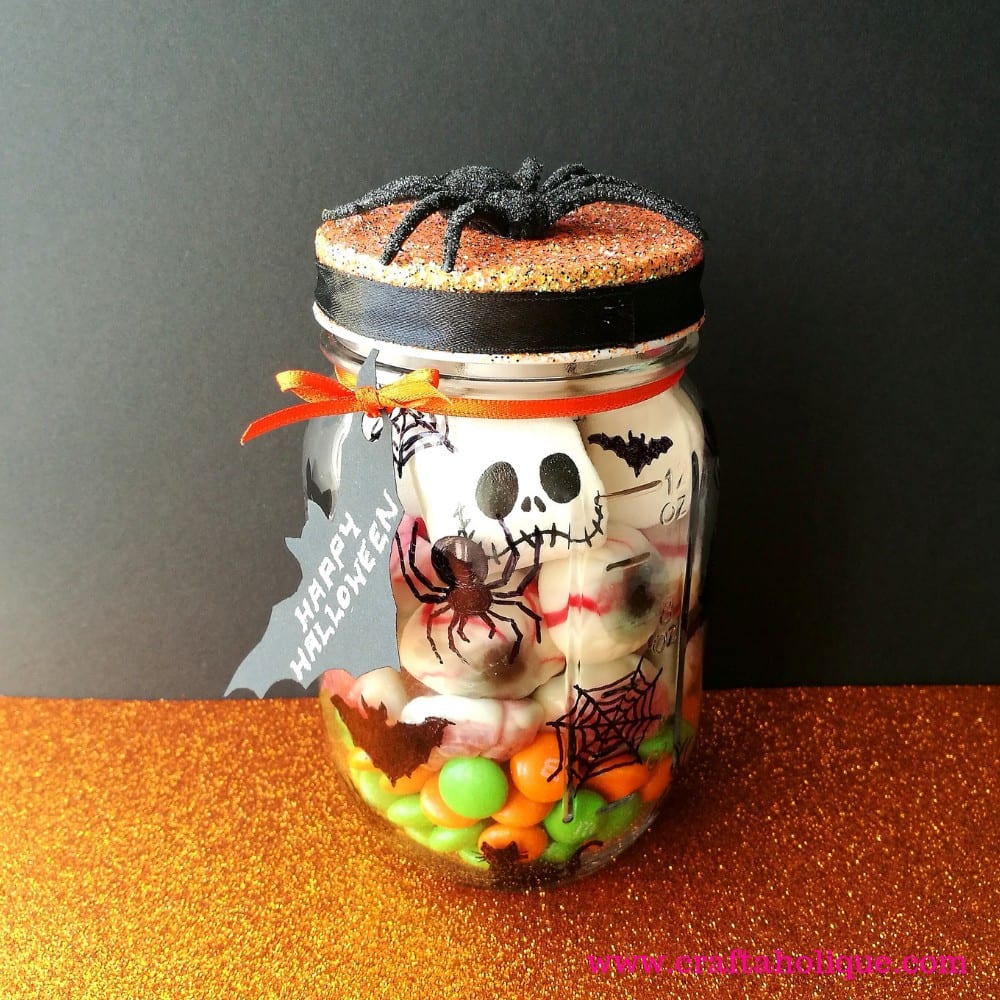
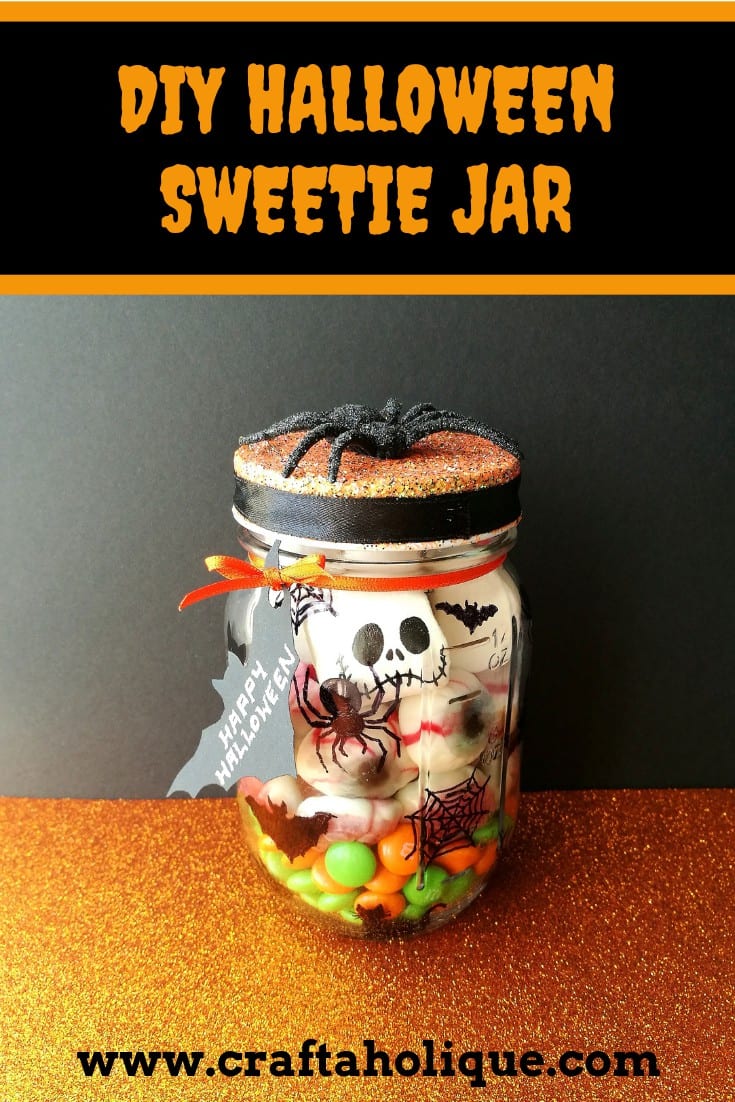
Do you know someone who would love a Halloween sweet treat or two this year? Why not make them a special Halloween sweetie jar gift, filled to the brim with gooey-looking jelly eyeballs and brains, spooky marshmallows and Halloween-coloured chocolate buttons (ok, M&Ms)?
For this Halloween mason jar craft project, you’ll need:
- A mason jar with metal lid.
- Black Sharpie pen or Sharpie oil-based paint marker.
- Orange and black glitter.
- Orange and black ribbon (the orange ribbon should be quite thin).
- Black cardboard.
- Hole punch.
- White pencil.
- A plastic/rubber spider.
- Lots of spooky Halloween sweets.
- Bostik White Glue, Bostik Extra Strong Glu Dots and Bostik Micro Dots.
- Glue spreader and bowls for the glue and glitter.
- Clear lacquer or sealant (optional).
*Huge thanks to Bostik for providing me with the glue for this project and for sponsoring this post!
Step 1 – get ready for glitter
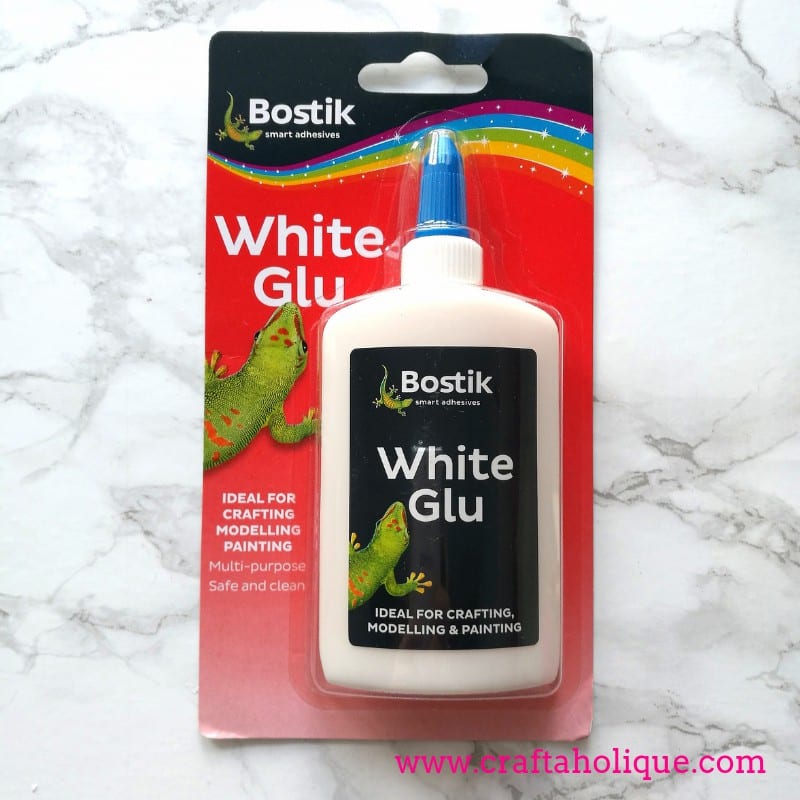
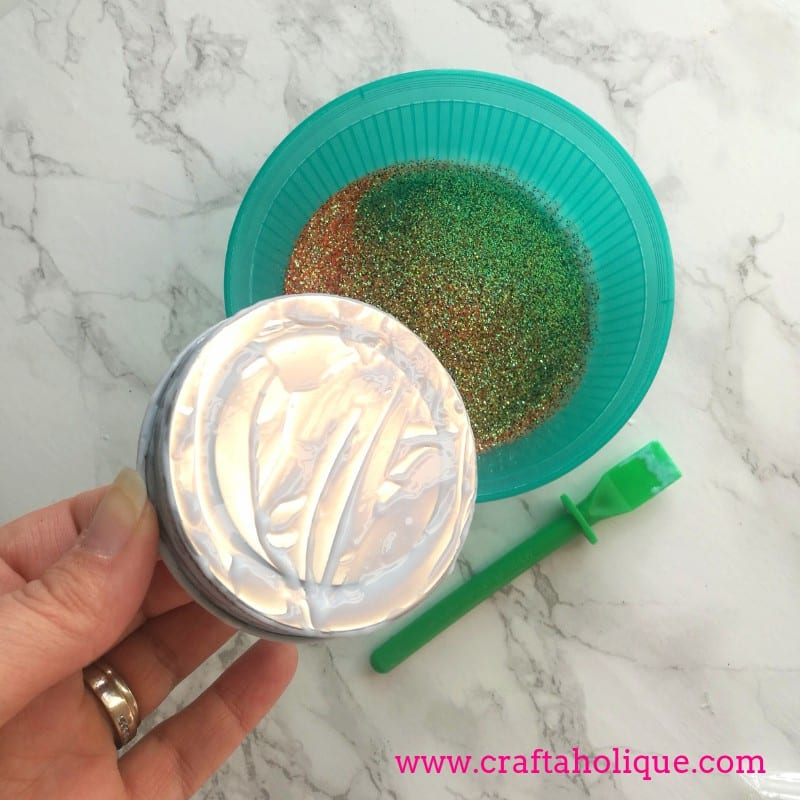
Rinse out your mason jar and the lid with warm soapy water. It’s best to do this right at the beginning before you decorate the jar. Then cover the outside of the lid in the Bostik White Glue (which is a PVA glue) ready for dipping into a mix of the orange and black glitter.
Leave it to dry for a couple of hours and then spray the glittery lid with clear lacquer or sealant to stop parts of the glitter from rubbing off as you handle it. If you don’t have clear lacquer, you could always try hairspray (at least that’s what the lady at Hobbycraft told me!).
Step 2 – get arty with a Sharpie pen
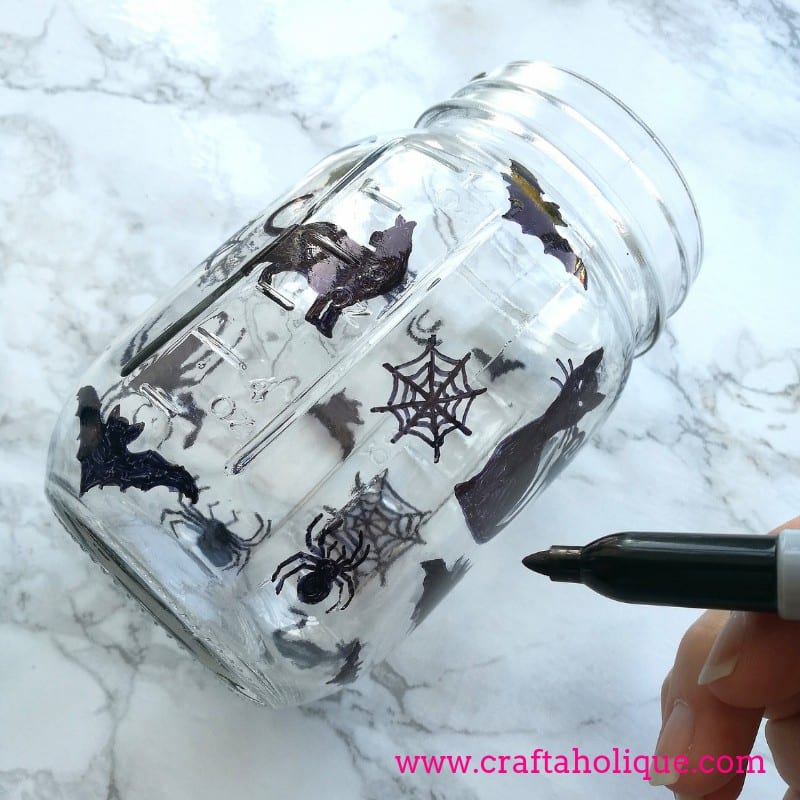
I’ve used a regular black Sharpie pen for this and it seems to stay on just fine. But if you want to make sure your artwork doesn’t come off while the jar is being washed, it might be better to use an oil-based Sharpie paint marker instead.
Work your way around the jar, drawing on and colouring in little Halloween silhouettes, such as spiders, bats, cats and cobwebs. I looked at a few Halloween pictures on the internet and copied them, but if you prefer, you could trace a Halloween shape onto the jar instead.
Step 3 – spooky sweets
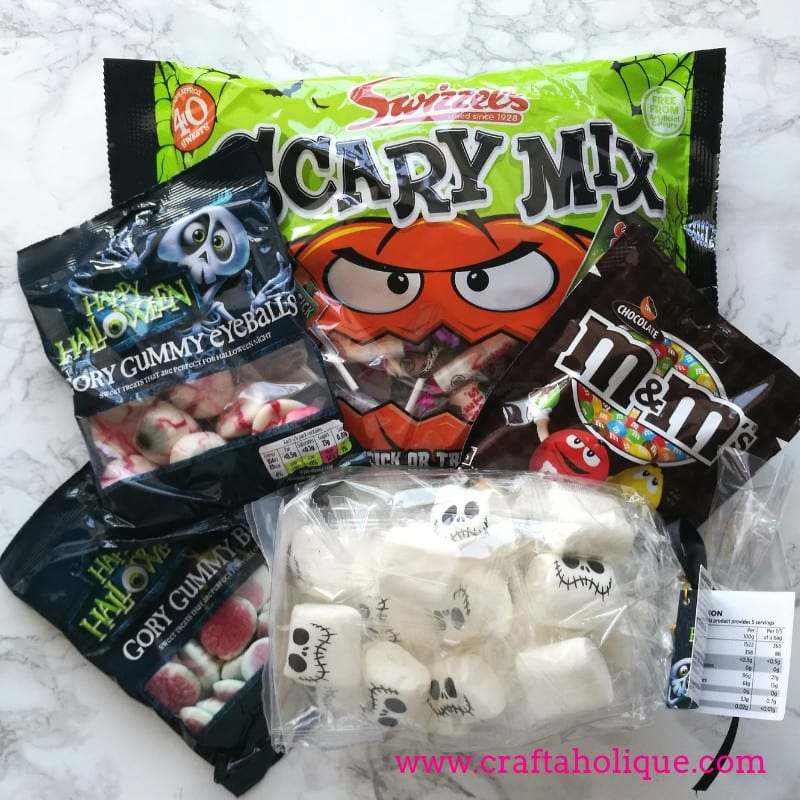
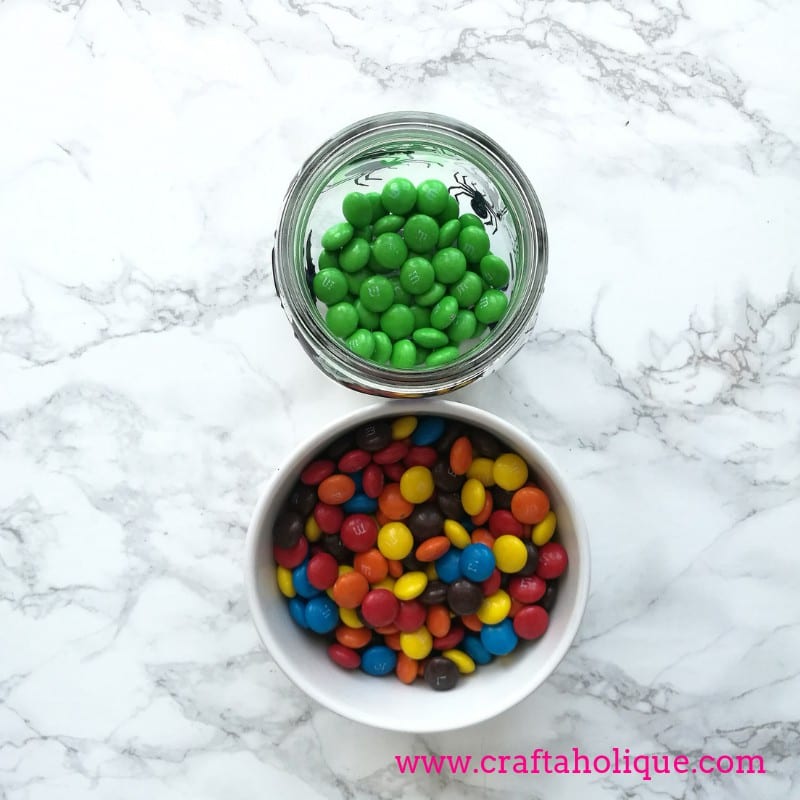
Once you’re happy with the designs on your mason jar, break open the Halloween sweeties and start filling the jar. I used green and orange M&Ms for the base, followed by layers of jelly sweets and marshmallows. You could also fill the jar with lollipops, chewy sweets or chocolate eyeballs too! *Warning! You will be tempted to eat the M&Ms that you don’t filter out!
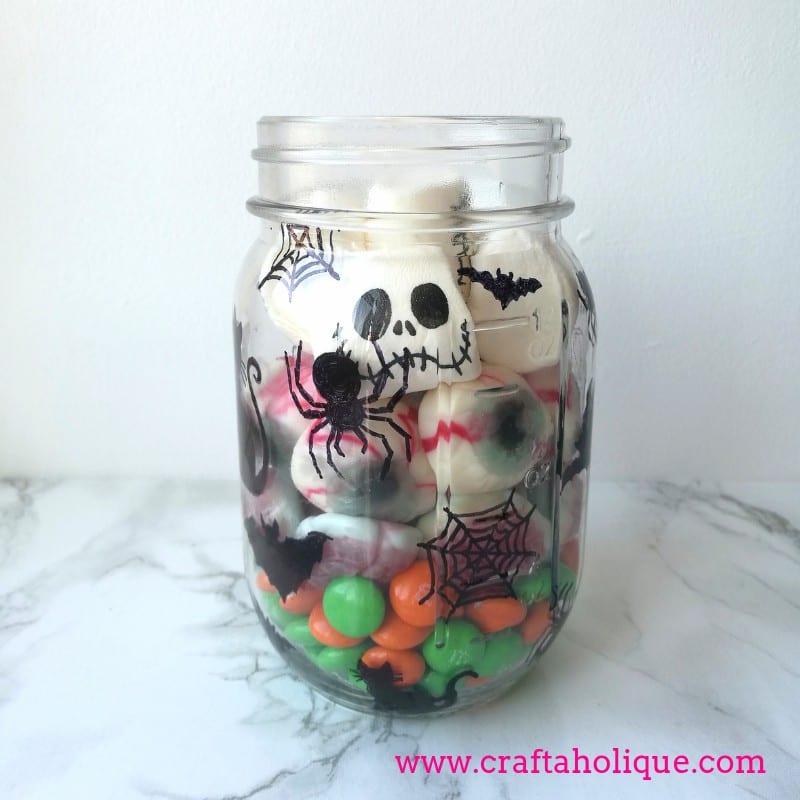
When you’ve finished, your mason jar should look something like the above.
Step 4 – add more bling to the lid
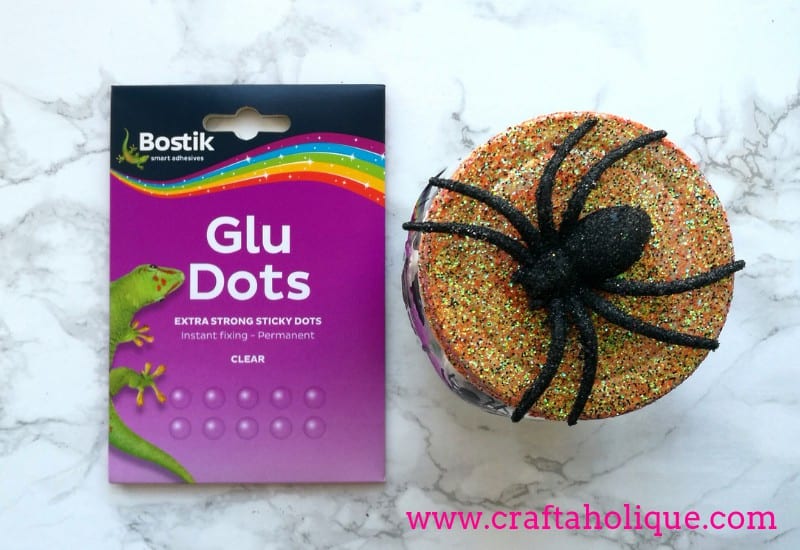
Who will dare to open this jar of sweeties with this menacing, albeit glittery spider sat atop the lid? I bet you know someone who would! To glue the spider on, I’ve used Bostik extra strong Glu Dots. They simply peel off a sheet of plastic, making this part of the project easy peasy.
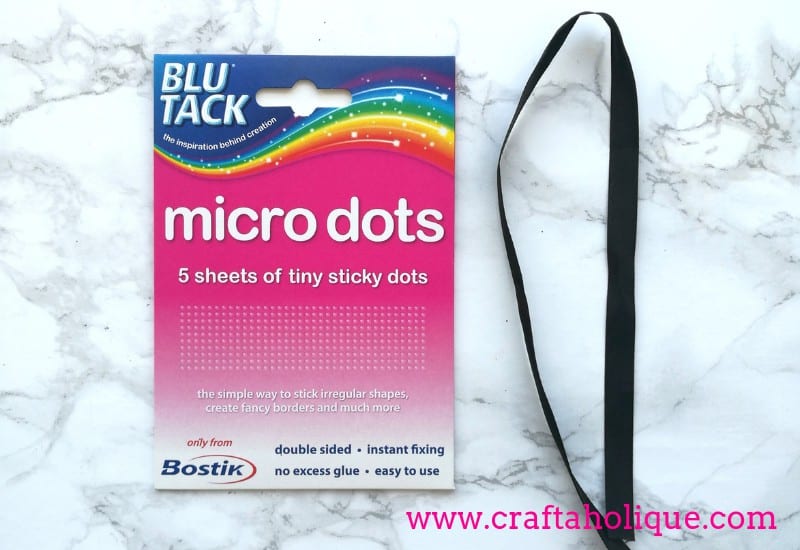
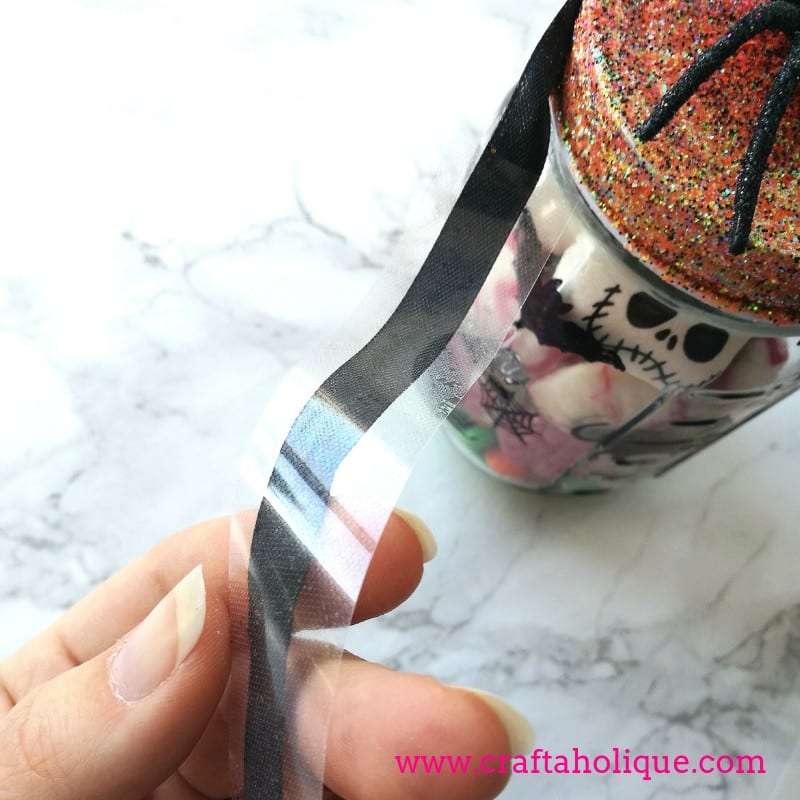
Then I used Bostik Micro Dots to stick the ribbon around the rim of the lid. Why oh why did I not know about this fantastic product before now?! These Micro Dots are so tiny, you can barely see them.
They come on a sheet of plastic and you stick whatever item you’re using to the sheet of plastic – when you peel the item off, it’s been transformed into a sticker! These tiny Micro Dots attached themselves to my ribbon and then I could simply stick the ribbon around the lid – no gloopy sticky mess in sight! (See the picture below for a visual on how to use them.)
Step 5 – make a bat label
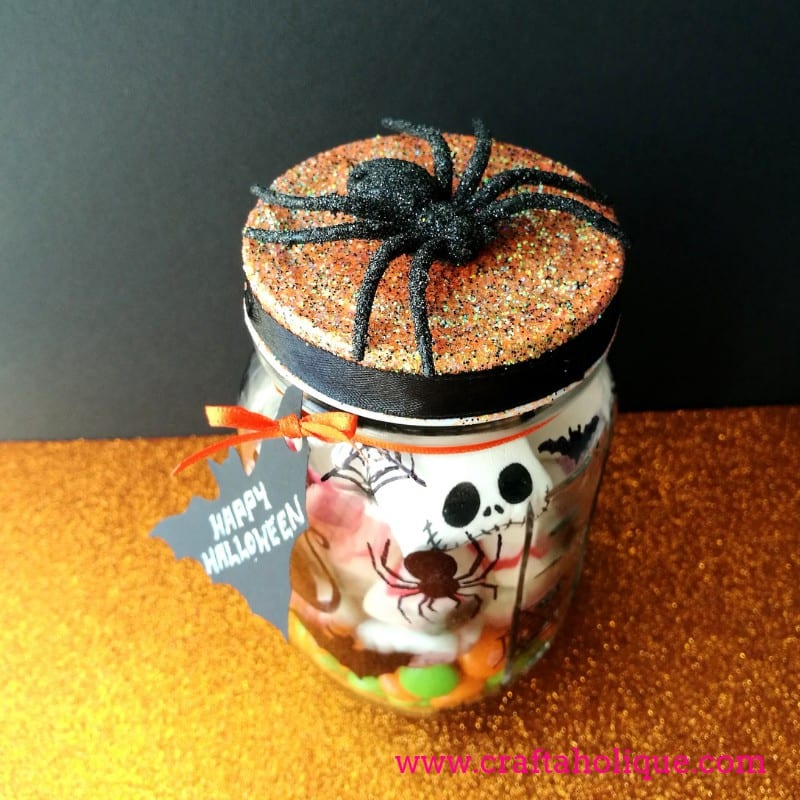
Finally, cut a bat shape out of black cardboard, use a hole punch to make a hole in one of the wings and write a Halloween message on it in white pencil. Then use your orange ribbon to attach the label to jar. You’re finished! I hope you enjoyed this tutorial. If you did, please take a moment to share this post online.
Before you go, why not check out some of my other Halloween-inspired posts?
- Halloween DIY: Fimo Clay Spider and Pumpkin Earrings
- Halloween Peyote Stitch Pattern – Spooky Cats Eyes
- Glitzy No Carve Glitzy Halloween Pumpkins
- Halloween Multi Strand Skull Pendant Necklace
** All images © Craftaholique.


Leave a Reply