
*Affiliate links are included in this post.
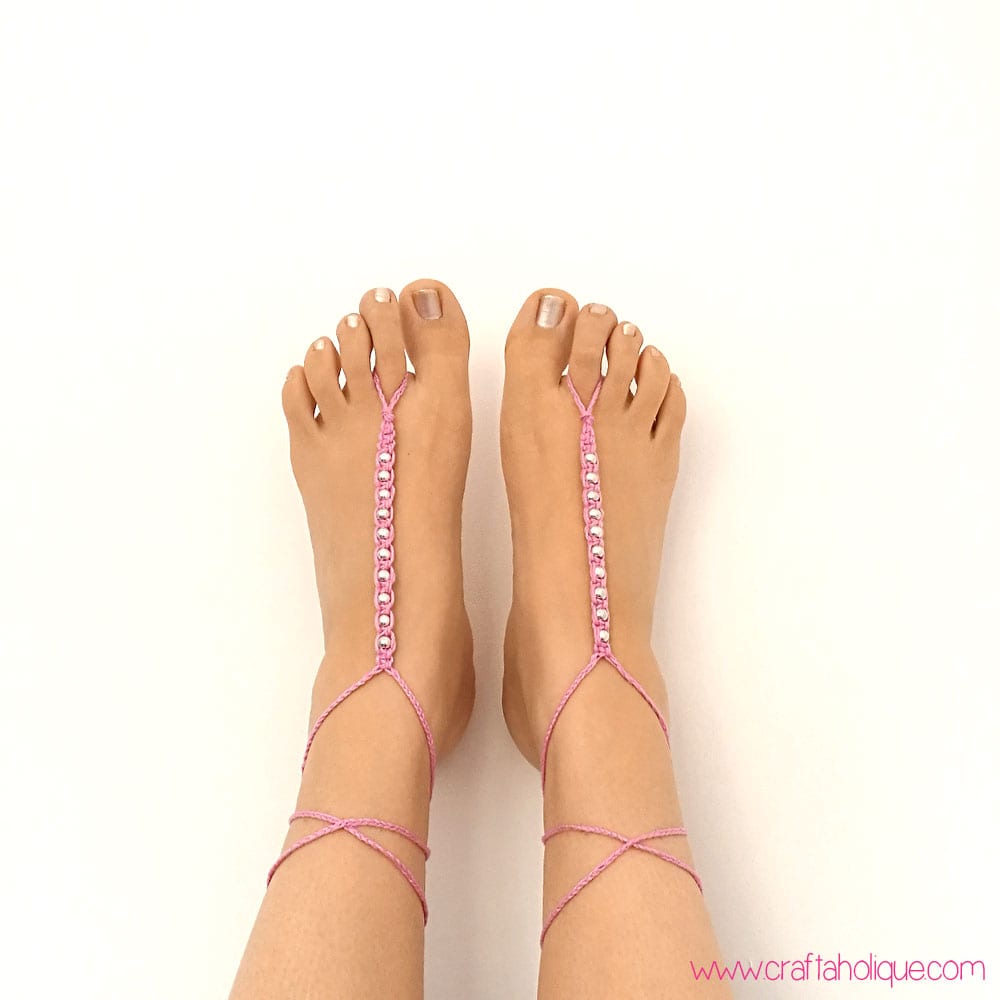
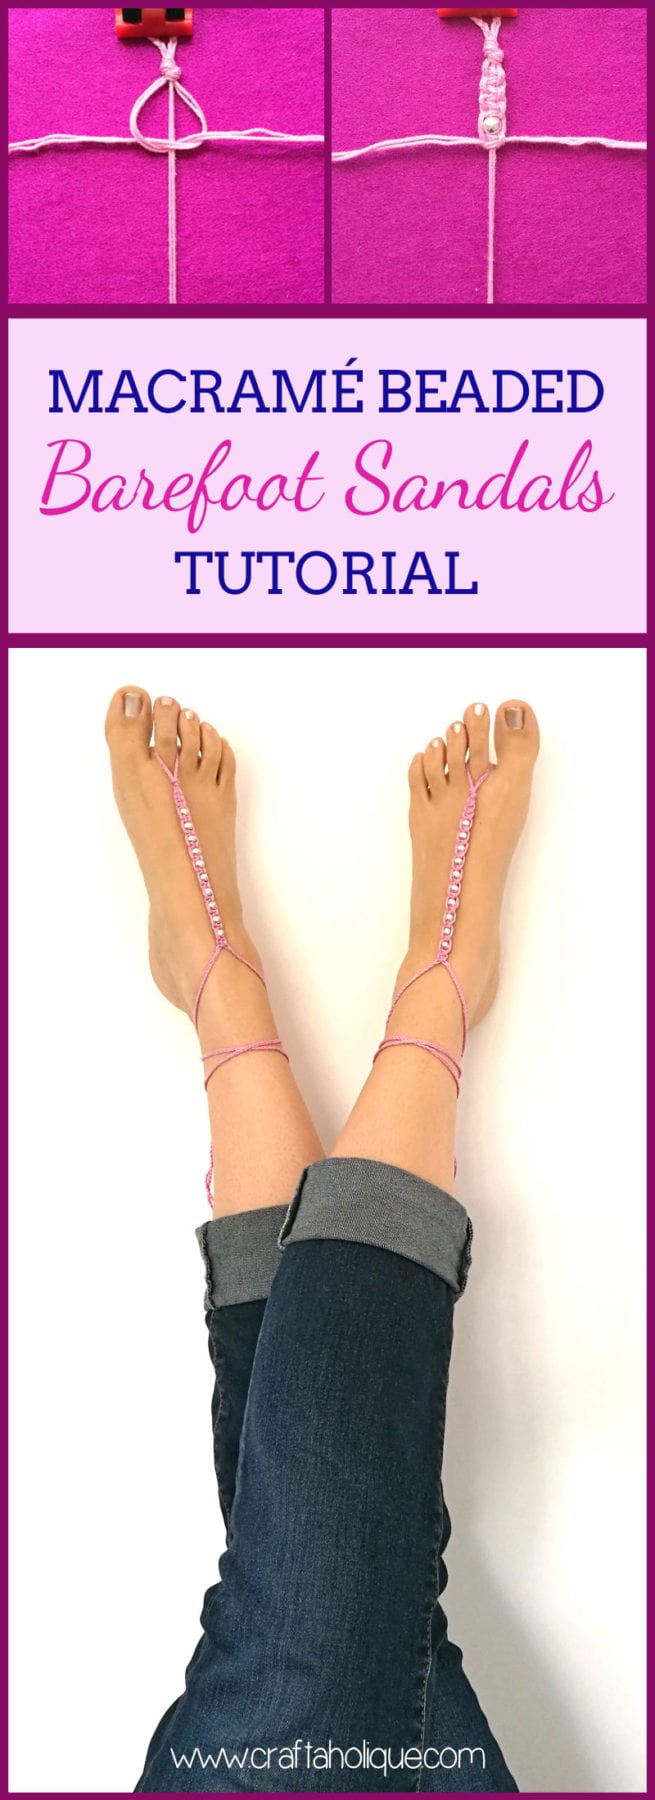
Last week’s handmade sandals article inspired me to make some of my own – although these ones are of the barefoot variety!
Barefoot sandals are great for walking around the beach or on grass in summer. They can even be worn with flip flops that have a toe post too. If you fancy making a pair of these, follow my easy tutorial below.
First of all, gather your materials!
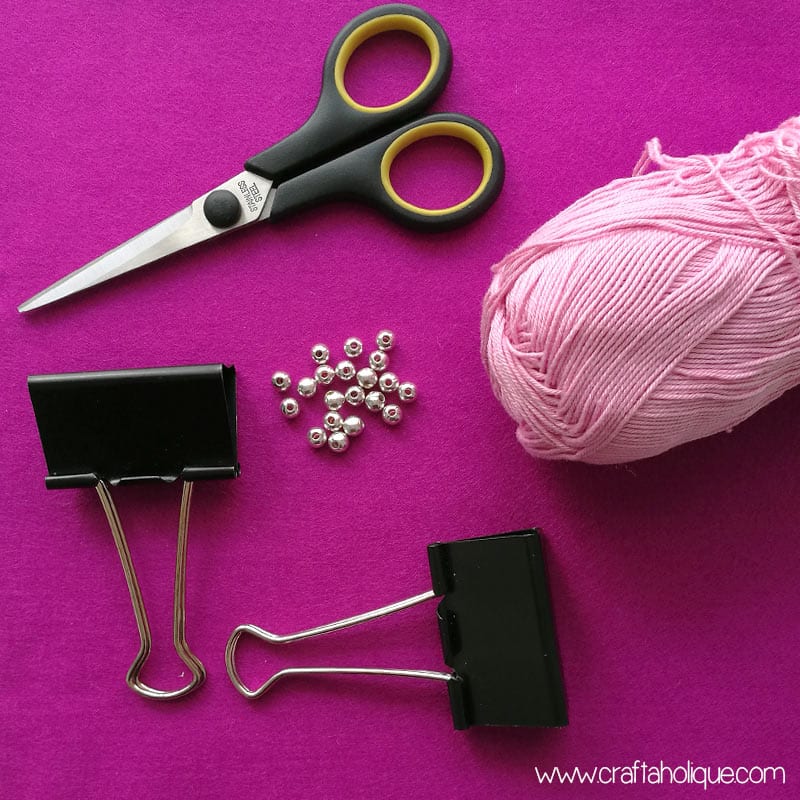
- 100% cotton yarn in pale pink or the colour of your choice. You can also use macramé cord – see different types here.
- 20 to 30 silver tone round beads with large holes e.g. silver spacer beads.
- Bulldog clips.
- Scissors.
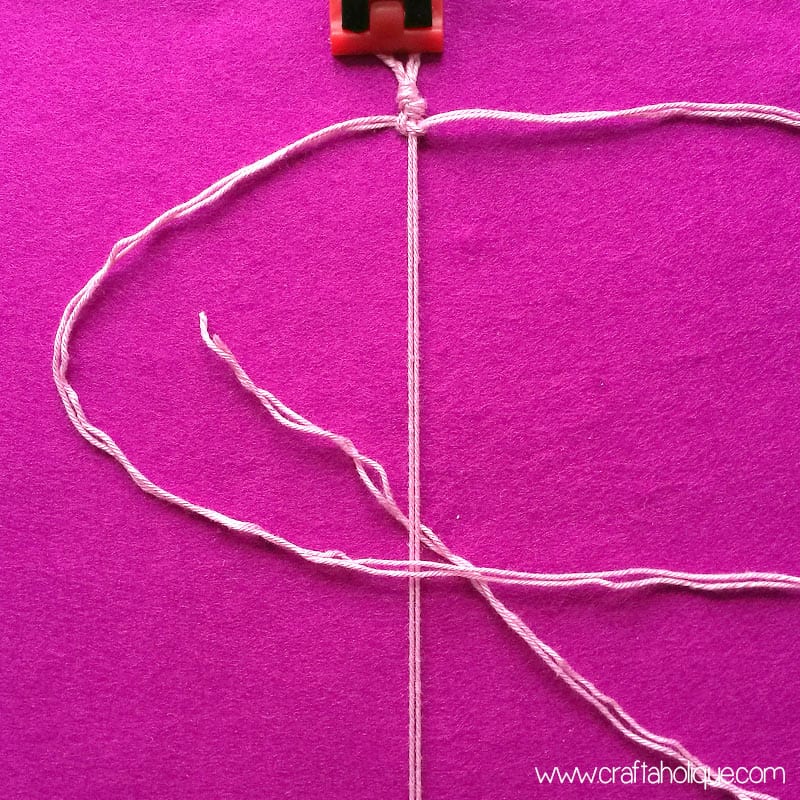
Step 1 – Trimming the yarn
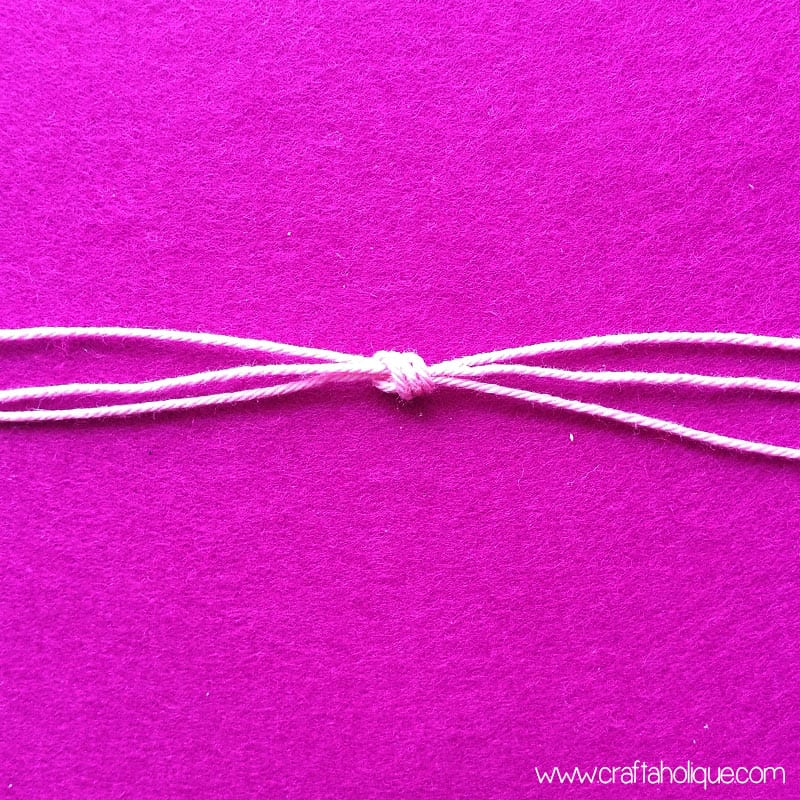
Cut three long strips of yarn around 3m in length. The yarn needs to be long, to account for the ankle straps later. Then find the approx. halfway point of those 3 strips and tie a knot, as shown in the picture above.
Step 2 – Braiding the toe loop
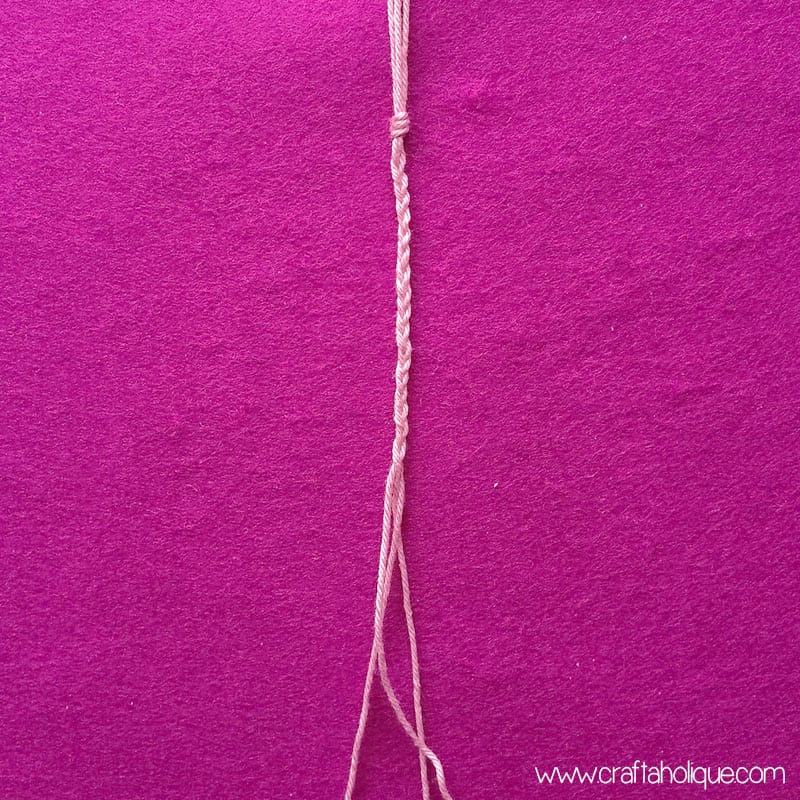
On one side of the knot, braid two to three inches of the strands together.
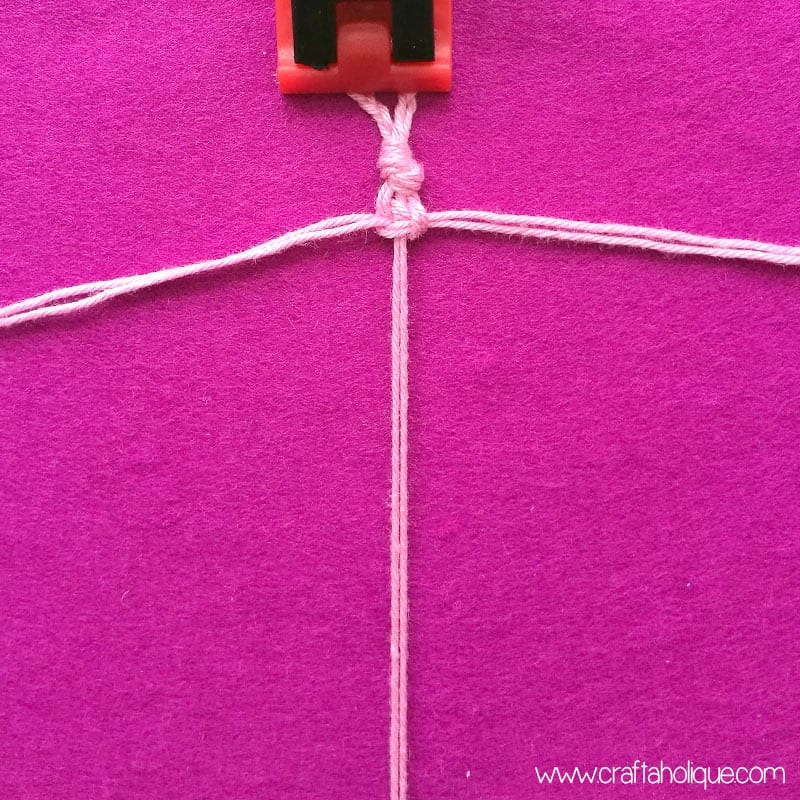
Step 3: The toe loop
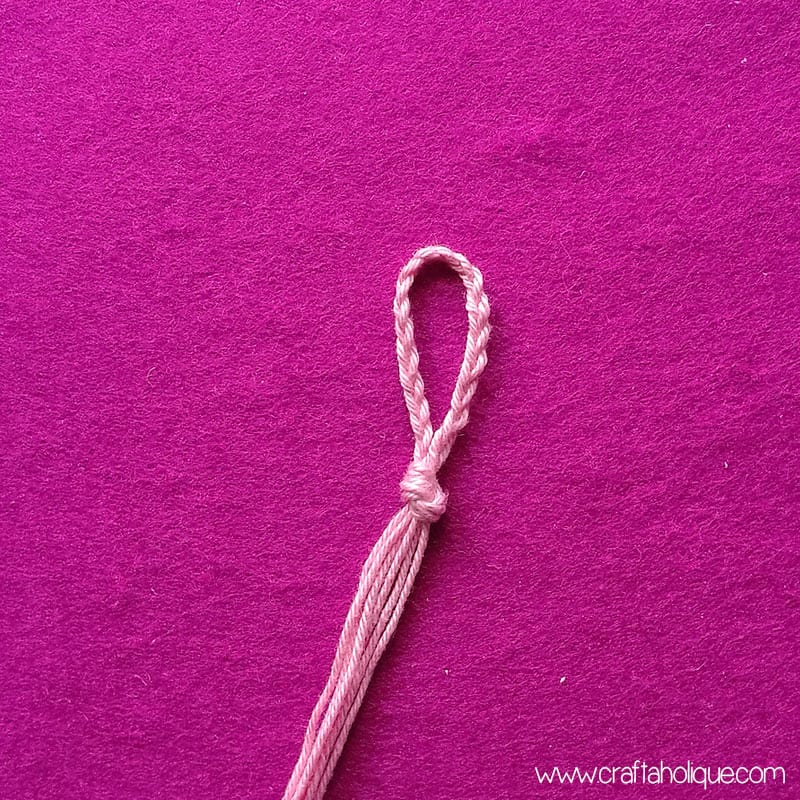
Then undo the knot you made earlier and retie it after making a loop with the braided strand. This will form the toe loop for your sandal!
Step 4: Making a macramé square knot
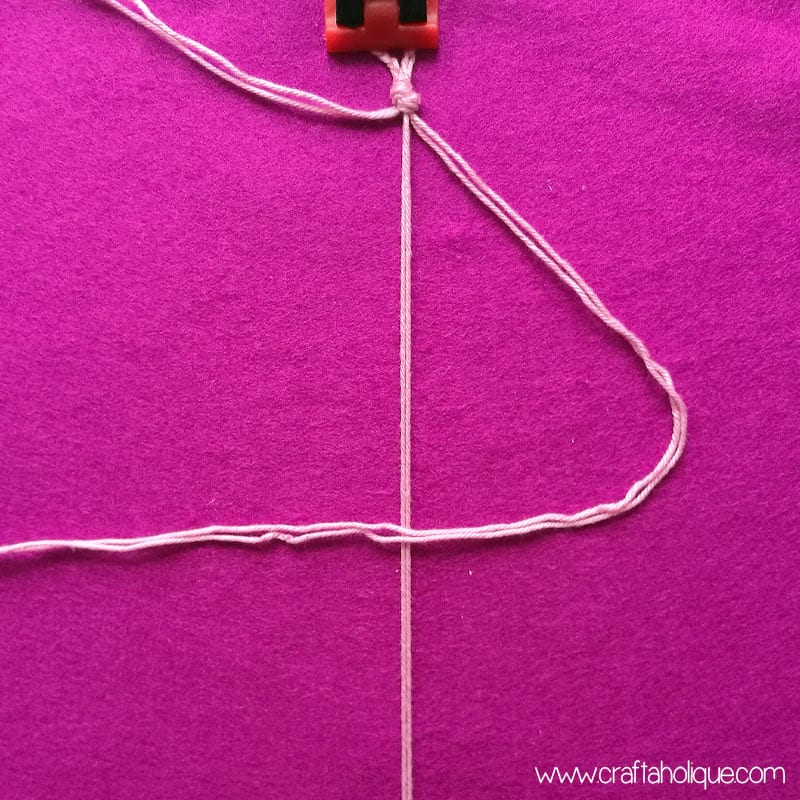
The main part of the sandal that will go down from your ankle, across the front of your foot to the toe, is formed using macramé knotting. You’ll have six strands to work with now, so separate them into three strands, each with two strands in.
Starting on the right hand side, place that strand over the middle one, as shown above, making a D-shaped loop.
Step 5: Macramé square knot
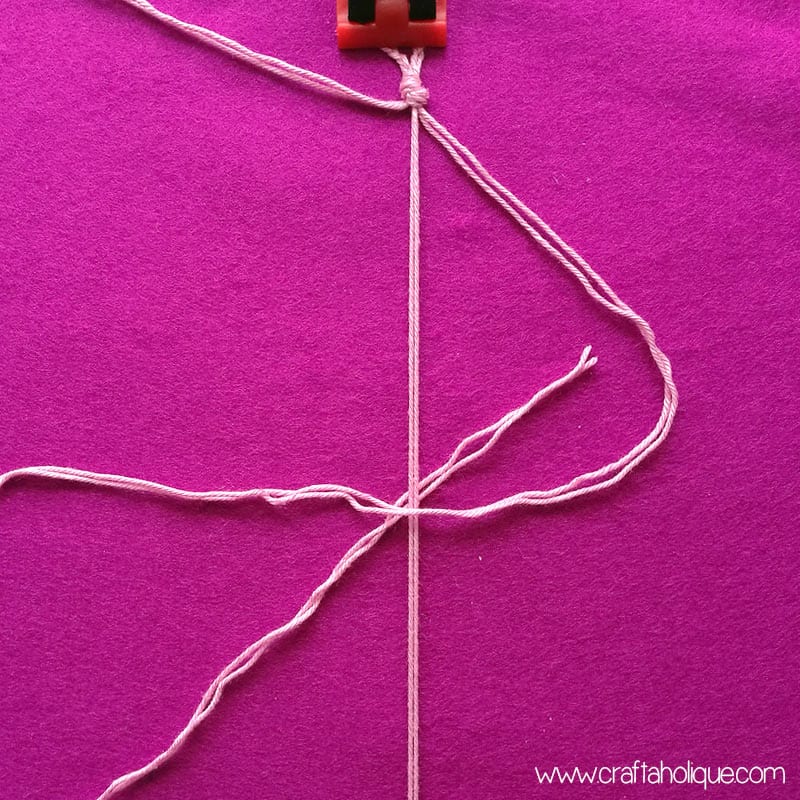
Then take the left strand and thread that one under the middle stand and into the D-shaped loop.
Step 6: Macramé square knot continued
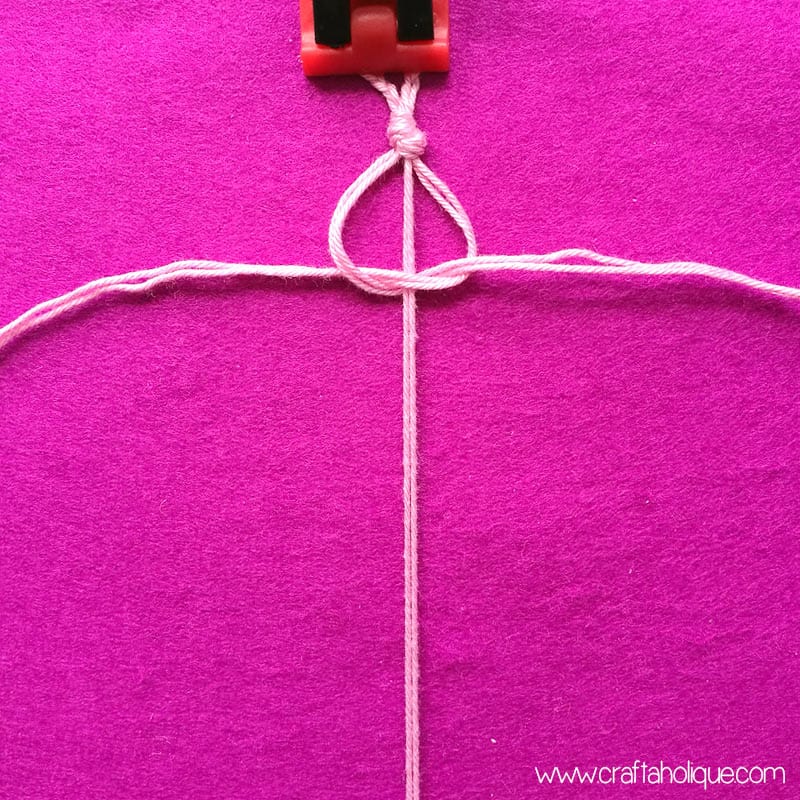
Then pull both of the left and right strands to make the first part of the square knot. See pic above for how it should look at this stage!
Step 7: Macramé square knot continued
Repeat the process on the left hand side. Place the left strand over the centre strand, then thread the right strand under the centre strand and into the (backwards) D-shaped loop you’ve just made.
Step 8 – Macramé square knot continued
Pull both the left and right strands away from the middle stand to complete your first complete macramé square knot.
Step 9 – Making a macramé square knot with beads
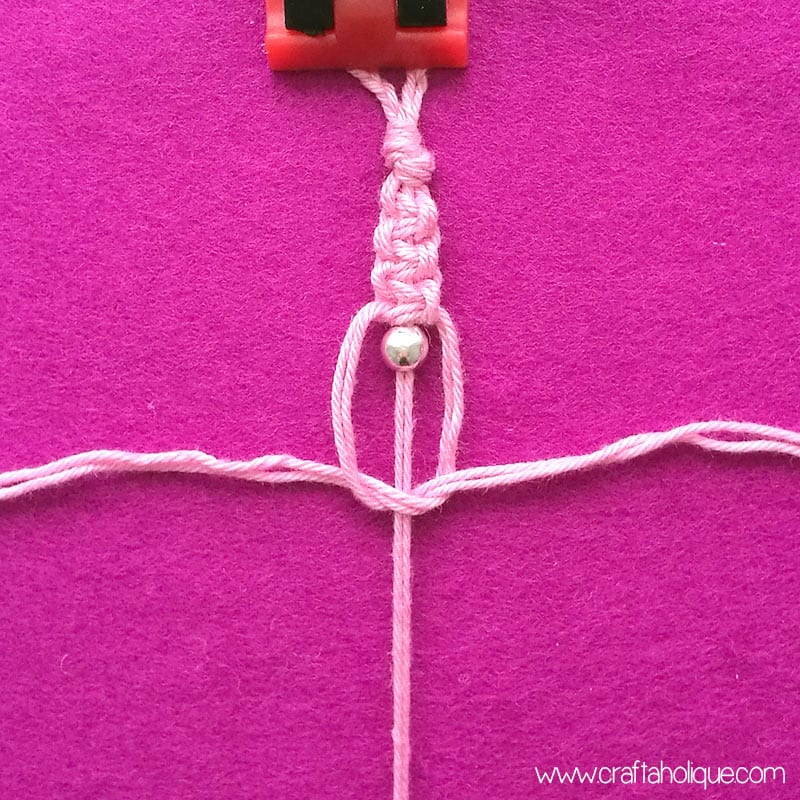
Make another two square knots, so that you have three knots in total and then thread on one of your silver round beads onto the middle strand. Make the first part of your next square knot, around this bead. The process is exactly the same as before, see the photo above!
Step 10 – Macramé knotting with beads

Complete the macramé square knot just like the others.
Step 11 – Making a macramé beaded strand
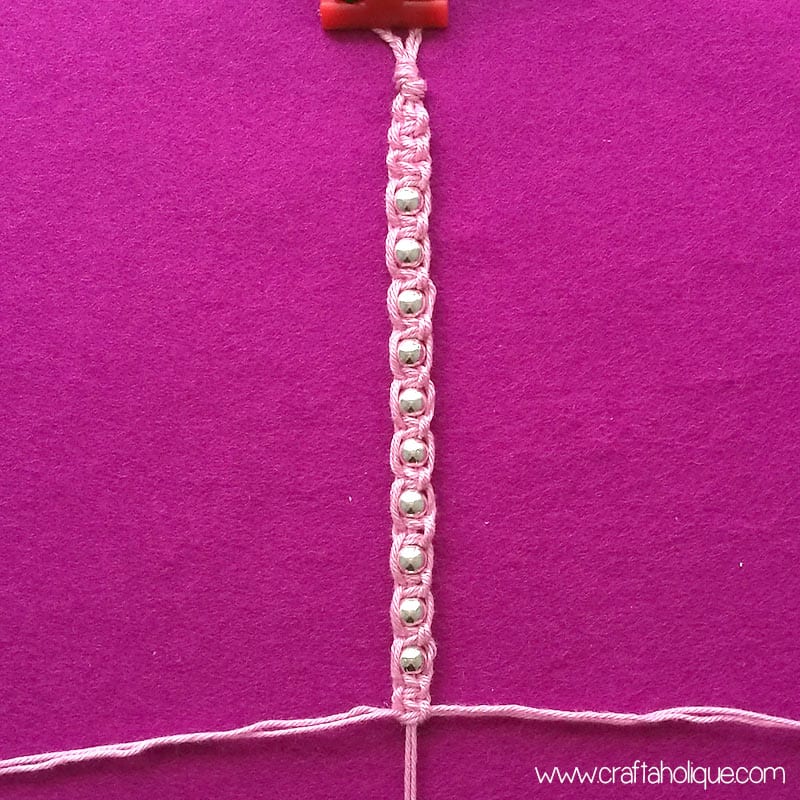
Repeat steps 10 and 11 until you have 10 beads in total, attached to the middle strand via macramé square knots. (By the way, my feet are a UK size 5, which is US size 7 and European 38. If your feet are bigger, you may need to use a couple more beads for this part.)
Step 12 – Braiding the ankle straps
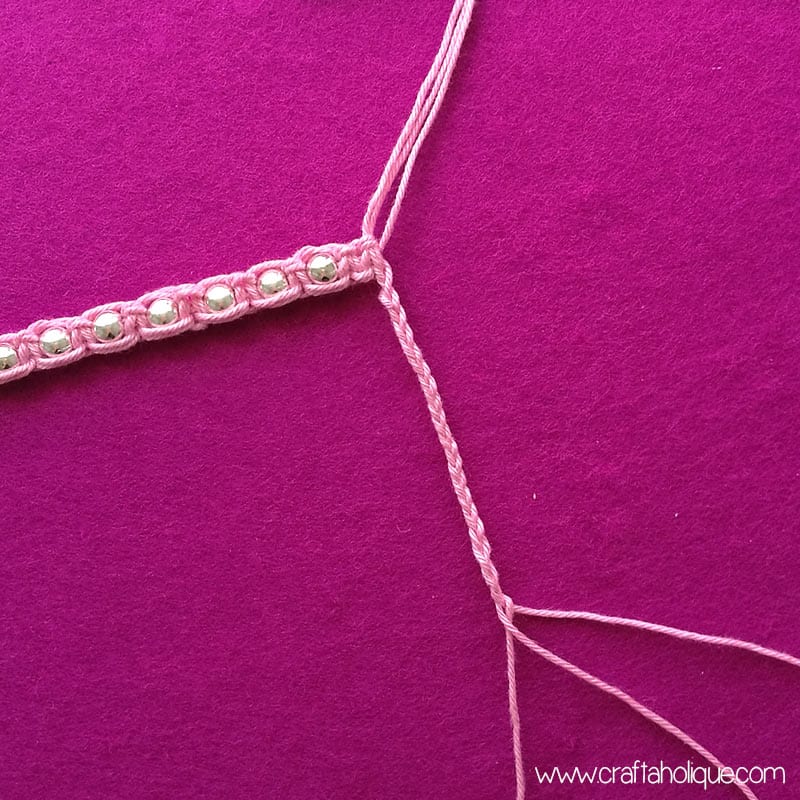
Finish the beaded section by doing one or two plain square knots without beads and then split the strands into two (each will have three threads). Braid those to make the ankle straps, until they reach a length of at least 50cm. This will ensure you can wrap them around your ankle a couple of times!
You can finish the straps by simply knotting them or add another silver bead at the end in between a square knot for a bit of decoration. If you’re going to do this, make sure to tie a double knot at the bottom of the last square knot to secure it into place. Trim any excess thread and then repeat steps 1 to 12 to make your second sandal!
Finally…
This project is a great way to use up leftover beads and yarn/cord plus your feet will look really pretty too. I hope you enjoyed this tutorial! If you did, please take a minute to share this online – and why not subscribe using the box at the top of this site to be kept updated about future posts?
Before you go, you might also want to check out these other crafty tutorials:
- Mini Tassel Earrings – 30 Minute Make
- Multi-strand Sparkly Rhinestone Bracelet
- Beaded Blanket Stitch Tutorial
*Affiliate links are included in this post to Etsy. This means that if you make a purchase through one of my links, I will earn a small commission at no cost to you. I only ever recommend products that I think are great and any commissions help me to keep this site up and running. Thank you for using my links if you’re able to.
*Images © Craftaholique.
THANK YOU! I absolutely adore these and your tutorial is the first one I’ve read that I can actually understand. I’m going to grab my supplies and give it a go now!