• Skip to primary navigation
  • Skip to main content
  • Skip to primary sidebar
  • Skip to footer
  • Home
  • Tutorials
  • Crafts
    • Jewellery Making
      • Everything jewellery
      • Beadwork
      • Wire jewellery
      • Book reviews
    • Feltmaking
    • Crochet
    • Knitting
    • Kid’s crafts
    • Book reviews
    • Other
  • Inspiration
    • Everything inspirational
    • Handmade showcase
    • Colours
    • Materials
    • Crafty Links
    • Start a Blog
  • Lifestyle
    • Tips
    • Recipes
  • About
    • Advertise
  • Contact
  • Privacy Policy
    • Cookie Policy
  • Disclaimer / Disclosure

Craftaholique

Embracing The Handmade Life | UK Craft Blog

You are here: Home / Crafts / Table Decor Tutorial: Removable Coaster Covers

November 16, 2017

Table Decor Tutorial: Removable Coaster Covers

Table decor tutorial - removable coaster covers

*Affiliate links are included in this post.

Many years ago, I bought some posh glass coasters for our home (back when they were in fashion). I still use them today! Lately, though I’ve been thinking that they look a little bland and I guess I could go out and buy some new coasters… but where would be the fun in that?!

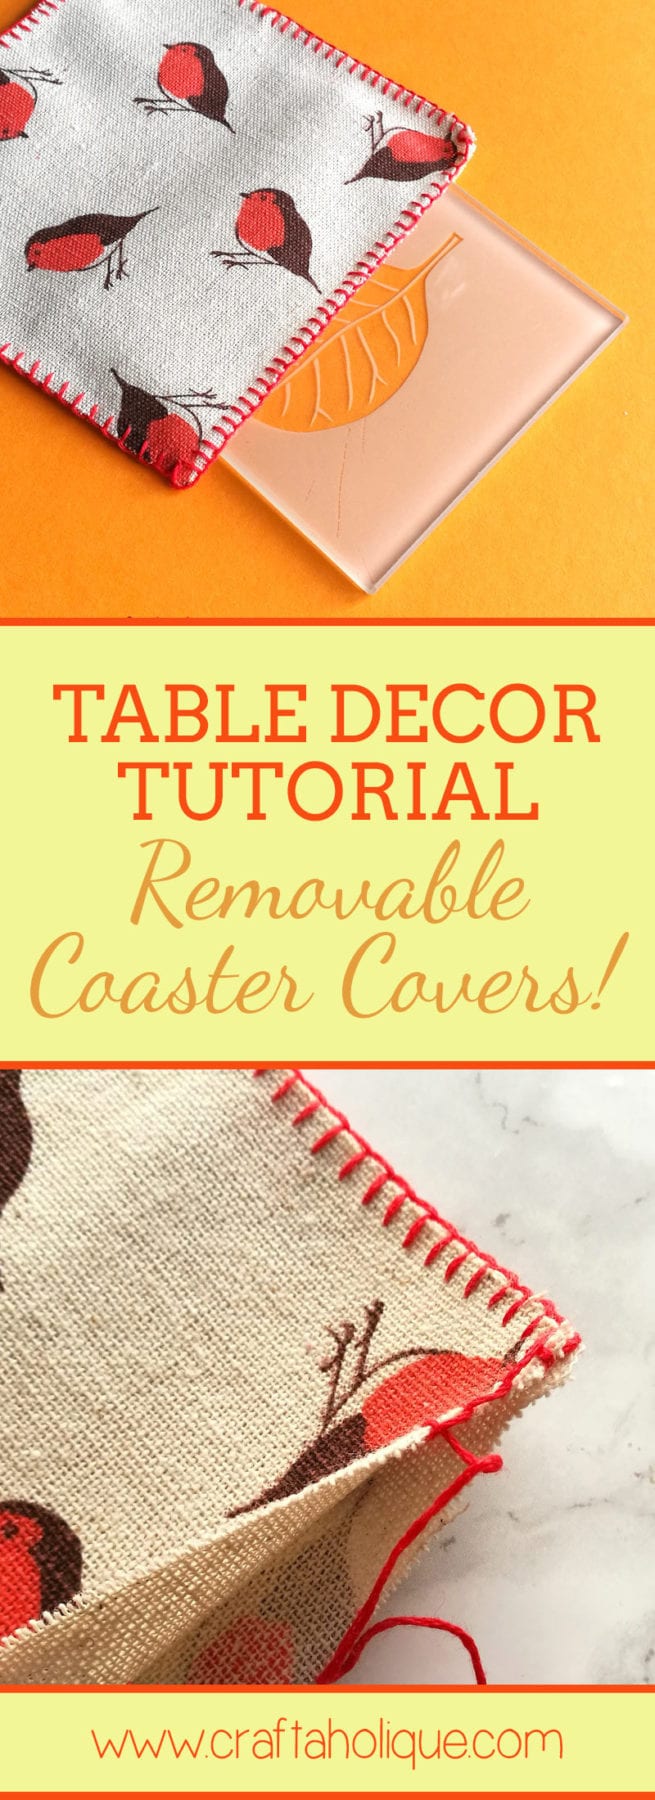
I decided to make some removable coaster covers that I can take off and wash when I need to. I had some lovely fabric with little robins on and thought this would look perfect for the winter season to dress up our table decor.

If you fancy making something similar for your own home, you’ll need the following materials:

Table decor tutorial - removable coaster covers

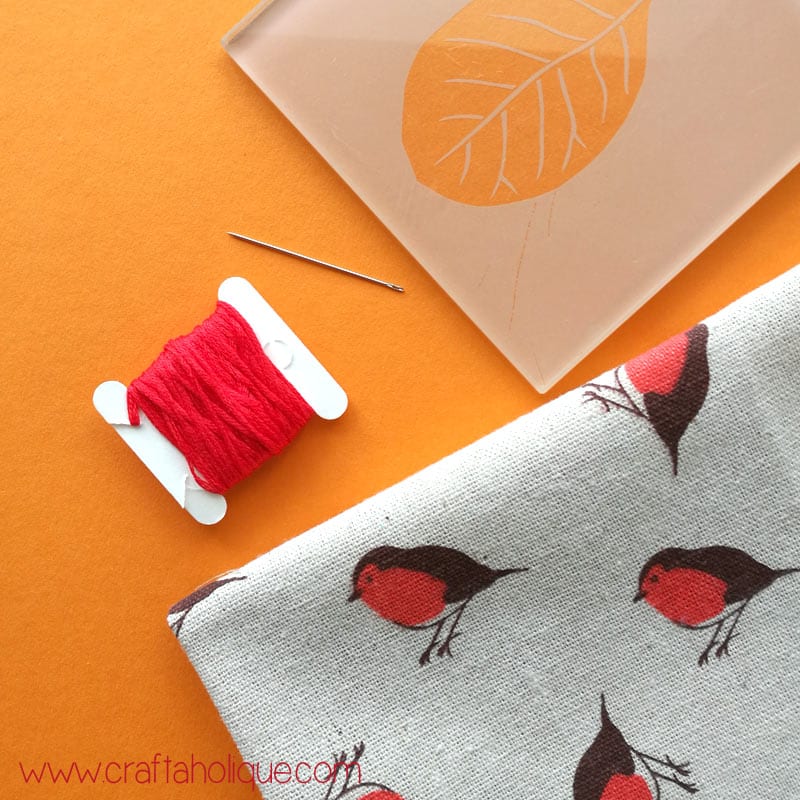
  • Fabric of your choice – fat quarters or scraps are perfect for this project. Check out these lovely fabrics I’ve found!
  • Embroidery thread.
  • Embroidery needle.
  • A hard square coaster.
  • Pencil and ruler.
  • Fabric scissors.

Step 1 – Prepare your fabric

Table decor tutorial - removable coaster covers

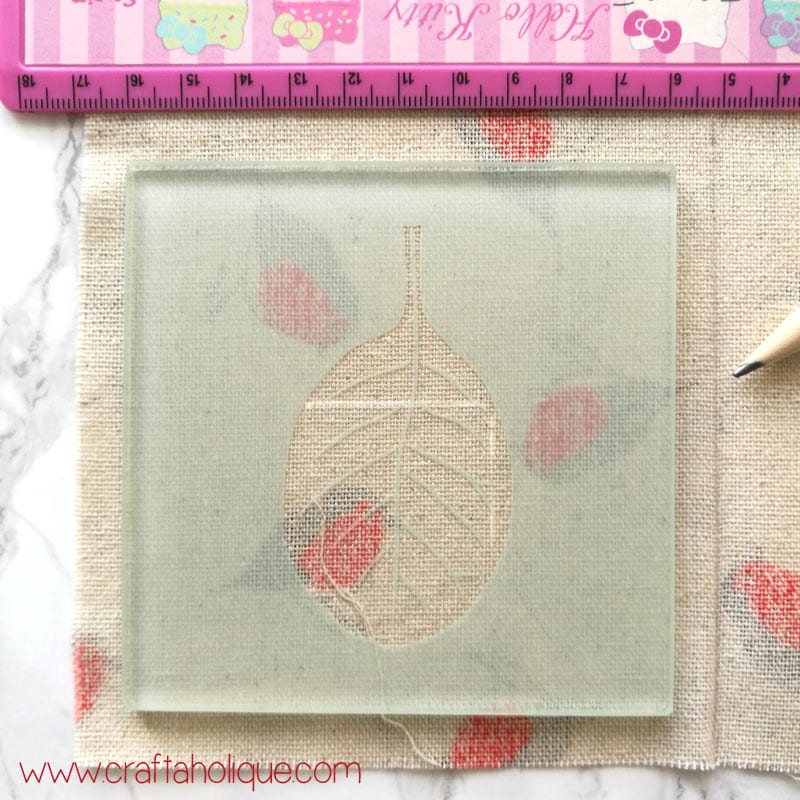
Excuse the “Hello Kitty” ruler you can see in this photo – it’s my daughter’s, but I confess I use it all the time! Place your old coaster onto the back of the fabric and draw around it with the pencil, leaving a trim of around 1.5cm. I used the ruler to make sure I got nice and straight edges.

Christmas Winter table decor tutorial - coasters

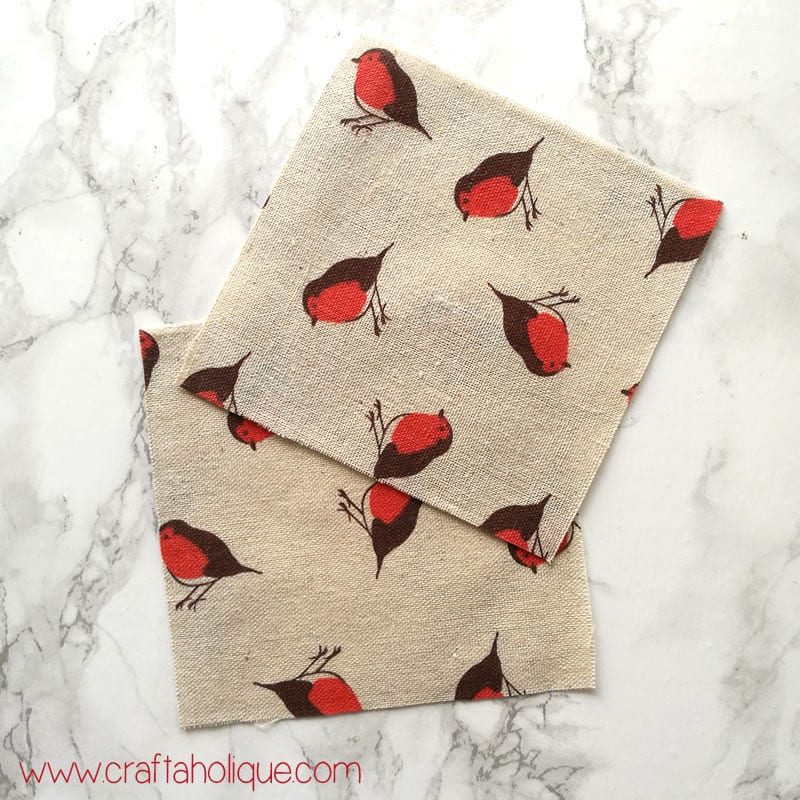
Fold the fabric in half and cut out the square that you’ve just drawn, so that you end up having two pieces that are exactly the same size.

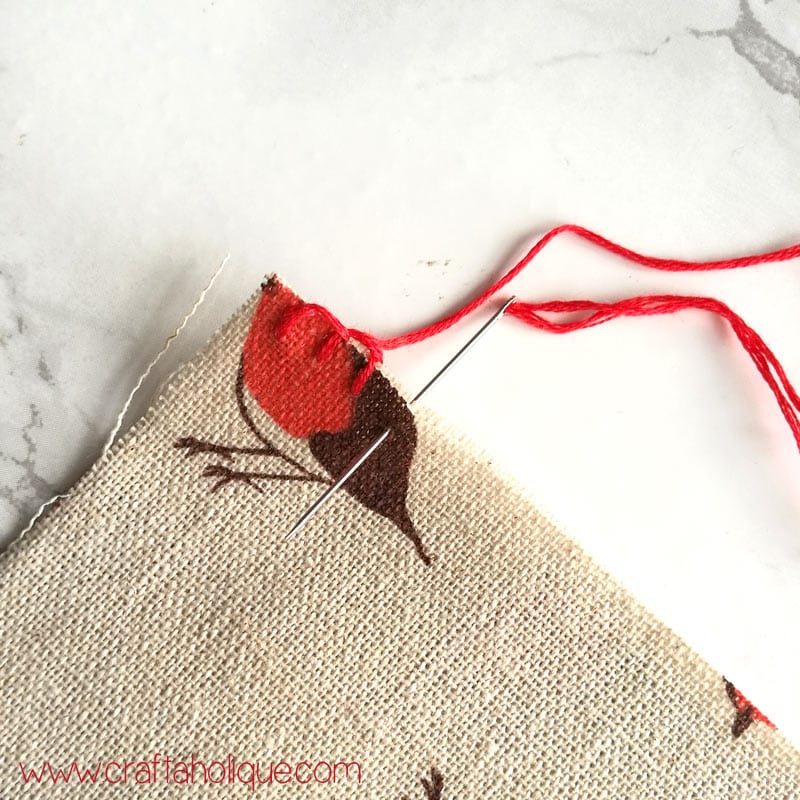
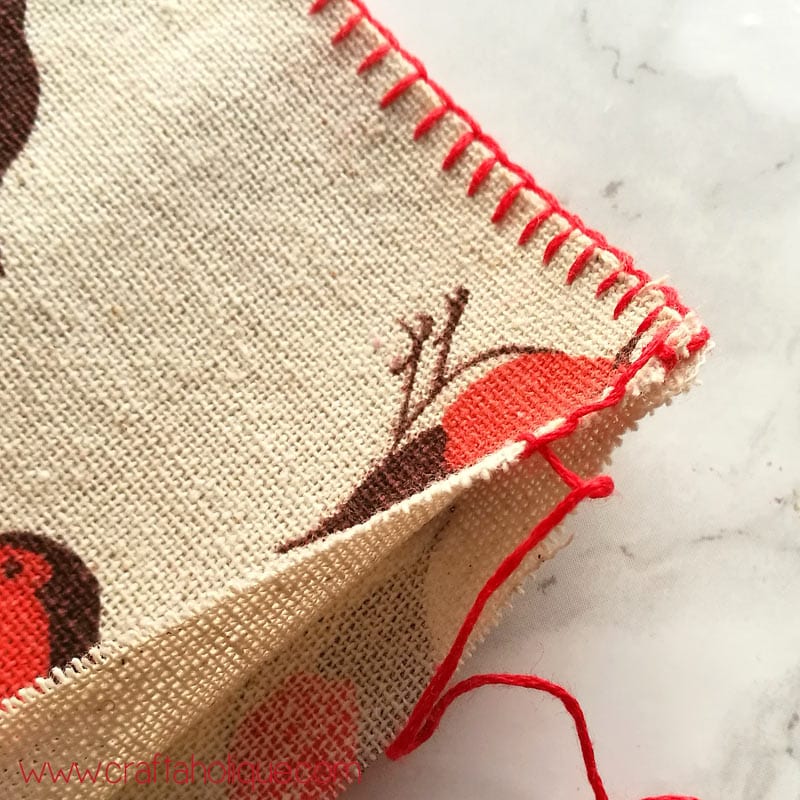
Step 2: Sew blanket stitch around the edge

Christmas Winter table decor tutorial - coasters

I love blanket stitch! It’s such a pretty decorative stitch. If you’re not sure how to do blanket stitch, check out this video tutorial from Red Ted Art.

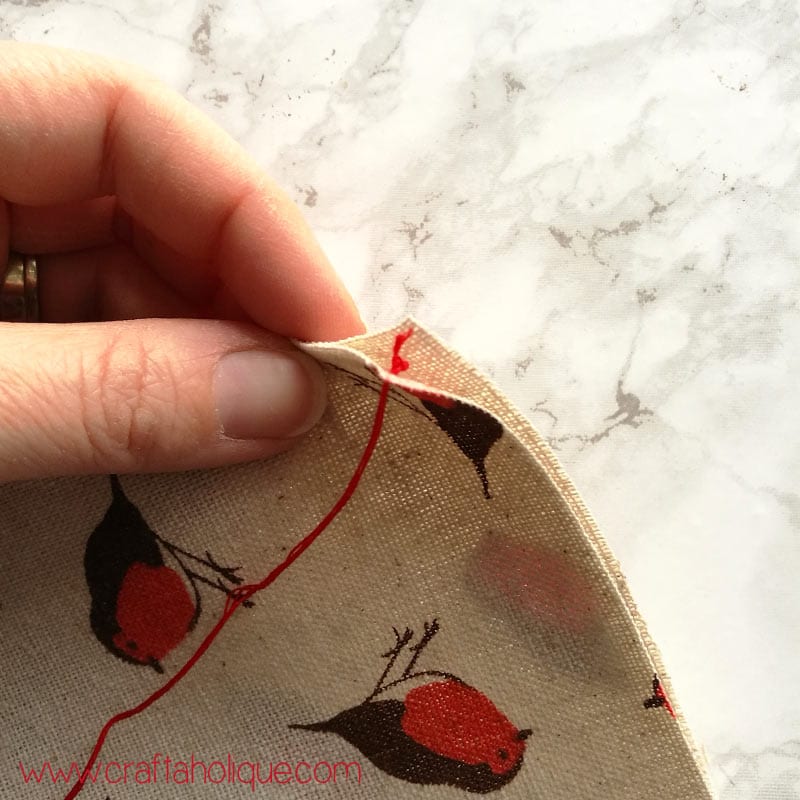
If you’re ready to get going, you’ll now need to place your fabric squares together, so that the fabric is the right side up on both pieces and then sew around three of the edges, making sure that your thread is passing through both squares of fabric.

Christmas Winter table decor tutorial - coasters

Christmas Winter table decor tutorial - coasters

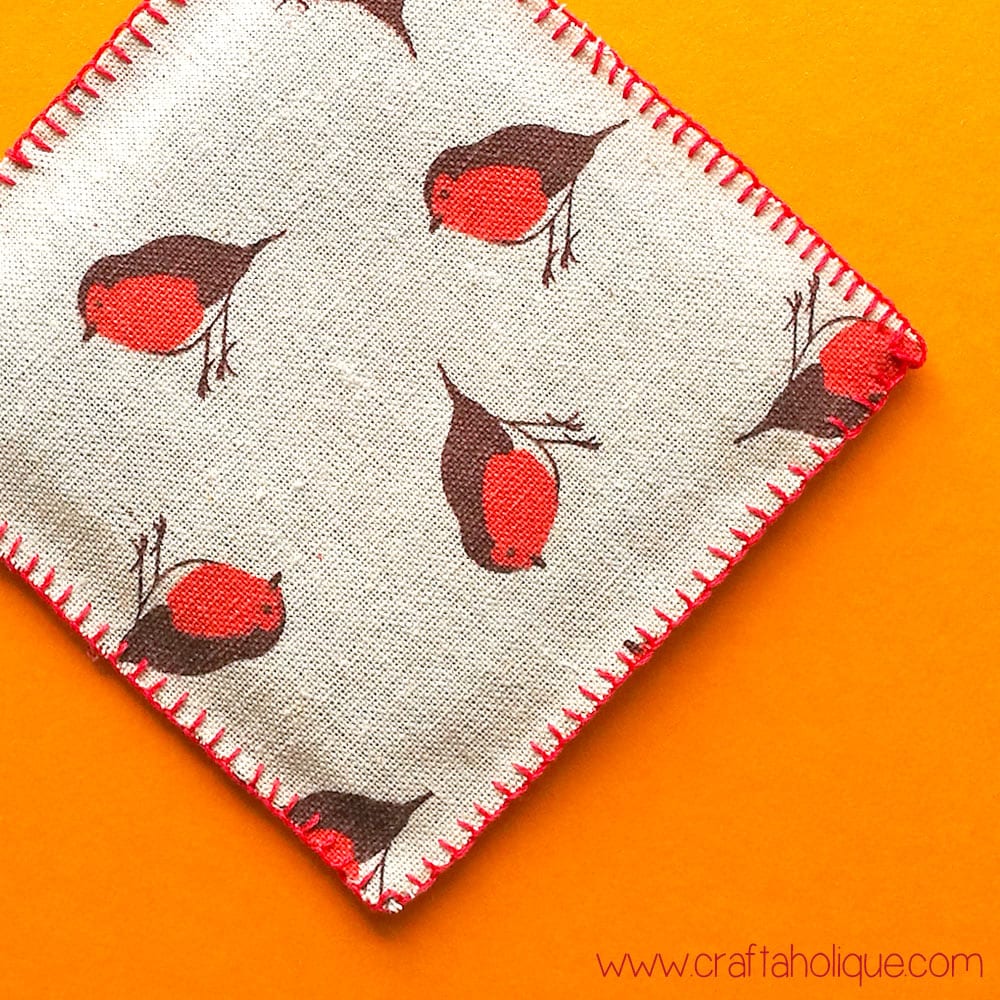
When you get to the fourth side, pull the fabric squares apart and only sew blanket stitch on the top piece. You can do the bottom piece if you like, but the fabric squares need to be separate from each other, as if you’re creating a little pillowcase.

Removable coaster covers – done!

Christmas Winter table decor tutorial - coasters

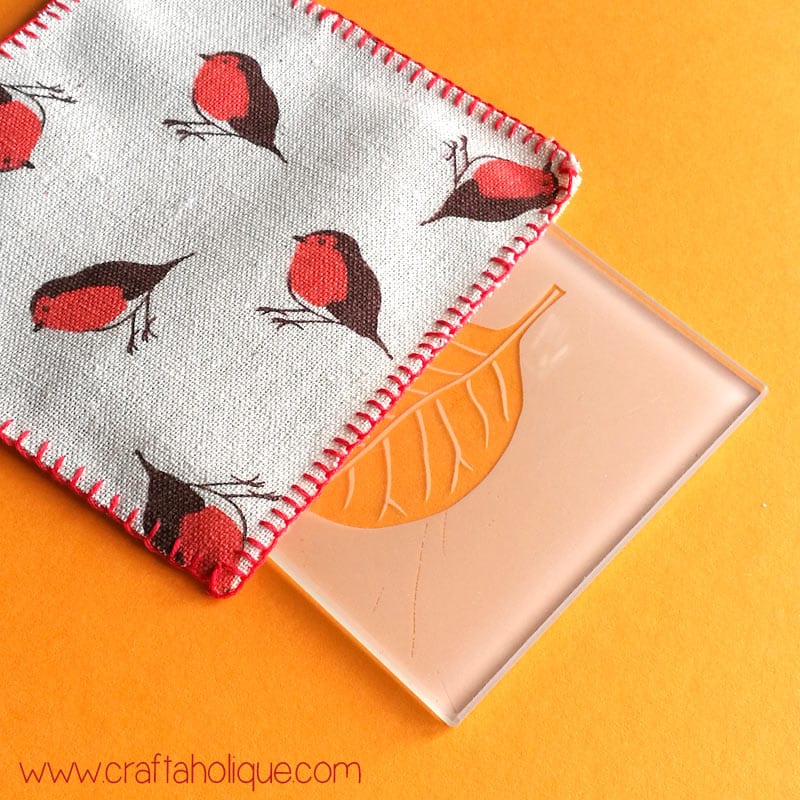
Once you’ve finished, simply slot your old coaster inside. Your “new” coaster will be rigid and sturdy and you can now make a few more to use as part of your table decor. The best part is that you can just change them around whenever you like and hand wash them if you need to!

To take your table decor one step further, why not create a matching table runner, napkins and maybe some cutlery holders too?

I hope you enjoyed today’s tutorial. If you did, please take a moment to share this post online – thank you! Before you go, do check out some of my other winter / Christmas related crafts below:

  • How to Make Beaded Angel Earrings
  • How to Make a Needle Felted Robin
  • Rudolph Reindeer Bracelet Pattern

*Affiliate links to Etsy are contained in this post. This means that I will receive a small commission should you decide to purchase anything through one of my links, at no cost to you. I only ever recommend products that I think are great and any commissions received help me to keep this site up and running! Thanks for using my links if you are able to!

Christmas Winter table decor tutorial - coasters

**All images © Craftaholique.

Share this post!
  • save 
  • share 
  • tweet 
  • email 

Filed Under: Crafts, Sewing, Tutorials Hayley 2 Comments

Reader Interactions

Handmade Showcase: Fun & Adorable Christmas Outfits!
Snowflakes Peyote Stitch Beading Pattern

Comments

  1. 1

    Jen says

    November 21, 2017 at 9:47 am

    Love Love Love your idea! .. and the little birdies are super cute too! Thank you for sharing!

    Reply
    • 2

      Hayley says

      November 24, 2017 at 11:11 pm

      Thank you Jen, appreciate you stopping by and commenting! 🙂

      Reply

Leave a Reply Cancel reply

Your email address will not be published. Required fields are marked *

Primary Sidebar

Welcome!

Welcome!

Hi, I'm Hayley! Thanks for visiting Craftaholique, my little corner of the internet where I blog about crafts, beading, handmade products and lots of other stuff relating to creativity. Stay a while and have a browse!

Connect

  • E-mail
  • Facebook
  • Instagram
  • Pinterest
  • Twitter

Advert


Instagram

Work in progress! A new pattern I'm working on. Lo Work in progress! A new pattern I'm working on. Loving the metallic green colour. 😍 #beads #beadwork #peyote #bracelets #braceletpattern #peyotestitch #jewellerymaking #crafts #crafting
Hi all! It's been a very long time since I've post Hi all! It's been a very long time since I've posted here. I've been working on a new venture - surface pattern design. This is my first attempt at a seamless pattern. It's part of a collection I'm working on called 'Mum's Garden'. Mum loved hedgehogs, and they always frequented her garden to enjoy the food she put out for them. 😍 Honest opinions! What do you think? Could this work for wrapping paper, notebook covers, etc? Thanks for looking! #surfacepatterndesign #creativebusiness #creativeentrepreneur #graphicdesign #digitalart #hedgehogs #patterns #seamlesspattern
I finally finished this bead loom bracelet! Starte I finally finished this bead loom bracelet! Started it before the first lockdown... I think I lost my mojo for a while! So this is a flat piece of beadwork, which I then glued onto a cuff bracelet blank.
Started this loom beading project last May... Prou Started this loom beading project last May... Proud to say I finally finished it more than one year later! More photos coming soon! What's your longest ever project? #beads #beadwork #loombeading #crafts #crafting #craftblogger #crafty #longestprojectever
My latest beaded creation! Peyote with a twist. Lo My latest beaded creation! Peyote with a twist. Love the chunkiness of it and how it shimmers with the galvanised silver Miyuki Delica beads. #beads #beadwork #beadweavingpeyote #peyote #flatpeyotestitch #silver #beaded #beadedjewelryofinstagram #beadedring #beadedjewelry #miyukidelica #miyukipeyote #miyuki #miyukibeads #beading #crafts #crafting #craftblogger
My latest tubular peyote bracelet! It's made up of My latest tubular peyote bracelet! It's made up of hundreds of tiny Miyuki Delica beads in vibrant colours of metallic blue, silver, white and pink. The pattern is available in my Etsy shop, Craftaholique Designs. #beads #beadwork #beadweavingpeyote #tubularpeyotestitch #miyukipeyote #beading #beadingpattern #etsyshop #etsysellersofinstagram #etsyseller #etsyshopowner #bracelets #vibrant #tubularpeyote #beadaddict #beadaddiction #miyuki #miyukibeads
My finished bead embroidery - I've used it as an e My finished bead embroidery - I've used it as an embellishment for a beadwork storage case I've just made. I upcycled the case from an old padfolio / conference folder. Inside there's an integrated beading mat where I can do my beadwork - no more beads rolling away! I've posted a tutorial on my blog (link in bio).
My latest project... Bead embroidered flowers! I'm My latest project... Bead embroidered flowers! I'm making this as an embellishment for something. Will post the final project pic soon! #beadwork #beadembroidery #embroidery #embroiderydesign #embroideryart #embroidelicious #flowers #beads #beadedembroidery #beadedembellishment #crafts #crafting #keepcraftingcarryon #keepcraftalive #keepcraftingandcarryon #beaded #beadaddict #beadaddiction #embroideryhoop #craftblogger #crafty
Just finished this set of Miyuki Delica bracelets Just finished this set of Miyuki Delica bracelets in pretty colours of peach, white, pink and gold! I made the two diamond pattern bracelets using a bead loom. The single strand bracelet I just strung together. What do you think to my creation? #beads #beadwork #beadloom #beadloompattern #beadloomingbracelet #beadlooming #beadloombracelets #beadweaving #loombeading #loombead #beadingpattern #beadedjewelryofinstagram #beadaddict #beadaddiction #miyuki #miyukibeads #miyukidelica #crafts #crafting #craftblogger #crafty #bead #craftblogger #beadedbracelets #cuffbracelet #stackingbracelets
Though I've been beading for many years, this is t Though I've been beading for many years, this is the first time I've used a bead loom! It's pretty straightforward and quicker than peyote. #beading #beadloom #beadlooming #beadloomingbracelet #beadloomingnewbie #beadloombracelets #beadloompattern #beadwork #beadingpattern #miyuki #miyukibeads
I had tons of fun over the Easter weekend making t I had tons of fun over the Easter weekend making this rag rug sample with a kit from @raggedlife. This was part of an online workshop on rag rugging, with four other craft bloggers (hosted on Zoom by Elspeth at Ragged Life). It was brilliant! I'd highly recommend it. I've just posted about my experience on the blog - see link in bio.
Tomorrow, I'm taking part in an online rag rug wor Tomorrow, I'm taking part in an online rag rug workshop with @raggedlife! Can't wait, I've been wanting to try out rag rugging for ages. The class is being hosted on Zoom and will be fully interactive. Will post my project when I've done it!
Load More… Follow me on Instagram

Popular Posts

Popular Posts

Recent Posts

  • Craftaholique is being revived!
  • I’m back (with a new bead loom bracelet pattern)
  • Leaf Art Craft Project with Sharpie Pens
  • Chevron Tubular Peyote Bracelet Pattern
  • DIY Beadwork Storage Case (with Beading Mat)

Advert


Recent Comments

  • Hayley on BeadTool 4 Review – Make Your Own Beading Patterns
  • Susan Nicholas on BeadTool 4 Review – Make Your Own Beading Patterns
  • Heather on How I Salvaged My Tarnished Silver Pandora Bracelet
  • Hayley on DIY Beadwork Storage Case (with Beading Mat)
  • Hayley on How to Use Pinterest to Significantly Boost Your Etsy Sales

Looking for Something?

Footer

My favourite place to shop handmade!

Featured on Feedspot

Disclaimer

Craftaholique is a personal blog. The content you'll find here is for your entertainment purposes only. Craftaholique is a participant in the Amazon Services LLC Associates Program, an affiliate advertising program designed to provide a means for sites to earn advertising fees by advertising and linking to www.amazon.co.uk and www.amazon.com. Read the full site disclaimer here.

Blogroll

  • Free Pretty Things For You
  • Golden Age Beads
  • Off The Beaded Path
  • The Graphics Fairy

© 2020 Craftaholique