

*Collaborative post.
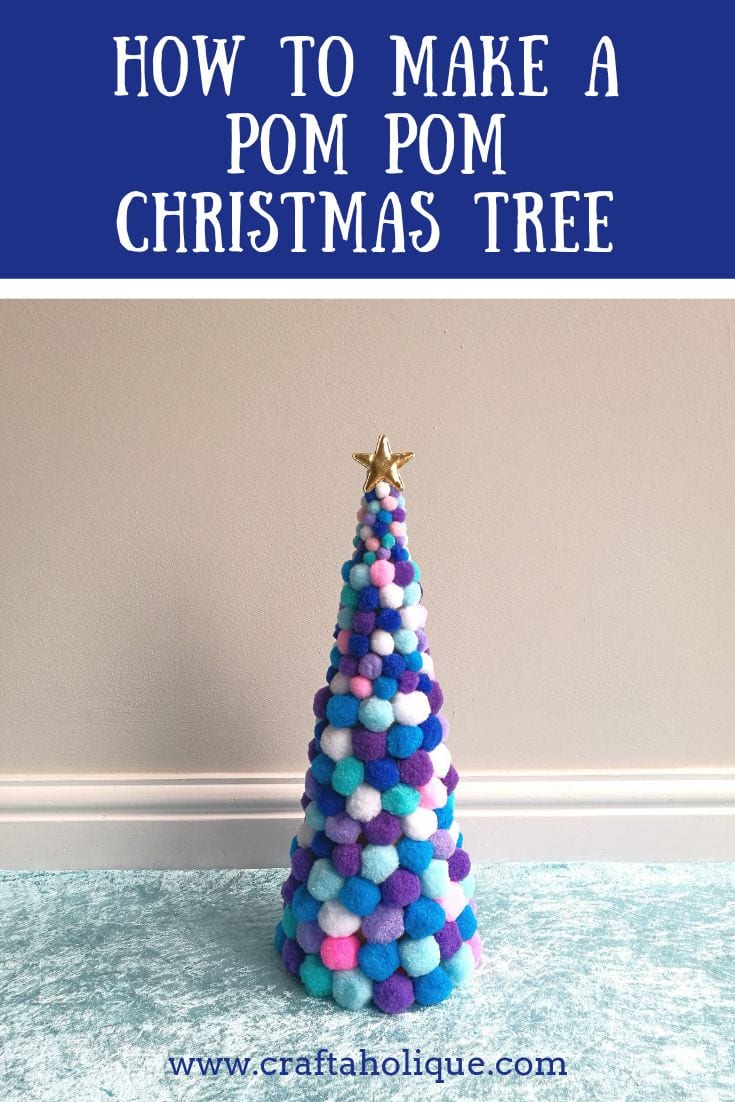
In this post, you’ll find a step by step tutorial on how to make a pom pom Christmas tree decoration! Alternative Christmas trees are on trend at the moment and this one will add a modern touch to your regular festive decor.
To make this Christmas craft project, you’ll need:
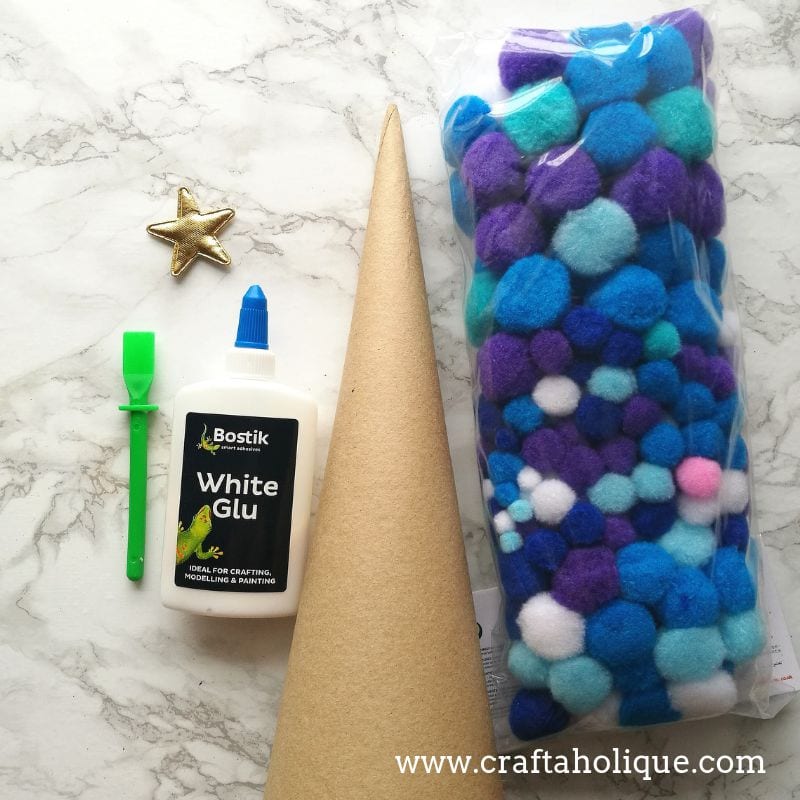
- A big bag of pom poms in mixed sizes (I chose a selection of wintery blue hues).
- Cardboard cone.
- Fabric gold star embellishment.
- Bostik White Glu (*Thank you to Bostik for sending me this product for free and for sponsoring this post!).
- Glue spreader.
Step 1
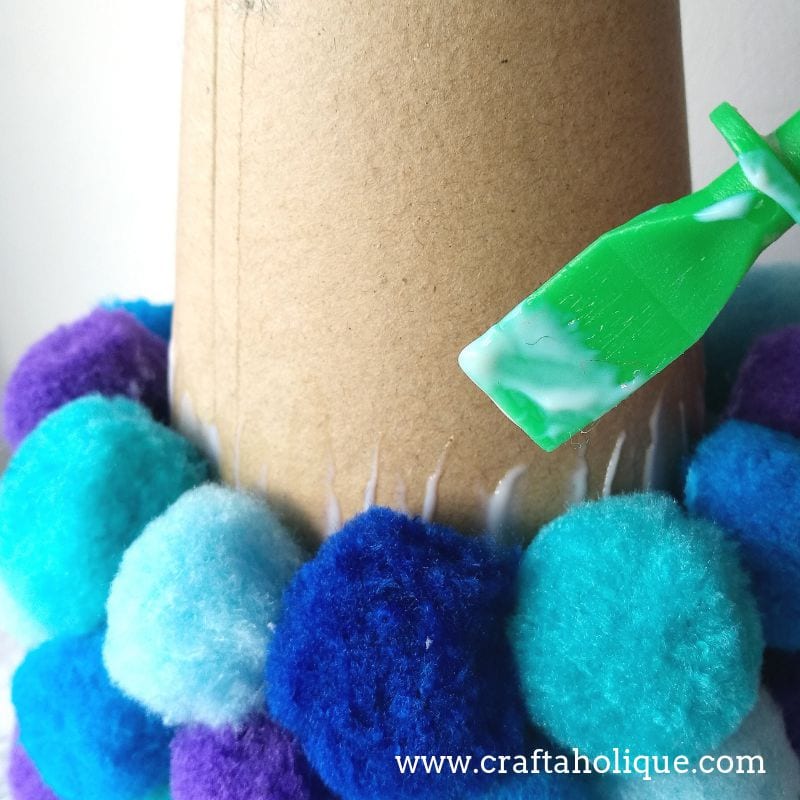
Using the Bostik White Glu, spread a little around the base of the cone. Start with the largest pom poms and stick them onto the cone in no particular order.

When you get to the middle section, use a smaller size of pom pom and stick these on too! For the top section, use the smallest pom poms you have.
Step 2
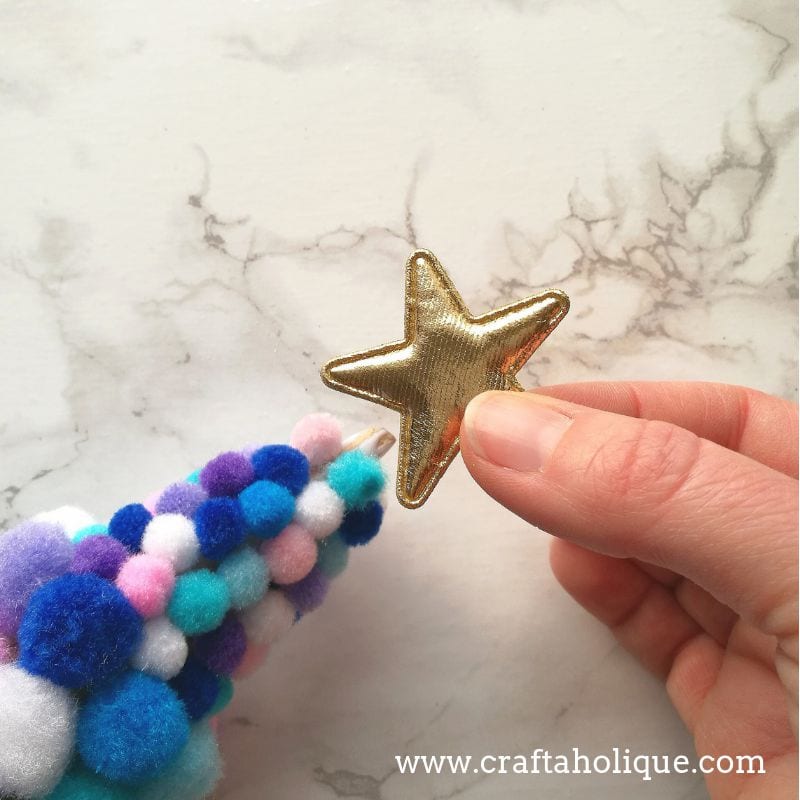
Finally, leave a little bit of space right at the tip of the cone to stick on your fabric gold star. Leave to dry for a few hours to make sure all the pom poms are properly stuck to the cone and you’re done! You can now display this on your mantlepiece or sideboard, to brighten up your home for the festive season.
I hope you enjoyed this tutorial. If you did, please take a moment to share this post online. Before you go, why not check out some of my other Christmas craft posts below:
- How to make Christmas Crackers
- How to make Beaded Angel Earrings
- How to make a Snowman Cutlery Holder
- Snowflakes Peyote Stitch Beadwork Pattern
- How to make a Christmas Snow Globe
** All photos © Craftaholique.
We added a paper bow to the top of ours, but you could leave it as is or add a different type of tree topper!
Ah that sounds fab!